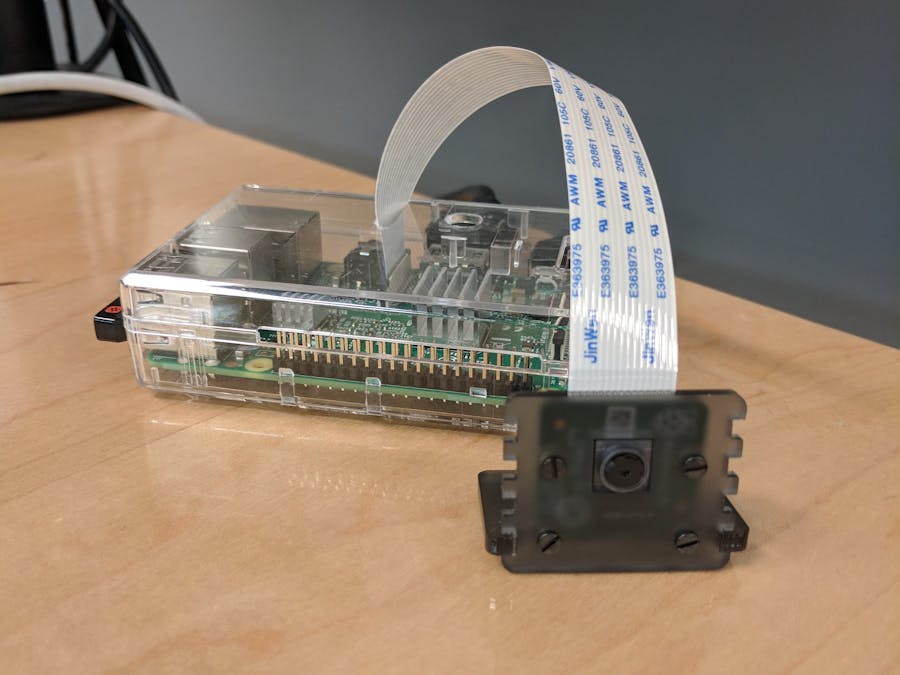
Have you ever wanted to know of any unexpected activity happening in places like your room, office or garage? This device will give you the ability to check on a live stream that notifies you whenever motion occurs. It can also save photos or videos in a directory that are separated by date, so that you can go back and check up on any unexpected activity. Should something ever get stolen then you will know who did it. I used Raspbian Stretch and Motion to get this project working.
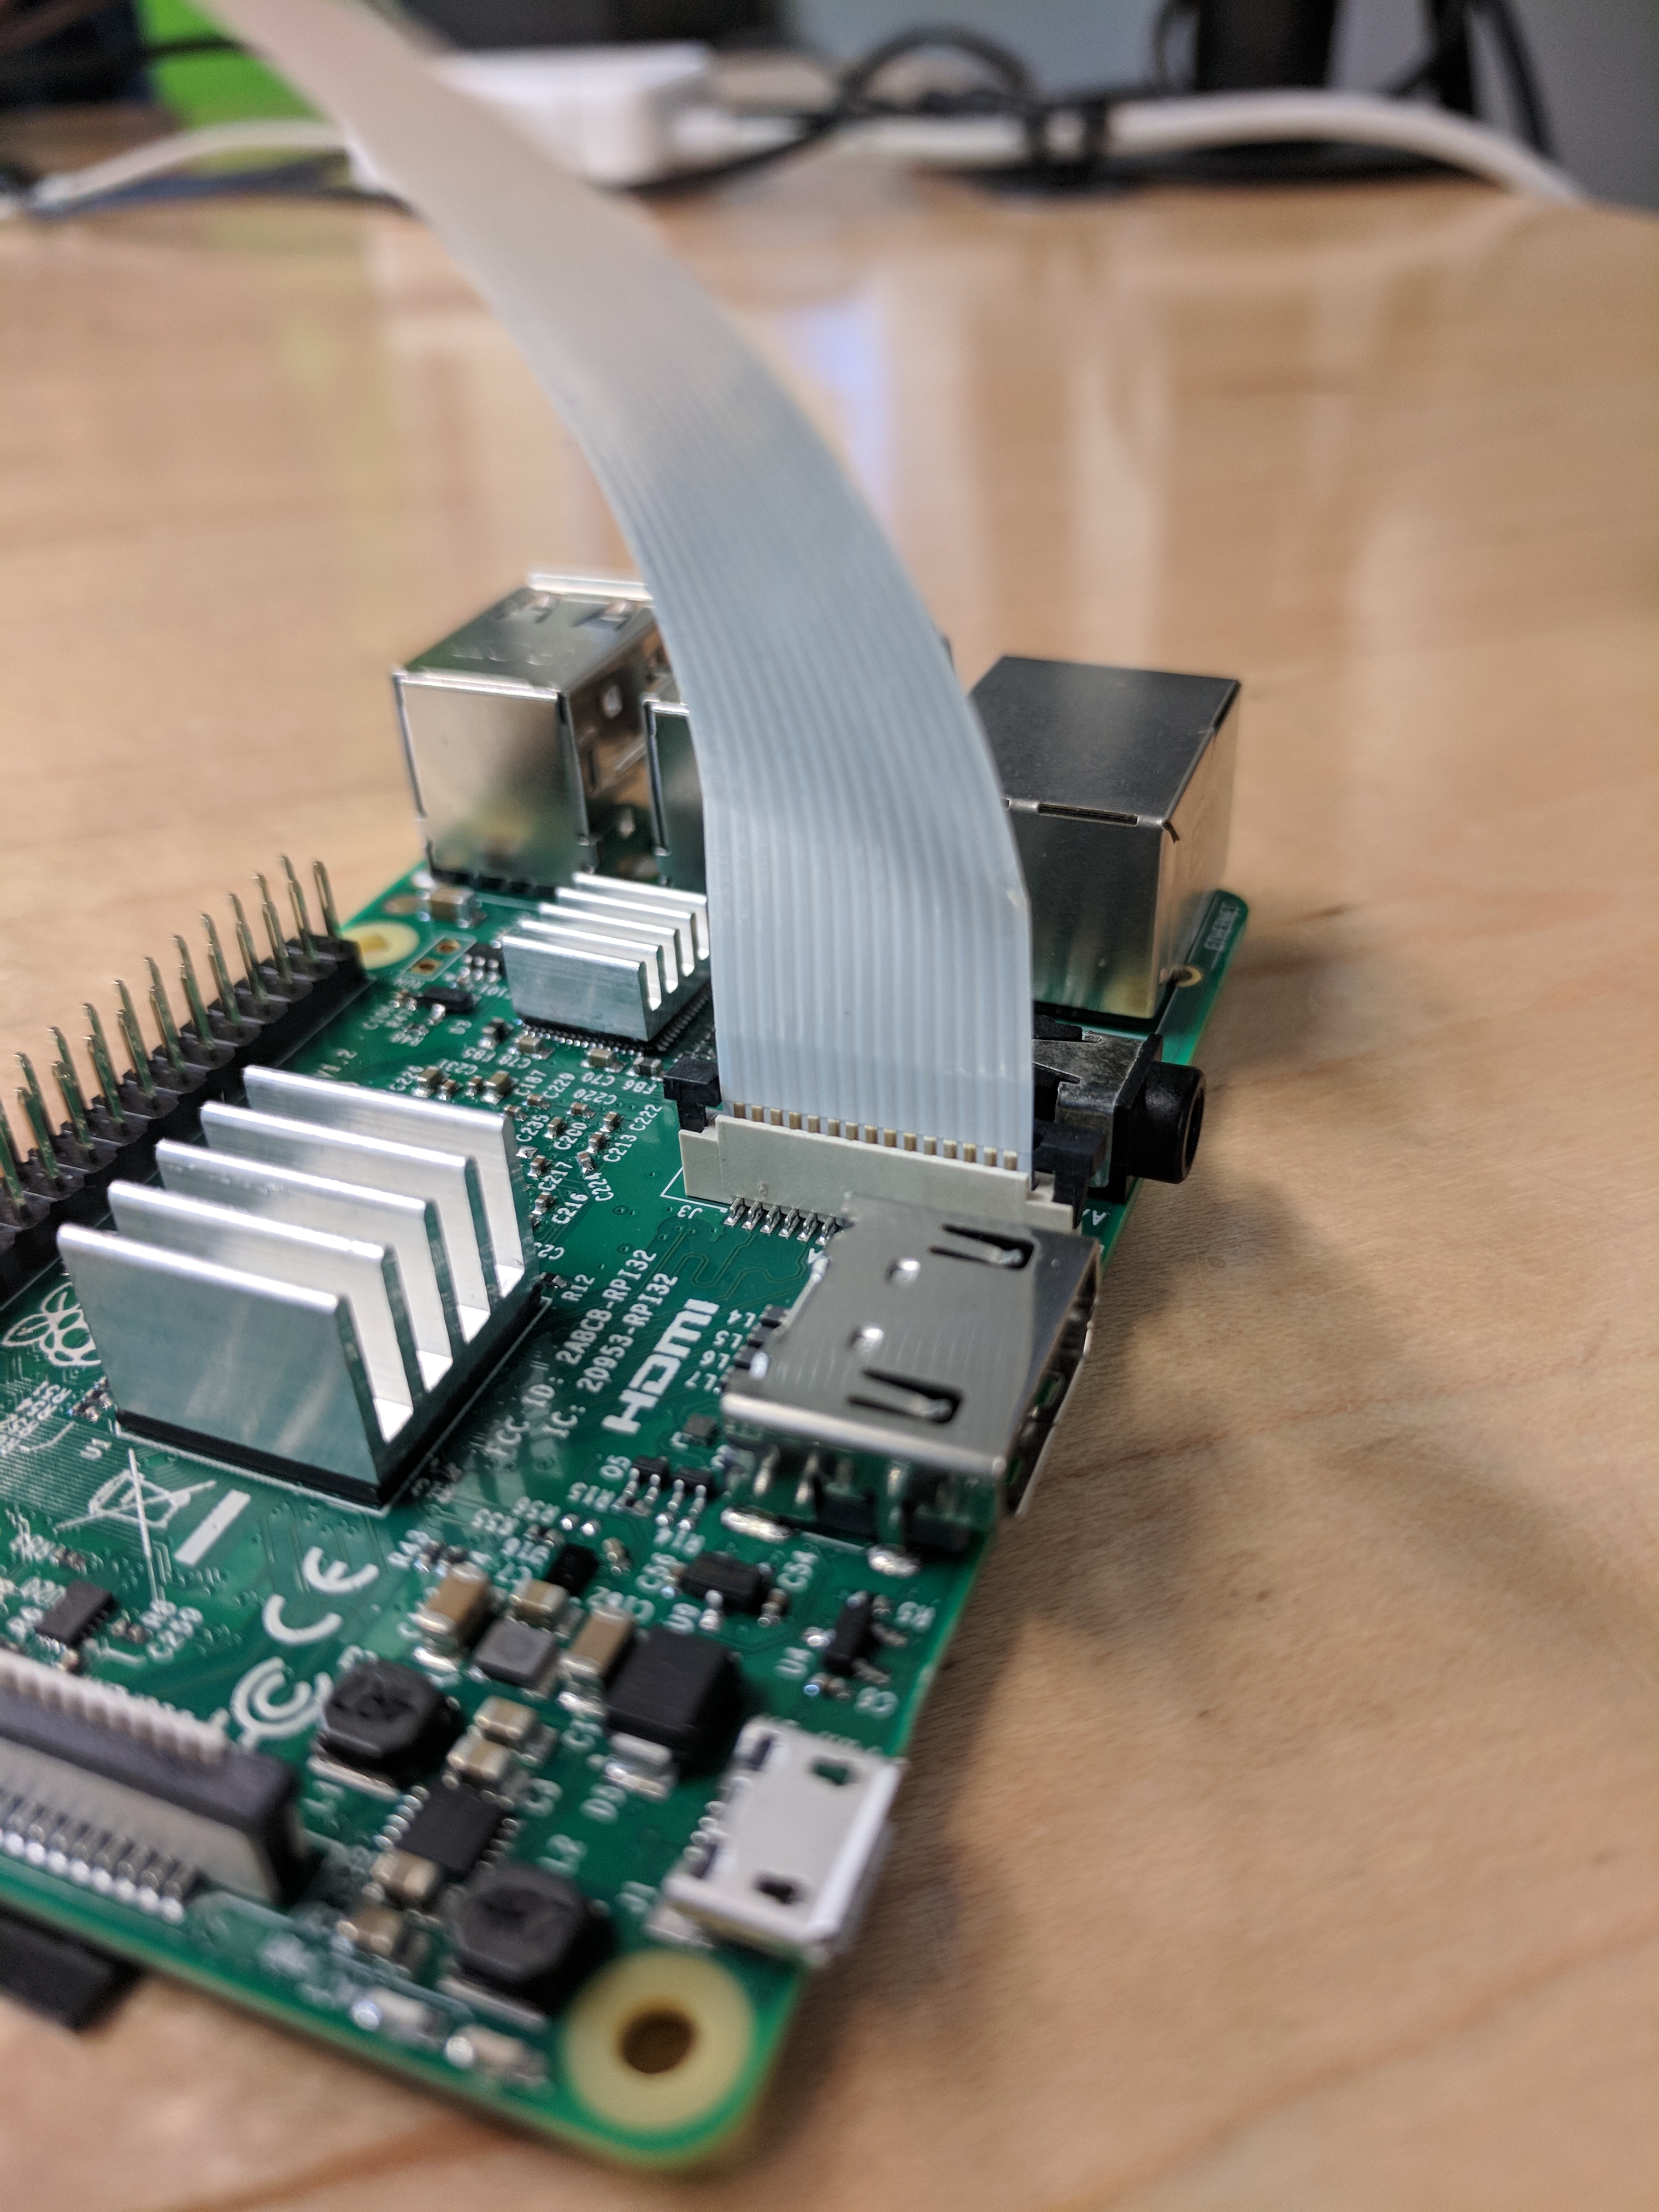
Hardware Setup- First, find the CSI slot on your pi and pull up the two connectors to open up the slot.
- Then, place the ribbon cable from the camera module into the CSI slot with the metal leads facing away from the ethernet port.
- Once inserted, push down the two connectors to lock the cable into place.
- Go to the Raspberry Pi Configuration Settings from the drop down in the top left corner. Then, navigate to the Interfaces tab and enable Camera.
- Run these commands to update your raspberry pi and install motion.
sudo apt-get update
sudo apt-get upgrade
sudo apt-get install motion
- Now we need to edit the configuration file.
sudo nano /etc/motion/motion.conf
- Now find these lines and change them to the following:
daemon on
stream_localhost off
stream_maxrate 100
framerate 100
width 640
height 480
- Choose whether you want to save videos or pictures and only turn one of them on and edit the filename to make it easier to read (output_pictures is for photos and ffmpeg_output_movies is for videos).
output_pictures on
ffmpeg_output_movies on
picture_filename %Y/%m/%d/ %H:%M:%S-%q
movie_filename %Y/%m/%d/ %H:%M:%S
- If you are going to port forward your raspberry pi, so that you can access the stream from anywhere, then I highly suggest enabling the following setting and changing the username and password to your own.
stream_auth_method 1
stream_authentication username:password
- If you want to change the directory where motion saves files then change this line to whatever the file path is and then run the following commands to give motion the appropriate permissions to the directory you created. (Make sure to save the config file when exiting the file)
target_dir /home/pi/directory
sudo chgrp motion /home/pi/directory
sudo chmod g+rwx /home/pi/directory
- Now to setup daemon, open the motion file using this command and change the following line (This enables daemon to start up in the background every time the raspberry pi powers up):
sudo nano /etc/default/motion
start_motion_daemon=yes
- Once you're done, then press ctrl+x, y, then enter to save the file
- Start up motion with the following command and if you need to stop then the second command will do that:
sudo service motion start
sudo service motion stop
- To check out the web stream, simply go to the internal IP address of the pi followed by :8081 like this:
192.168.1.5:8081
- If the stream is not loading try to restart the service or reboot the pi with the following commands:
sudo sevice motion restart
sudo reboot
- Open up the modules file with the following command:
sudo nano /etc/modules
- Add this line to the bottom of the file:
bcm2835-v4l2
- Now reboot the raspberry pi.
sudo reboot
- Now you should be able to access the stream
- If you own a Network Attached Storage (NAS) such as WD My Cloud, then I recommend mounting the drive to a folder on your pi to upload your photos/videos to the cloud.
- First, you will need to enable NFS protocol in your cloud dashboard and public access, so that the pi can view and edit files.
- To mount the NAS to your pi simply run the following command and make sure you create the folder beforehand (Make sure to replace the IP address with the IP address of your NAS):
sudo mount 192.168.1.4:/nfs/Public /home/pi/wdmycloud
- You will have to run this command every time the pi reboots, so don't forget to do that to avoid errors.
- If you want to setup notifications that are sent to your phone whenever motion is detected then start by grabbing the code labeled sendText.py and putting it somewhere on your pi such as at /home/pi
- Once you have the file, change the few lines of code that ask for your gmail username, password, and your phone number.
- Once set up, open the motion config file and change the following line (Make sure to get rid of the colon):
sudo nano /etc/motion/motion.conf
on_event_start python /home/pi/sendText.py
- Now, we need to give motion the proper permissions to access the script with the following command:
sudo chown motion:motion /home/pi/sendText.py
- Since this is using gmail, gmail will block the login because it is from a less secure app. To fix this just enable logging in from less secure apps. Run the script once as a test, and then go to the link from the email that Google sends you, and you will find the option to enable it.
- If your stream shows up inverted because of the way your camera is positioned, then open up this file:
sudo nano /etc/rc.local
- Then add these lines right before the exit 0 line:
v4l2-ctl --set-ctrl horizontal_flip=1
v4l2-ctl --set-ctrl vertical_flip=1
- I highly recommend that you look through the motion configuration file to get familiar with all the different settings, so that you can personalize your new security camera to your liking.


Comments
Please log in or sign up to comment.