We are trying to solve the problem of remote patient monitoring in extreme scenarios such as the COVID-19 pandemic. As this is the current situation all over the world, it is absolutely necessary to prevent the spread of the disease by any means necessary. The main solution involves quarantining a positive patient and isolating him from the rest. But treatments while in quarantine and isolation involves huge manpower and medical resource allocation when compared to other types of treatments. If the issue is very serious, there may not be sufficient resources to be allocated to each and every patient. Thus there is a need for an easy, affordable, and yet effective patient monitoring system. We try to build a remote patient monitoring system, which can be easily installed in any room, be it in a hospital or even at home where the patient is isolated/quarantined. There are no such solutions currently available for disposal. It eases the monitoring and surveying of multiple numbers of patients and their surroundings without making any physical contact with them. This will allow the prevention of pandemic spread to a great extend.
WorkflowIn a glance
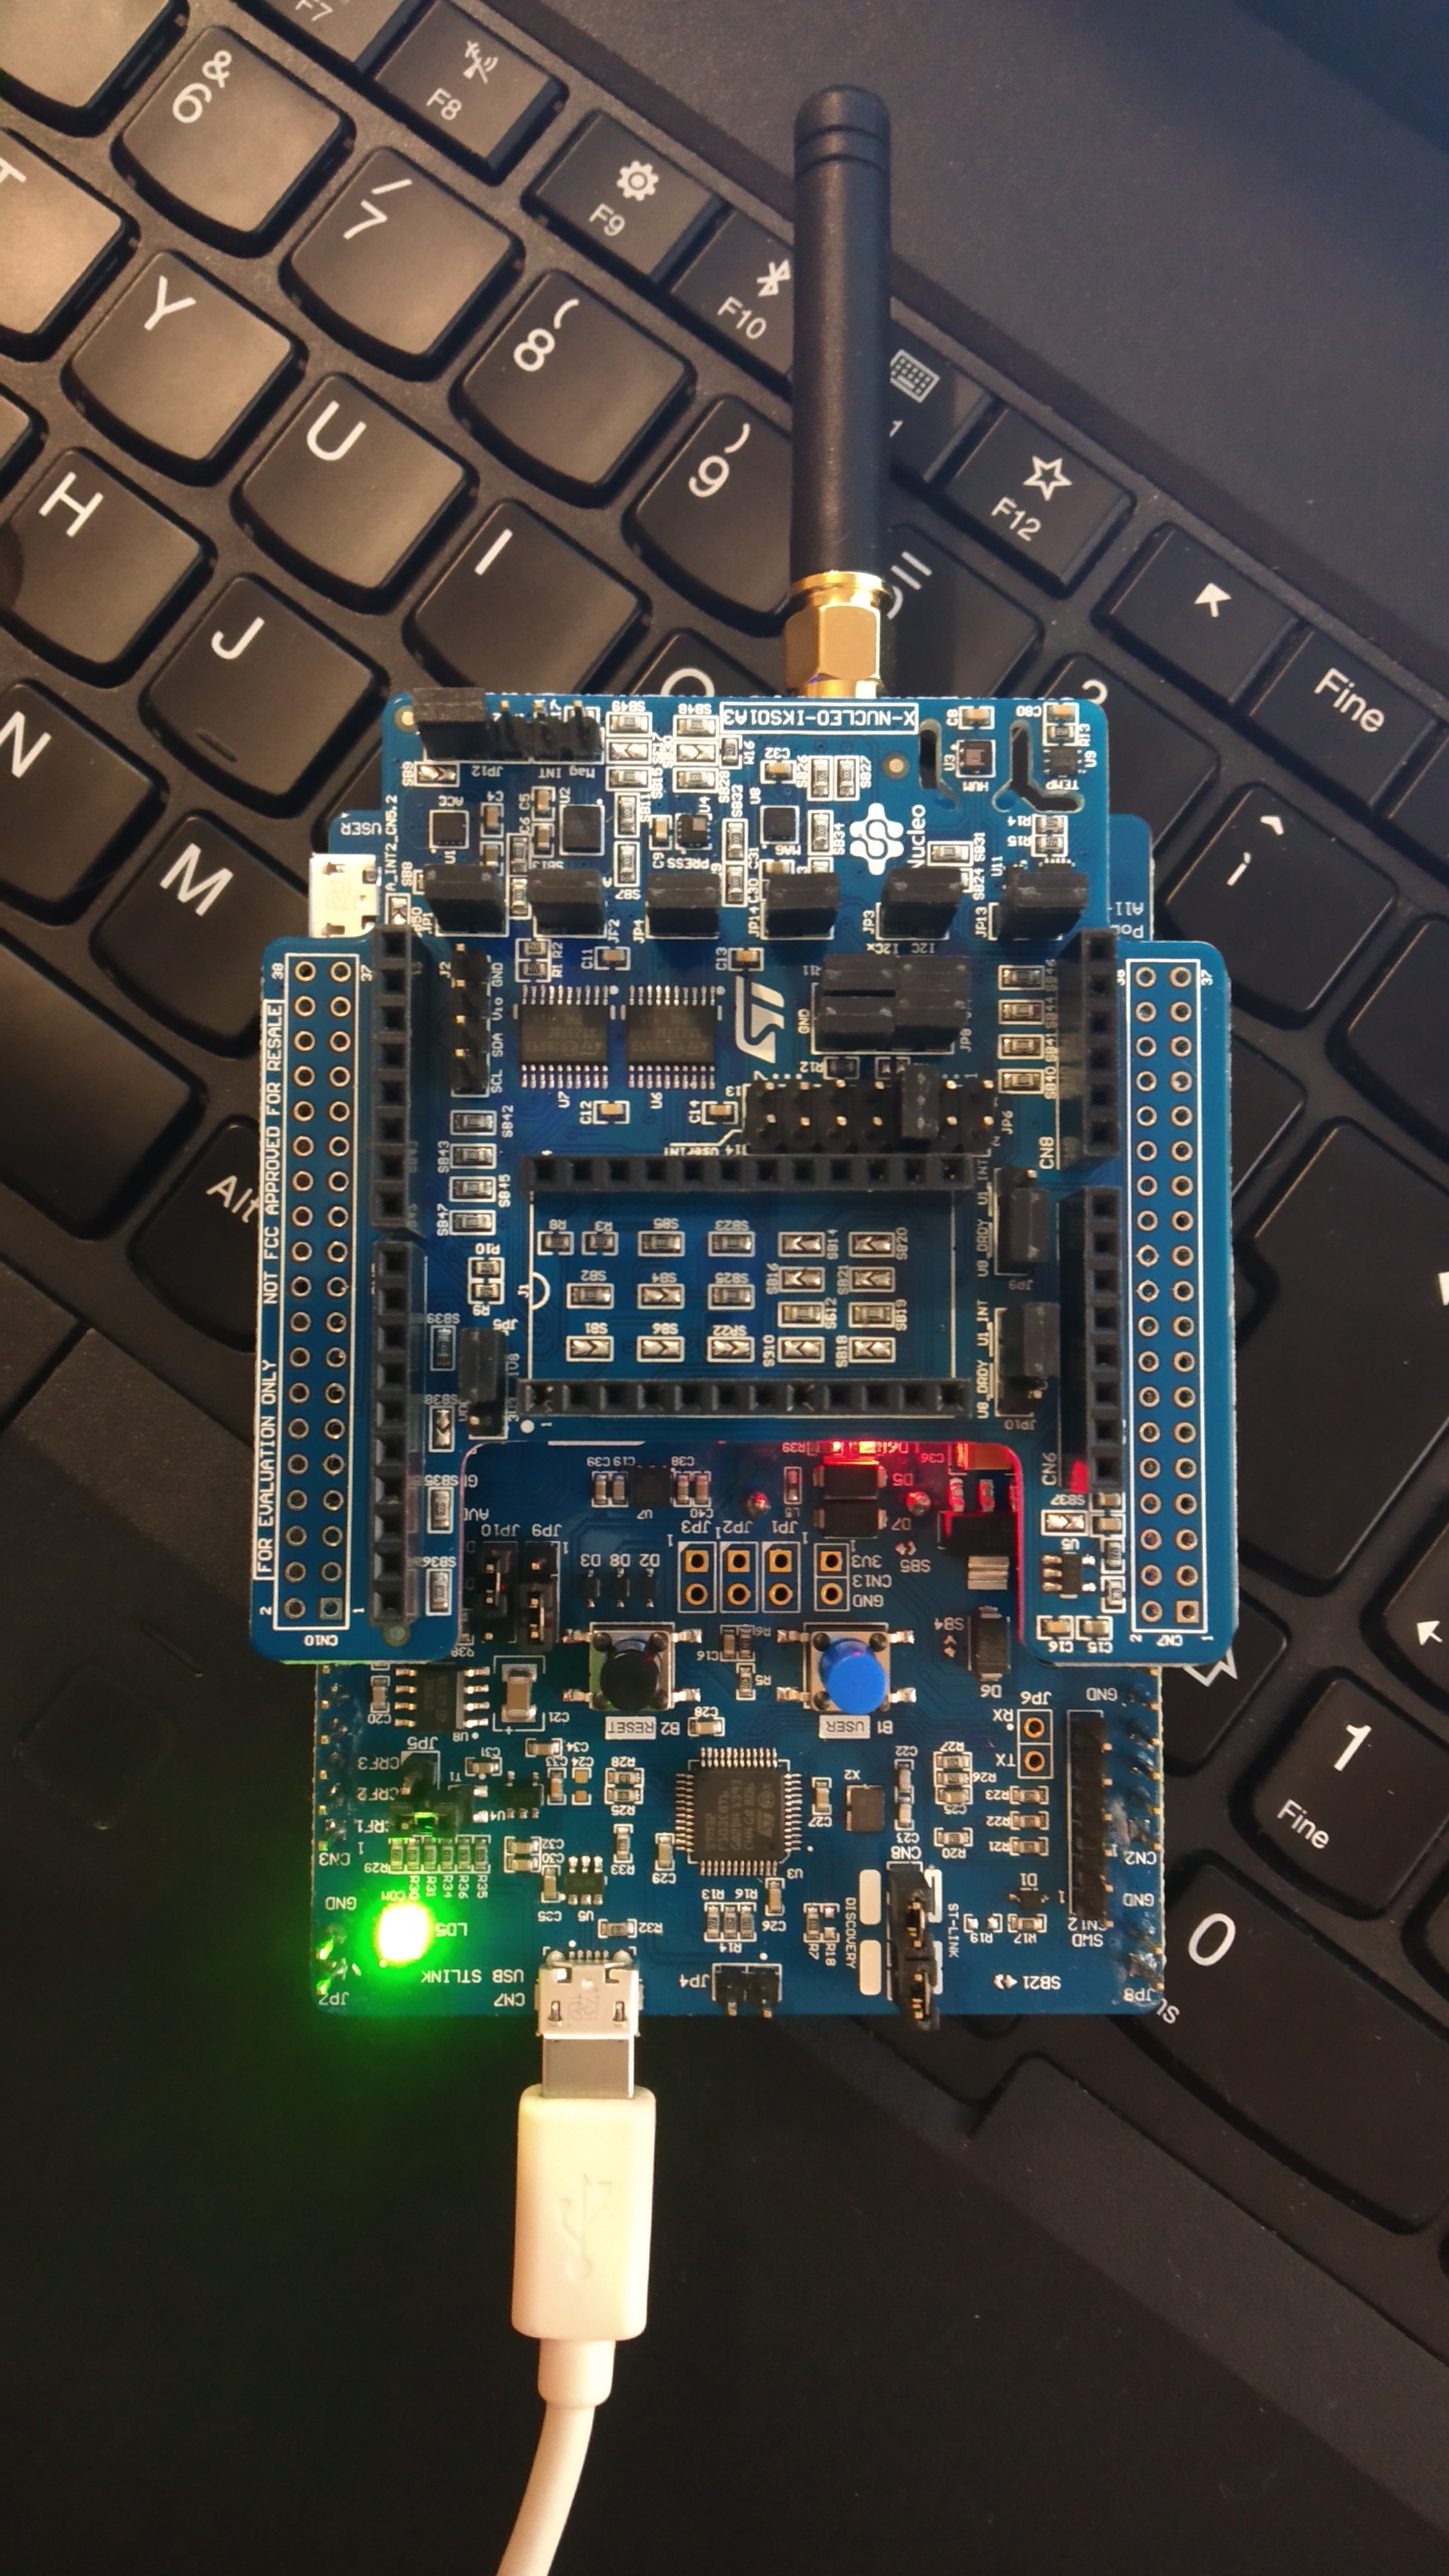
The remote patient monitoring system uses a Helium Development kit at its core. The patient vital information will be fed into the Helium network via the necessary health monitoring devices (such as EKG/ECG, vital signs monitor, CO2 monitor, PI monitor, etc) connected to the Helium development kit. In the case of critical patient equipment such as ventilators, they can be directly controlled via the concerned medical staff without being present in the room unless required. The kit can also monitor the patient room ambiance via its expansion shield which includes temperature, humidity, and Barometer sensor. All the data that are collected are sent to the hospital server via the LoRa enabled Helium Network.
Once the data is stored in the hospital server, it is continuously checked and evaluated by our custom application and the data can be used by doctors, support staff, and relatives to monitor the patient remotely. In the case of detection of any critical conditions, it will alert the hospital staff in real-time. The data collected are shared with other hospitals that are in the network if it seems necessary. This enables a certain patient to be monitored by multiple health agencies and to prepare medical reports for further analysis.
In case the patient is at home, the request is relayed to the nearest hospital and an emergency medical team can be dispatched. In case of an emergency in the room or if the patient seeks immediate medication of some sort, the patient can manually request an emergency situation by shaking the Helium development module which issues an emergency request in real-time to the server via the Helium network. This request is then relayed to the duty doctor and the supporting staff in charge.
The Helium network will allow multiple remote patient monitoring modules to be connected to the network and send the data collected to the central server in real-time. It also allows for easy management of such data by providing a secure platform.
Implementation
Due to the hardship to procure the essential modules due to the ongoing pandemic, only the essential requirements are met in the project. Here we implement the distress scenario where the patient taps on the module to alert the hospital staff in real-time.Setup
We are using the Platform.io for programming the modules.
- Download and install Microsoft's Visual Studio Code, PlatformIO IDE is built on top of it.
- Open VSCode Extension Manager
- Search for official PlatformIO IDE extension
- Install PlatformIO IDE
- Once PlatformIO is installed, you should be welcomed to VSCode with the following "PIO Home" screen:
- Click on "New Project" to get started.
- Enter a project name and select the following board: RPMS in my case
- We will be using the Arduino Framework, so go ahead and click "Finish".
- This may take a bit on the first run, but you should soon be left with a project that looks as such:
- If we look into
src/main.cpp, we can see the familiar empty Arduino sketch structure:
- Let's take a second here to look at the
platformio.inifile in the root of our new project:
- We specify the environment that we are going to be developing in using the following variables:
[env:disco_l072cz_lrwan1]
platform = ststm32
board = disco_l072cz_lrwan1
framework = arduino
upload_protocol = jlink
lib_deps =
MCCI LoRaWAN LMIC library
STM32duino X-NUCLEO-IKS01A3
STM32duino LSM6DSO
STM32duino LIS2DW12
STM32duino STTS751
STM32duino LIS2MDL
STM32duino LPS22HH
STM32duino HTS221
CayenneLPP
ArduinoJson
SPI
Wire
- I have this board set up to use a
SEGGER JTAGinterface rather than theST-Linkinterface that is integrated into the Discovery board. More details here. - The next step is to implement the code to detect the tap and publish the data. Refer Code section for this. We use the LSM6DSO sensor present in the kit to implement the tap recognition.
- The only thing that you will need to change is the EUI and app keys:
static const u1_t PROGMEM DEVEUI[8] = {MY_DEVEUI};
static const u1_t PROGMEM APPEUI[8] = {MY_APPEUI};
static const u1_t PROGMEM APPKEY[16] = {MY_APPKEY};- You can obtain the EUI and keys from your helium console.
- Head over to the device details and obtain the keys. If you have not created a new device in the console, do so by going to devices section.
Please note that EUI must be in little-endian format, so least-significant-byte first. When copying the EUI from the Helium Console, this means to reverse the bytes (use the option marked in red).
The app key should be in big-endian format. So the key taken from the Helium Console can be copied as-is.
- Now connect the helium kit to the machine.
- It should show in the USB devices list.
- Click on Upload option in the IDE
- This will build the code and flash it to the kit.
- Done
Due to unavailability of Helium network in my area, I could not publish to the network. But if you are inside the network, go to ur console to view the data.


Comments
Please log in or sign up to comment.