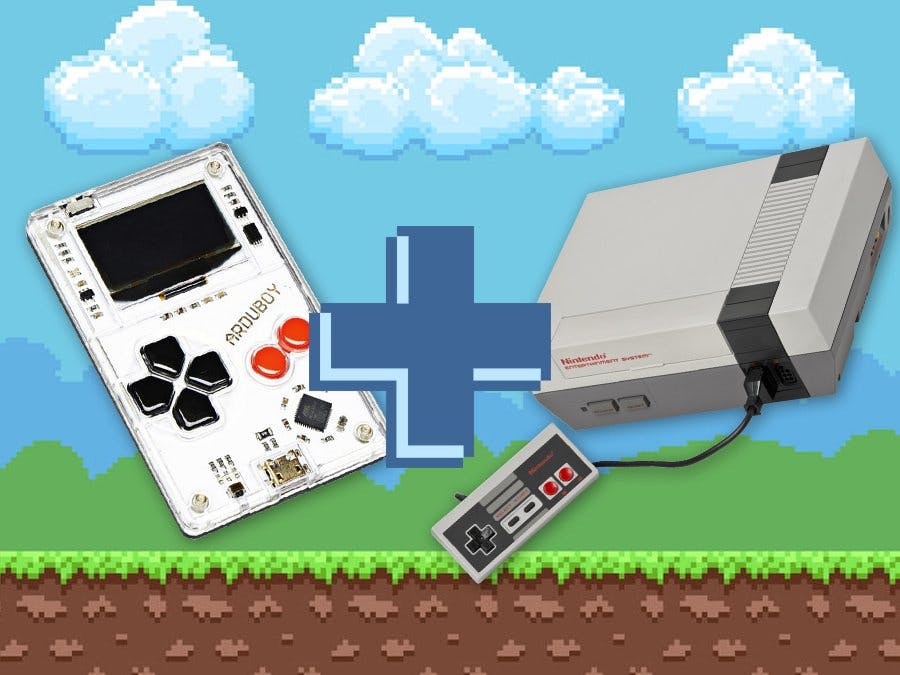
When I see Arduboy for the first time about 5years ago I just love the concept. Small open Arduino console, with everything you need to play and make games. But unfortunately, I live outside the US and getting my hands on one is not that easy and it was a little bit pricy.
So as a beginner electronic maker and I knew I need to build one myself!
I open my local eBay like shop and start to collect parts. Form my surprise everything part was very cheap,
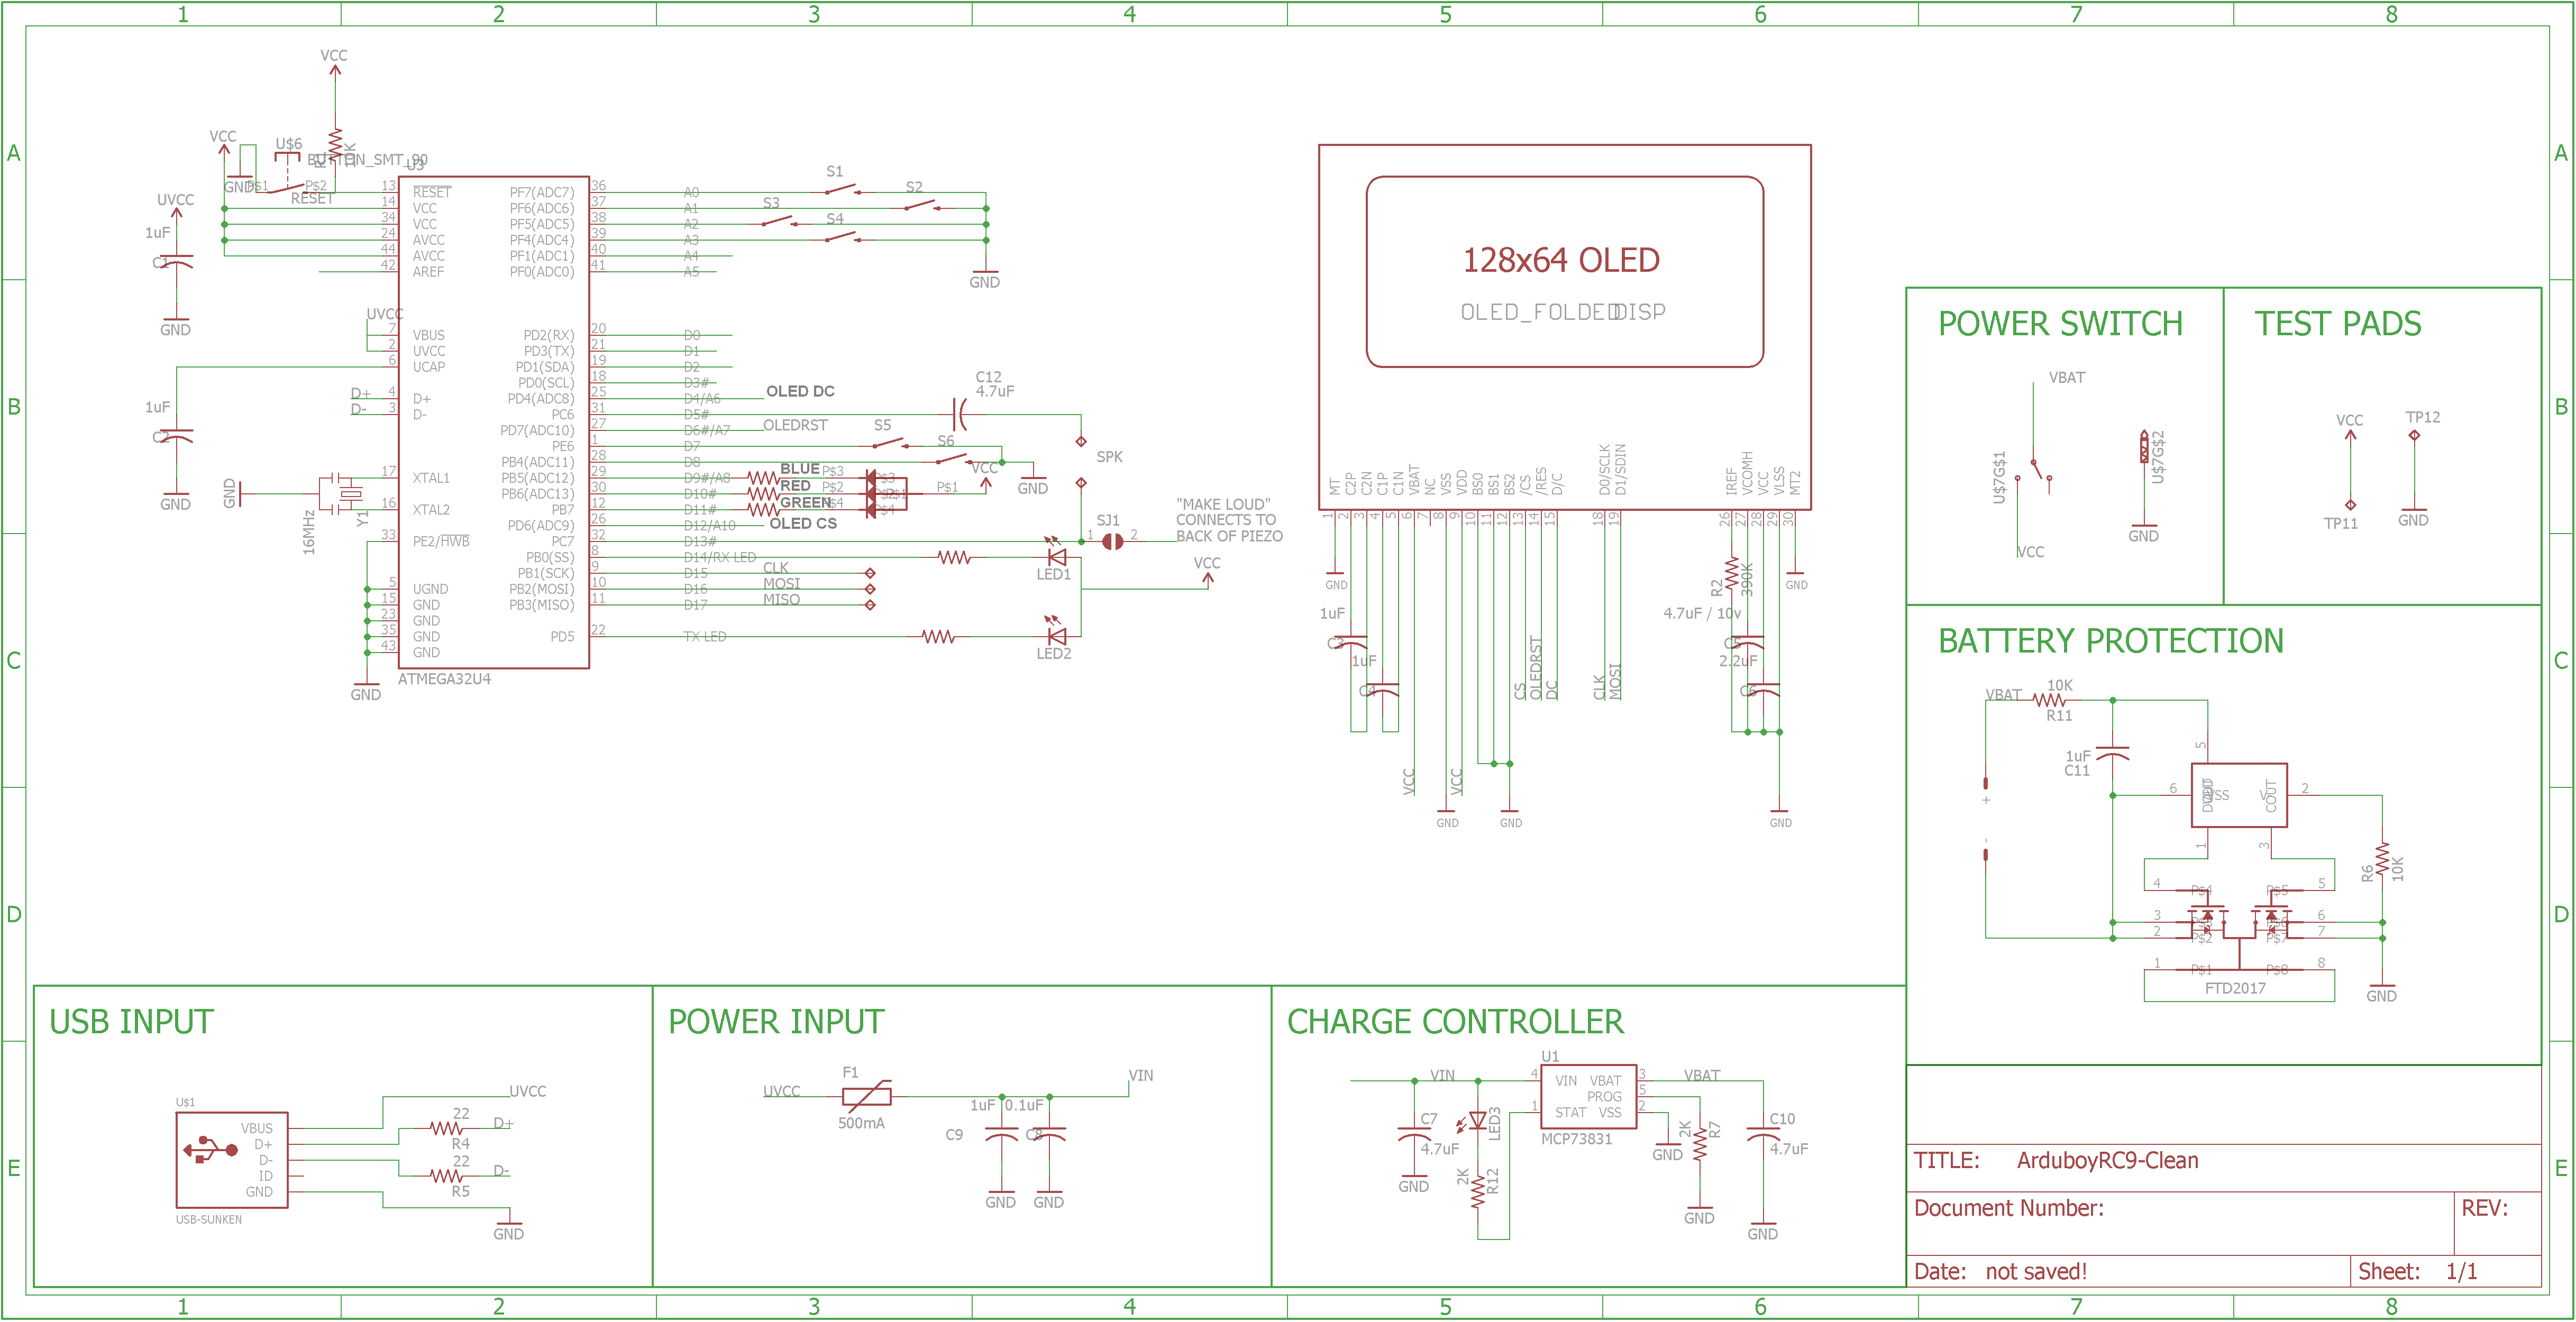
Arduino pro micro, OLED display, some buttons, speaker, I even add battery with the battery charging circuit.
And in that way, my first Arduboy clone is done, it was cheap simple, but a lot of fun to build.
It was OK build, technically working, but playing on these long tactile switches with all contacts exposed on the back was not that great. I knew that I need to make a case for it. 3D printing was not an option, since I don’t have the skills to make any model other than doughnut in 3d software, so I need to use something that exists, and this something was an NES controller.
Since original NES controllers cost a little and I don’t want to destroy any original retro console I find out that NES mini controllers are the same form factor but a lot cheaper.
So my journey starts again, I fire up an online store, buy a new larger OLED LCD 1.3inch instead of the previous.9inch, get a new lipo cell with hudge 110mAh capacity.
When everything was in my hand I start the build.
To make the build a little bit easier to open and modify I decide to make headers that connect both sides of the case together.
On one side screen, buttons, speaker and USB connector, one other microcontroller, battery with charging circuit, and toggle switch.
The first thing to do, was the buttons, Instead of modifying the firmware to support shift register from controller PCB, I decided to take the easiest route possible. Scratch the traces on the controller board and solder wires to the new contacts. All buttons have common ground and buttons on the controller board has common ground as well.
The next thing was a screen. I want to mount the screen as clean and flush as possible, So I take a razor blade and slowly mark the place where I want the screen to be and slowly cut through the plastic. When I cut the rectangle size of the screen I realize that the board didn’t sit flush, so a little bit of trim of the board and inside of the case was necessary. Unfortunately, I don’t have pictures of the case before the screen was glued in :(
Then I just add a simple piezo speaker and USB plug, and everything was connected to headers.
That way first half was finish, the second half was a bit easier, just connect everything straight from headers to Arduino, and add power manage board and it’s done.
And that’s the part where everything goes wrong, I assume that I don’t need to connect everything on a breadboard and check if it works so it didn’t work.
I flip the switch and the screen was all white. A quick google and I find out that the original Arduboy uses a different screen with a different driver.
Thanks to Mr.Blinky who provide a great repository with support for a bunch of screens https://github.com/MrBlinky/Arduboy/tree/master/board-support
Recompile and it’s working!
The last thing to do was to upload some games and play!
And of course, Add decals :)
Since this project isn't new, now when I revisit it I think some thinks might be done better.
First of all, the library that I linked is outdated, and new one wich is smaller, better and has more features arrived. https://github.com/MrBlinky/Arduboy-homemade-package
Arduboy now has support for EEPROM and can run multiple games at once, mine is the old version without it, so this will be the best first upgrade.
The piezo speaker was not good at all, the old one that I use in theprevious console was much better, and I think asimple cheap membrane speaker works best.
Even that I think my build is a cool simple project to start arduventure with Arduino and Arduboy


_3u05Tpwasz.png?auto=compress%2Cformat&w=40&h=40&fit=fillmax&bg=fff&dpr=2)
Comments
Please log in or sign up to comment.