Dilghas Ommer
Published © GPL3+

RST - Real-Time Shipment Tracking

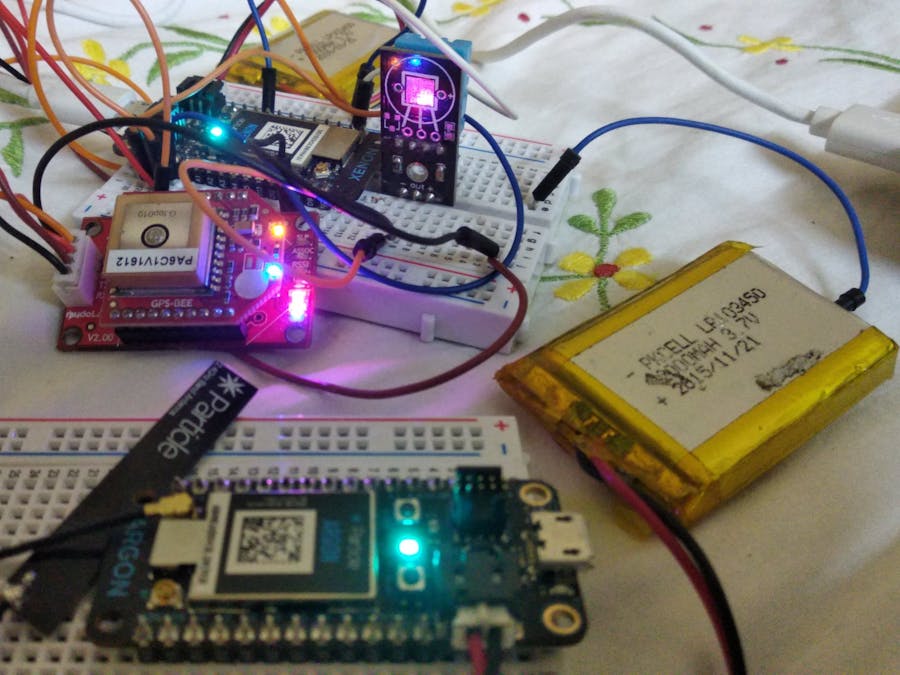
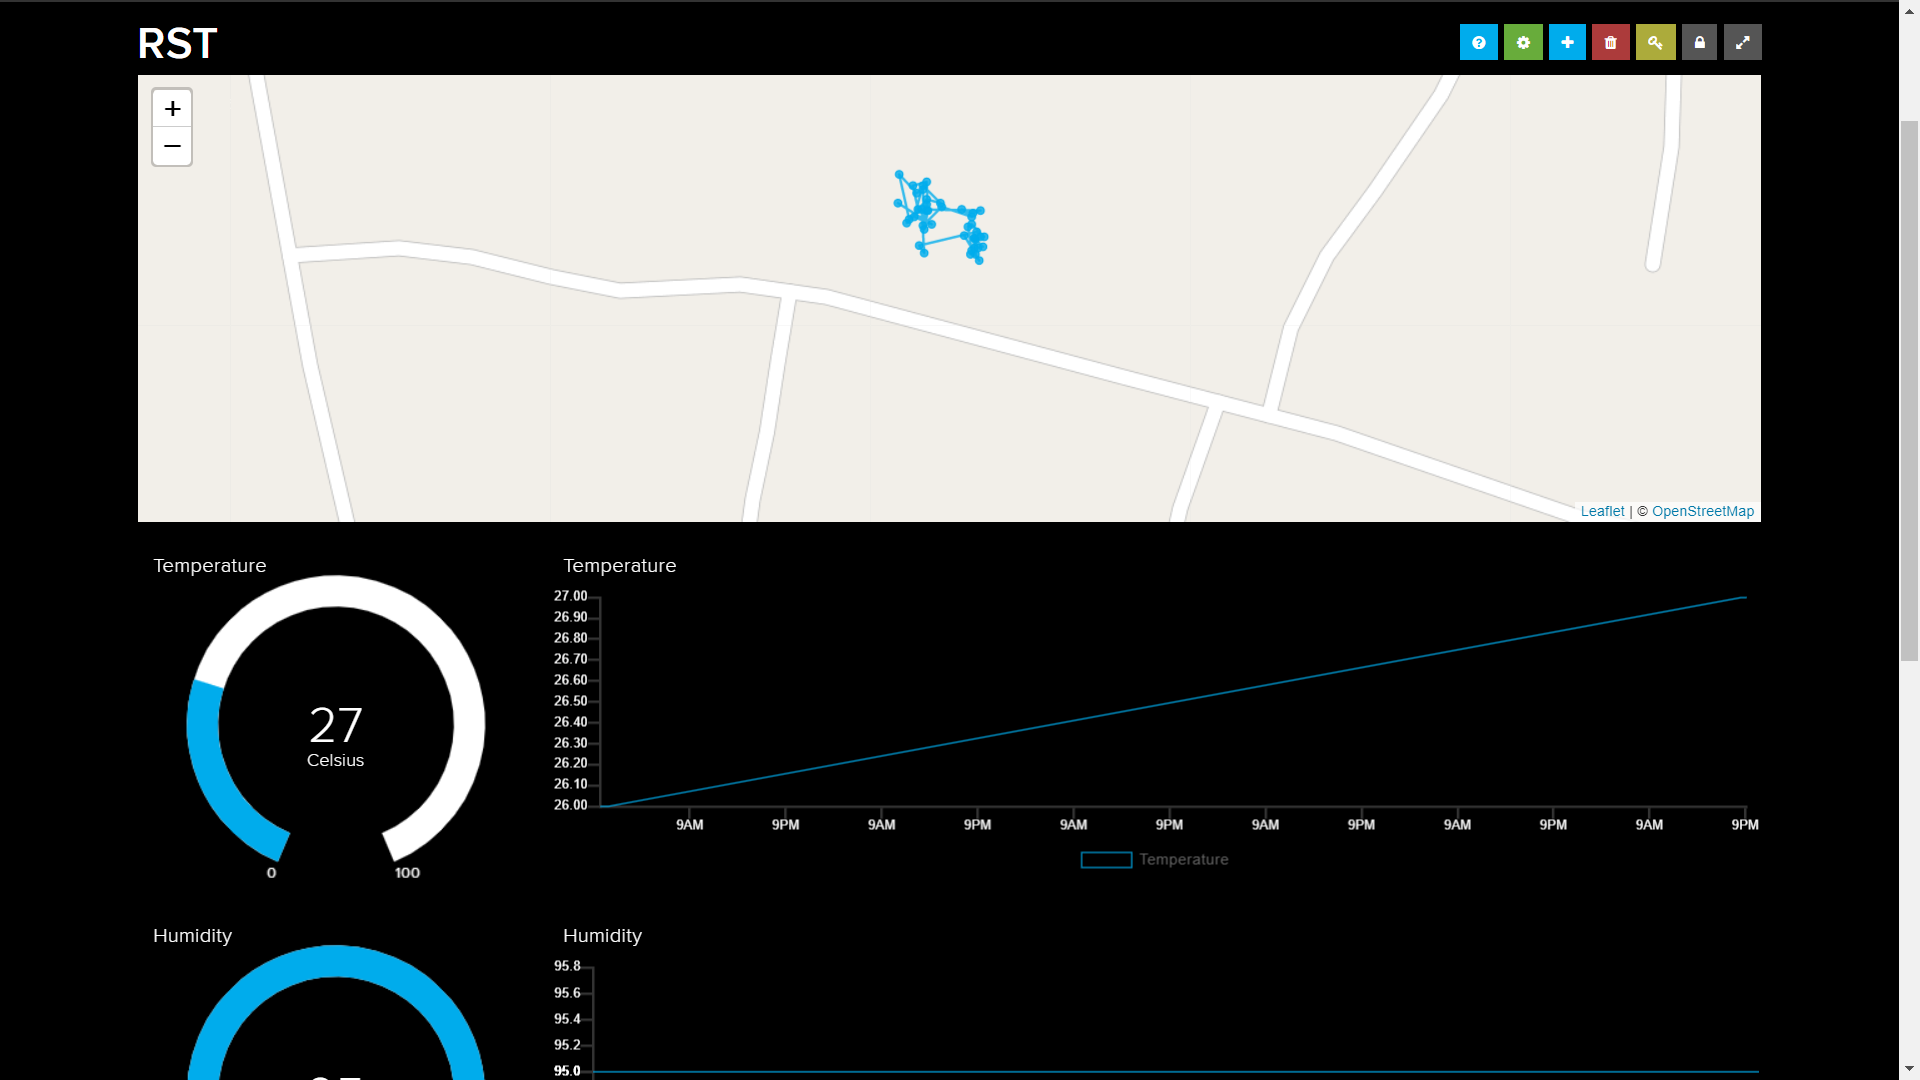
RST is capable of tracking the individual shipment with temperature and humidity log.

IntermediateFull instructions provided3 hours1,013
RST - Real-Time Shipment Tracking

Things used in this project

Hardware components

Argon
Particle Argon
×1
Xenon
Particle Xenon
×1
DHT22 Temperature Sensor
×1
Li-Ion Battery 1000mAh
For both xenon and argon
×2
Breadboard (generic)
×2
Jumper wires (generic)
for connecting DHT sensor and GPS Module
×7
USB Cable, Micro USB Type B Plug
For Programming Particle argon and xenon
×2
SparkFun XBee Explorer Regulated
×1
GPSBee
×1

Software apps and online services

Particle Build Web IDE
IDE for Building the code and Flashing to the Development Boards
MQTT
MQTT
The protocol used for sending data to the server
Adafruit IO
For visualizing the data

Story

Read more

Schematics

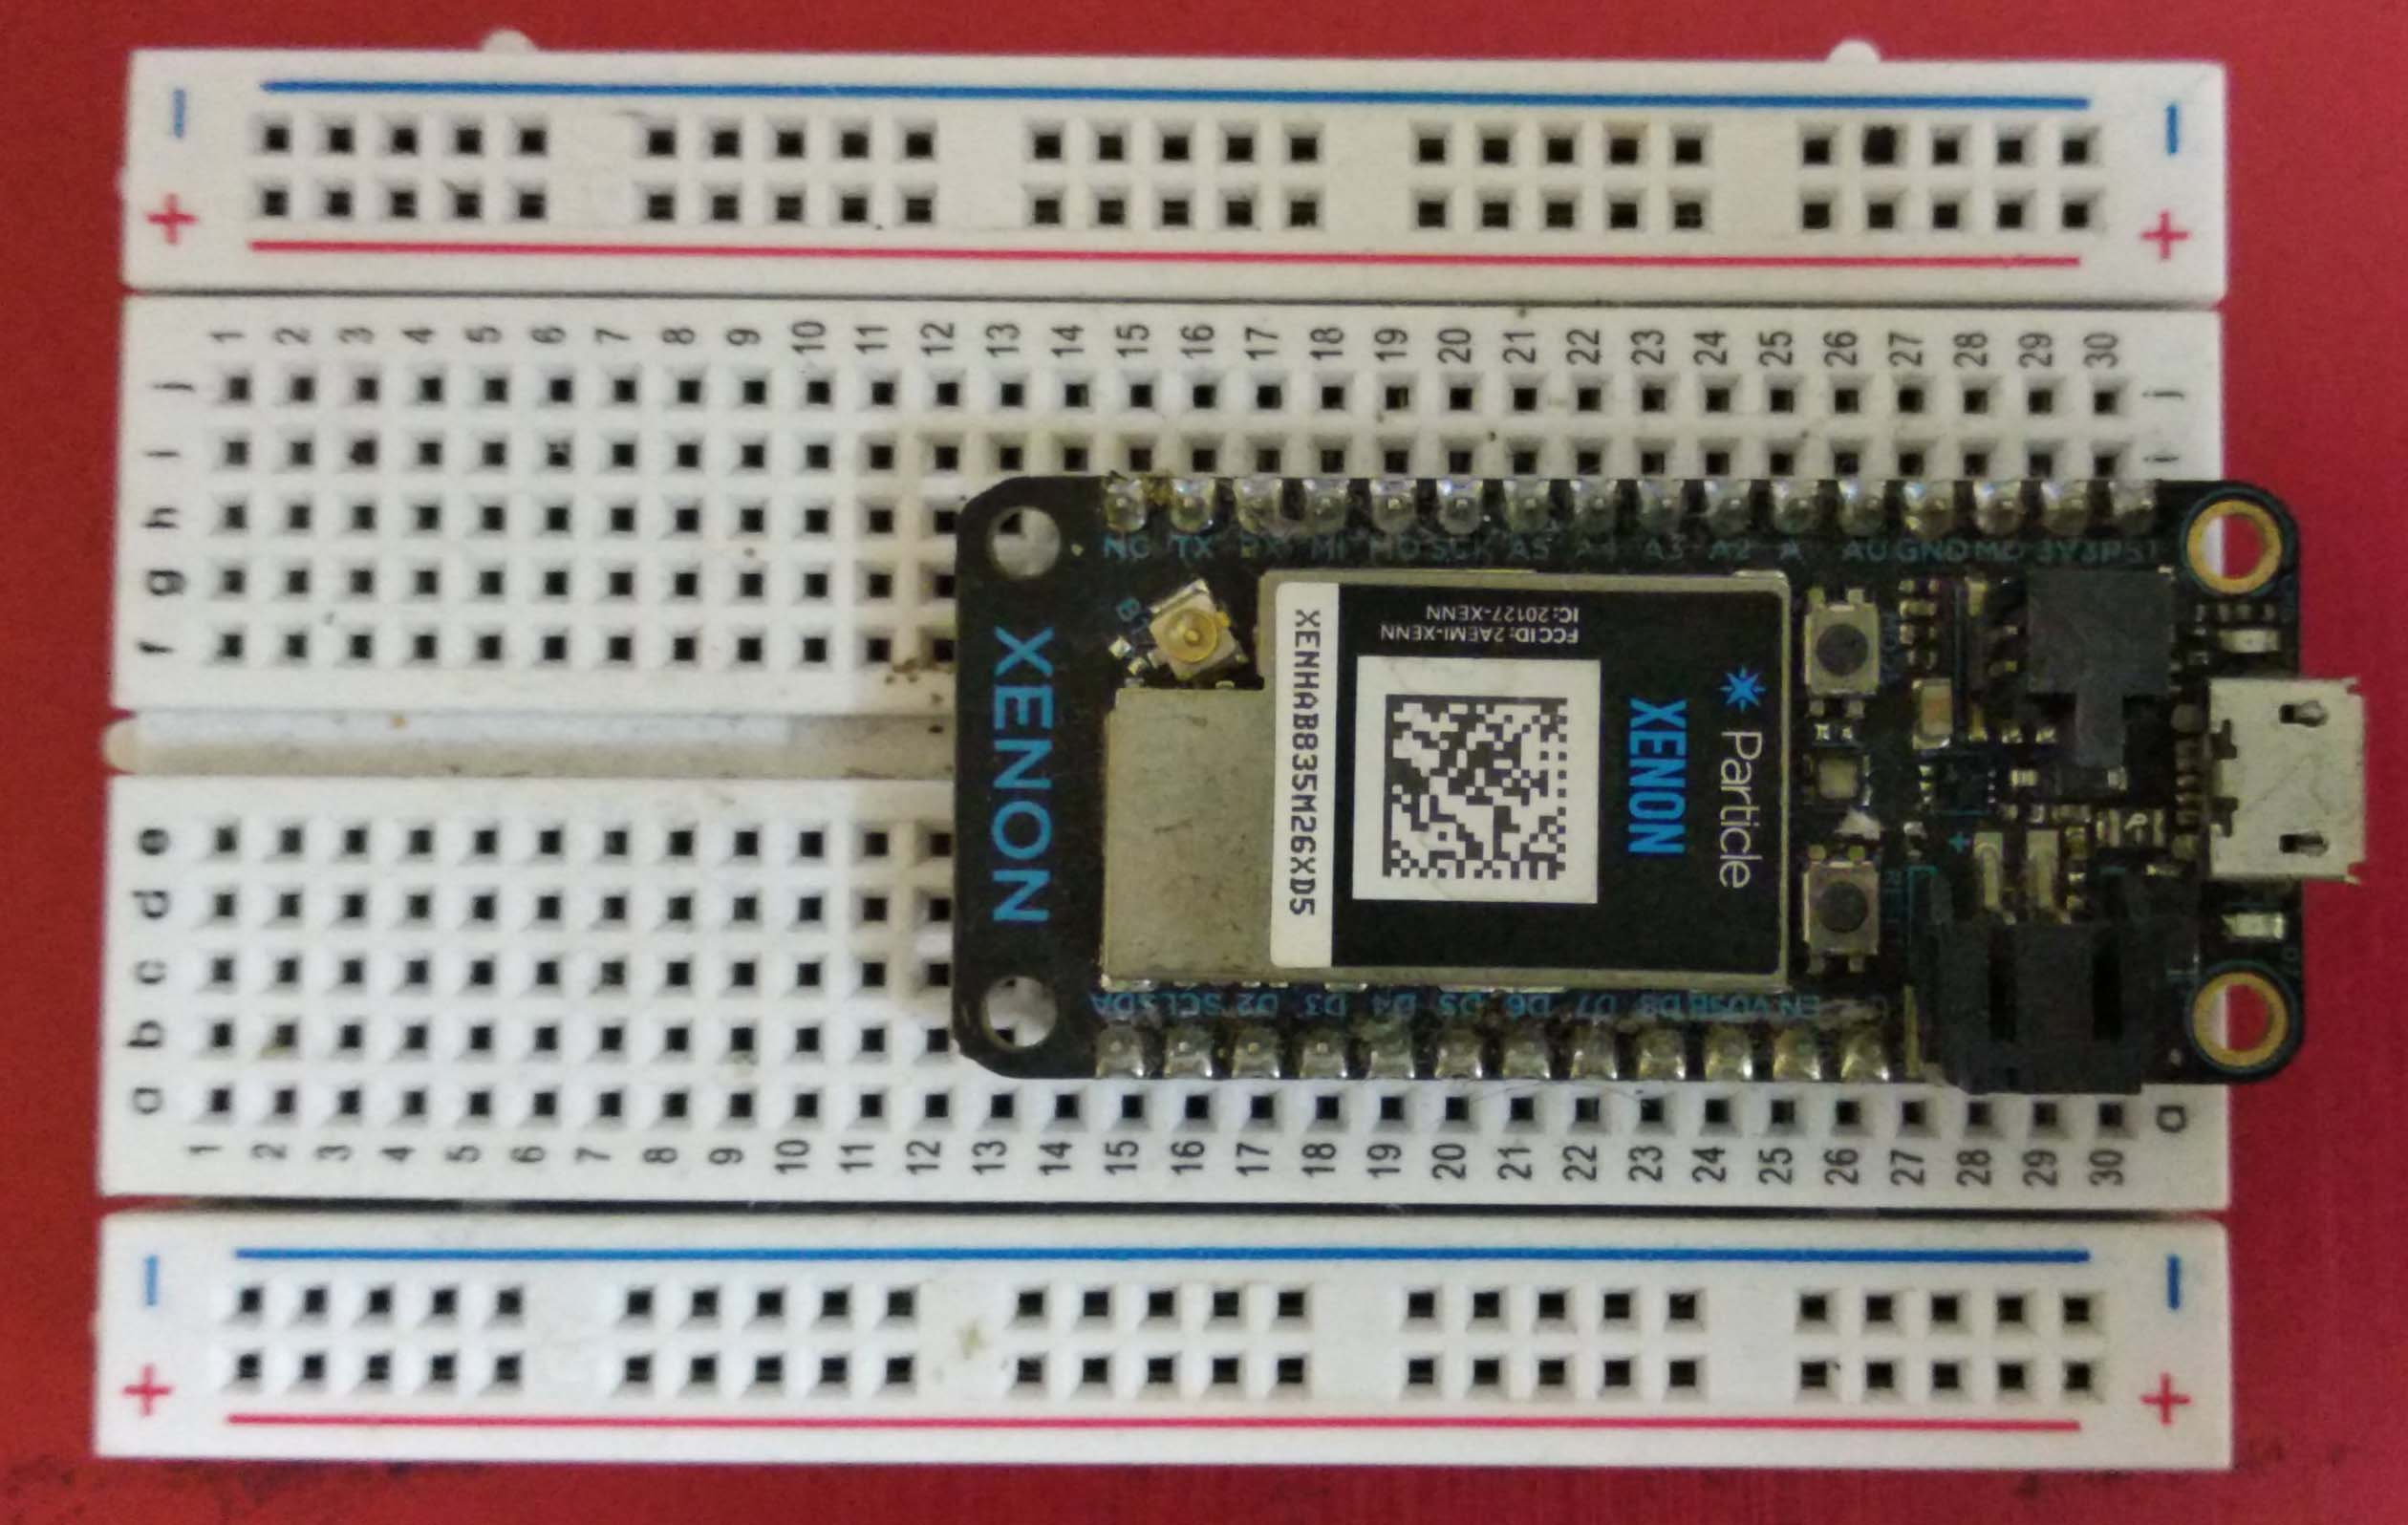
Particle Xenon

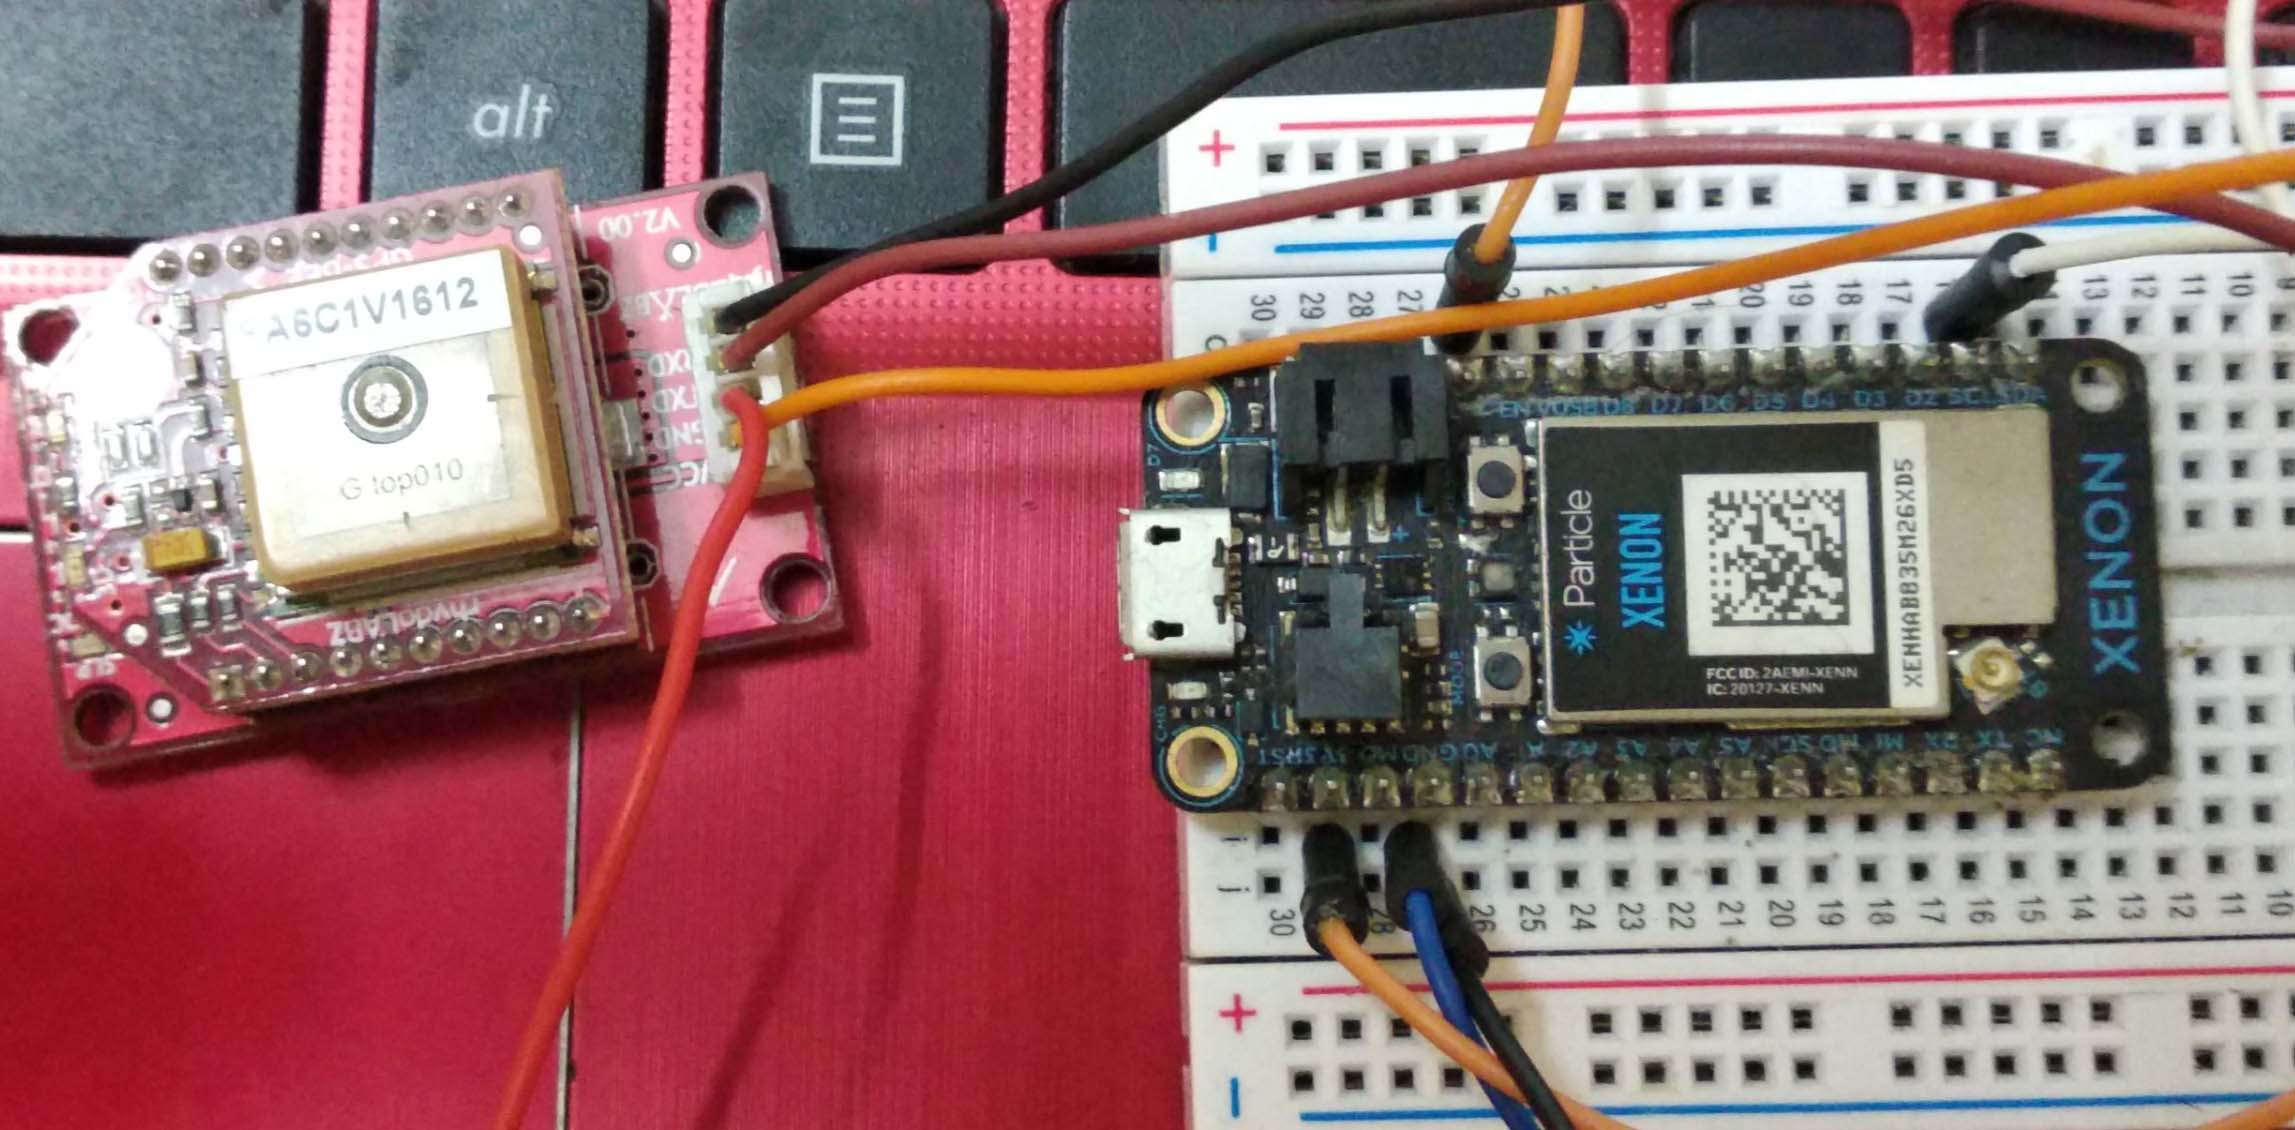
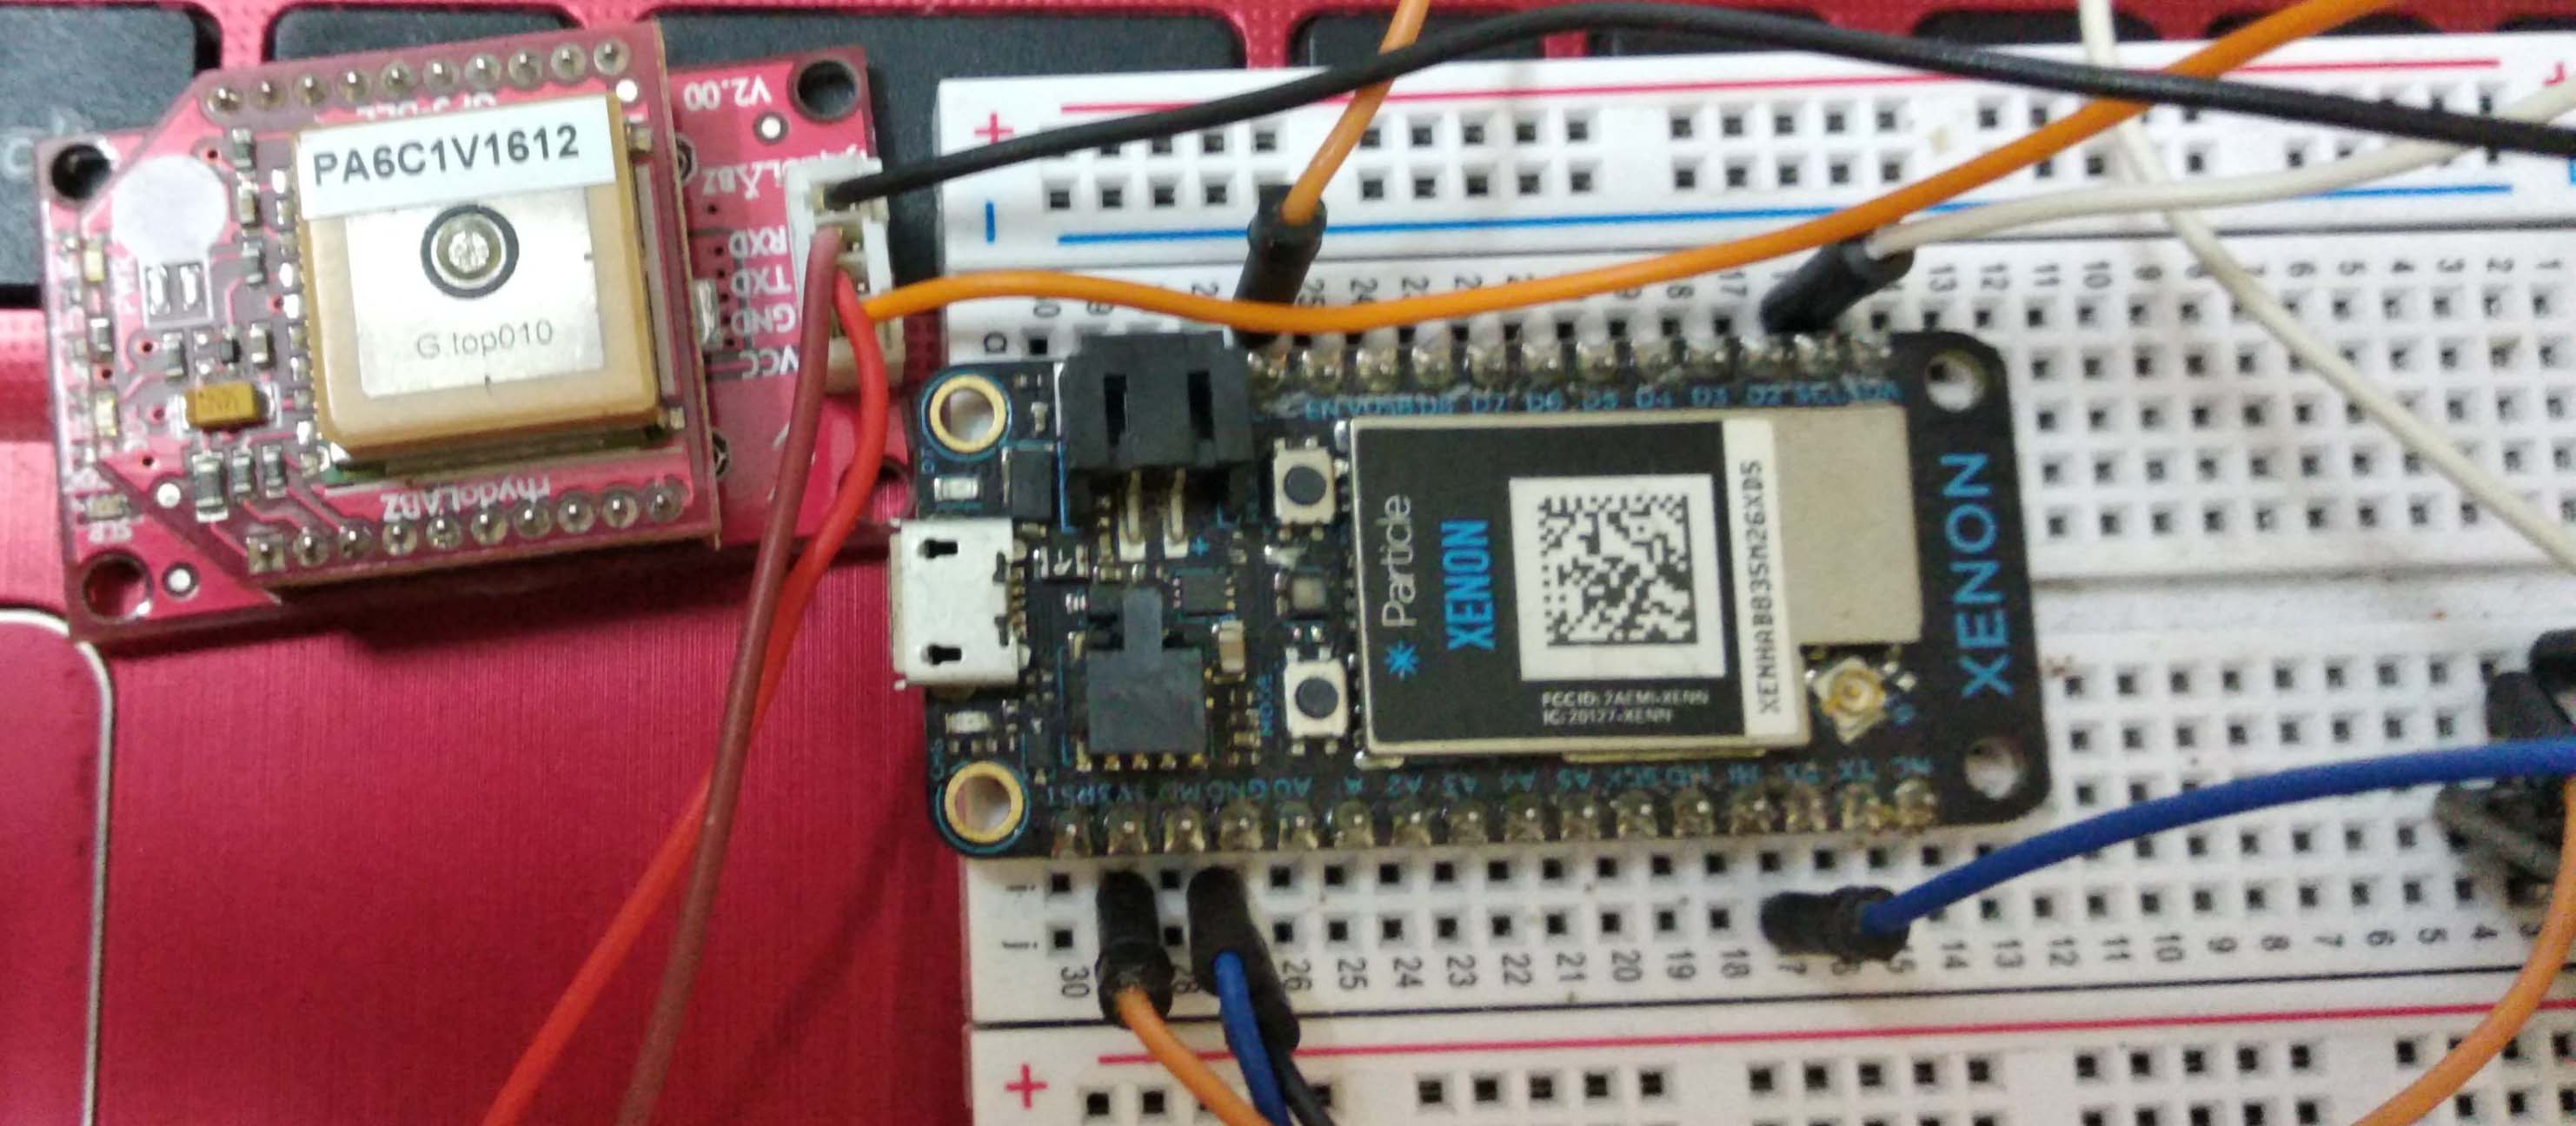
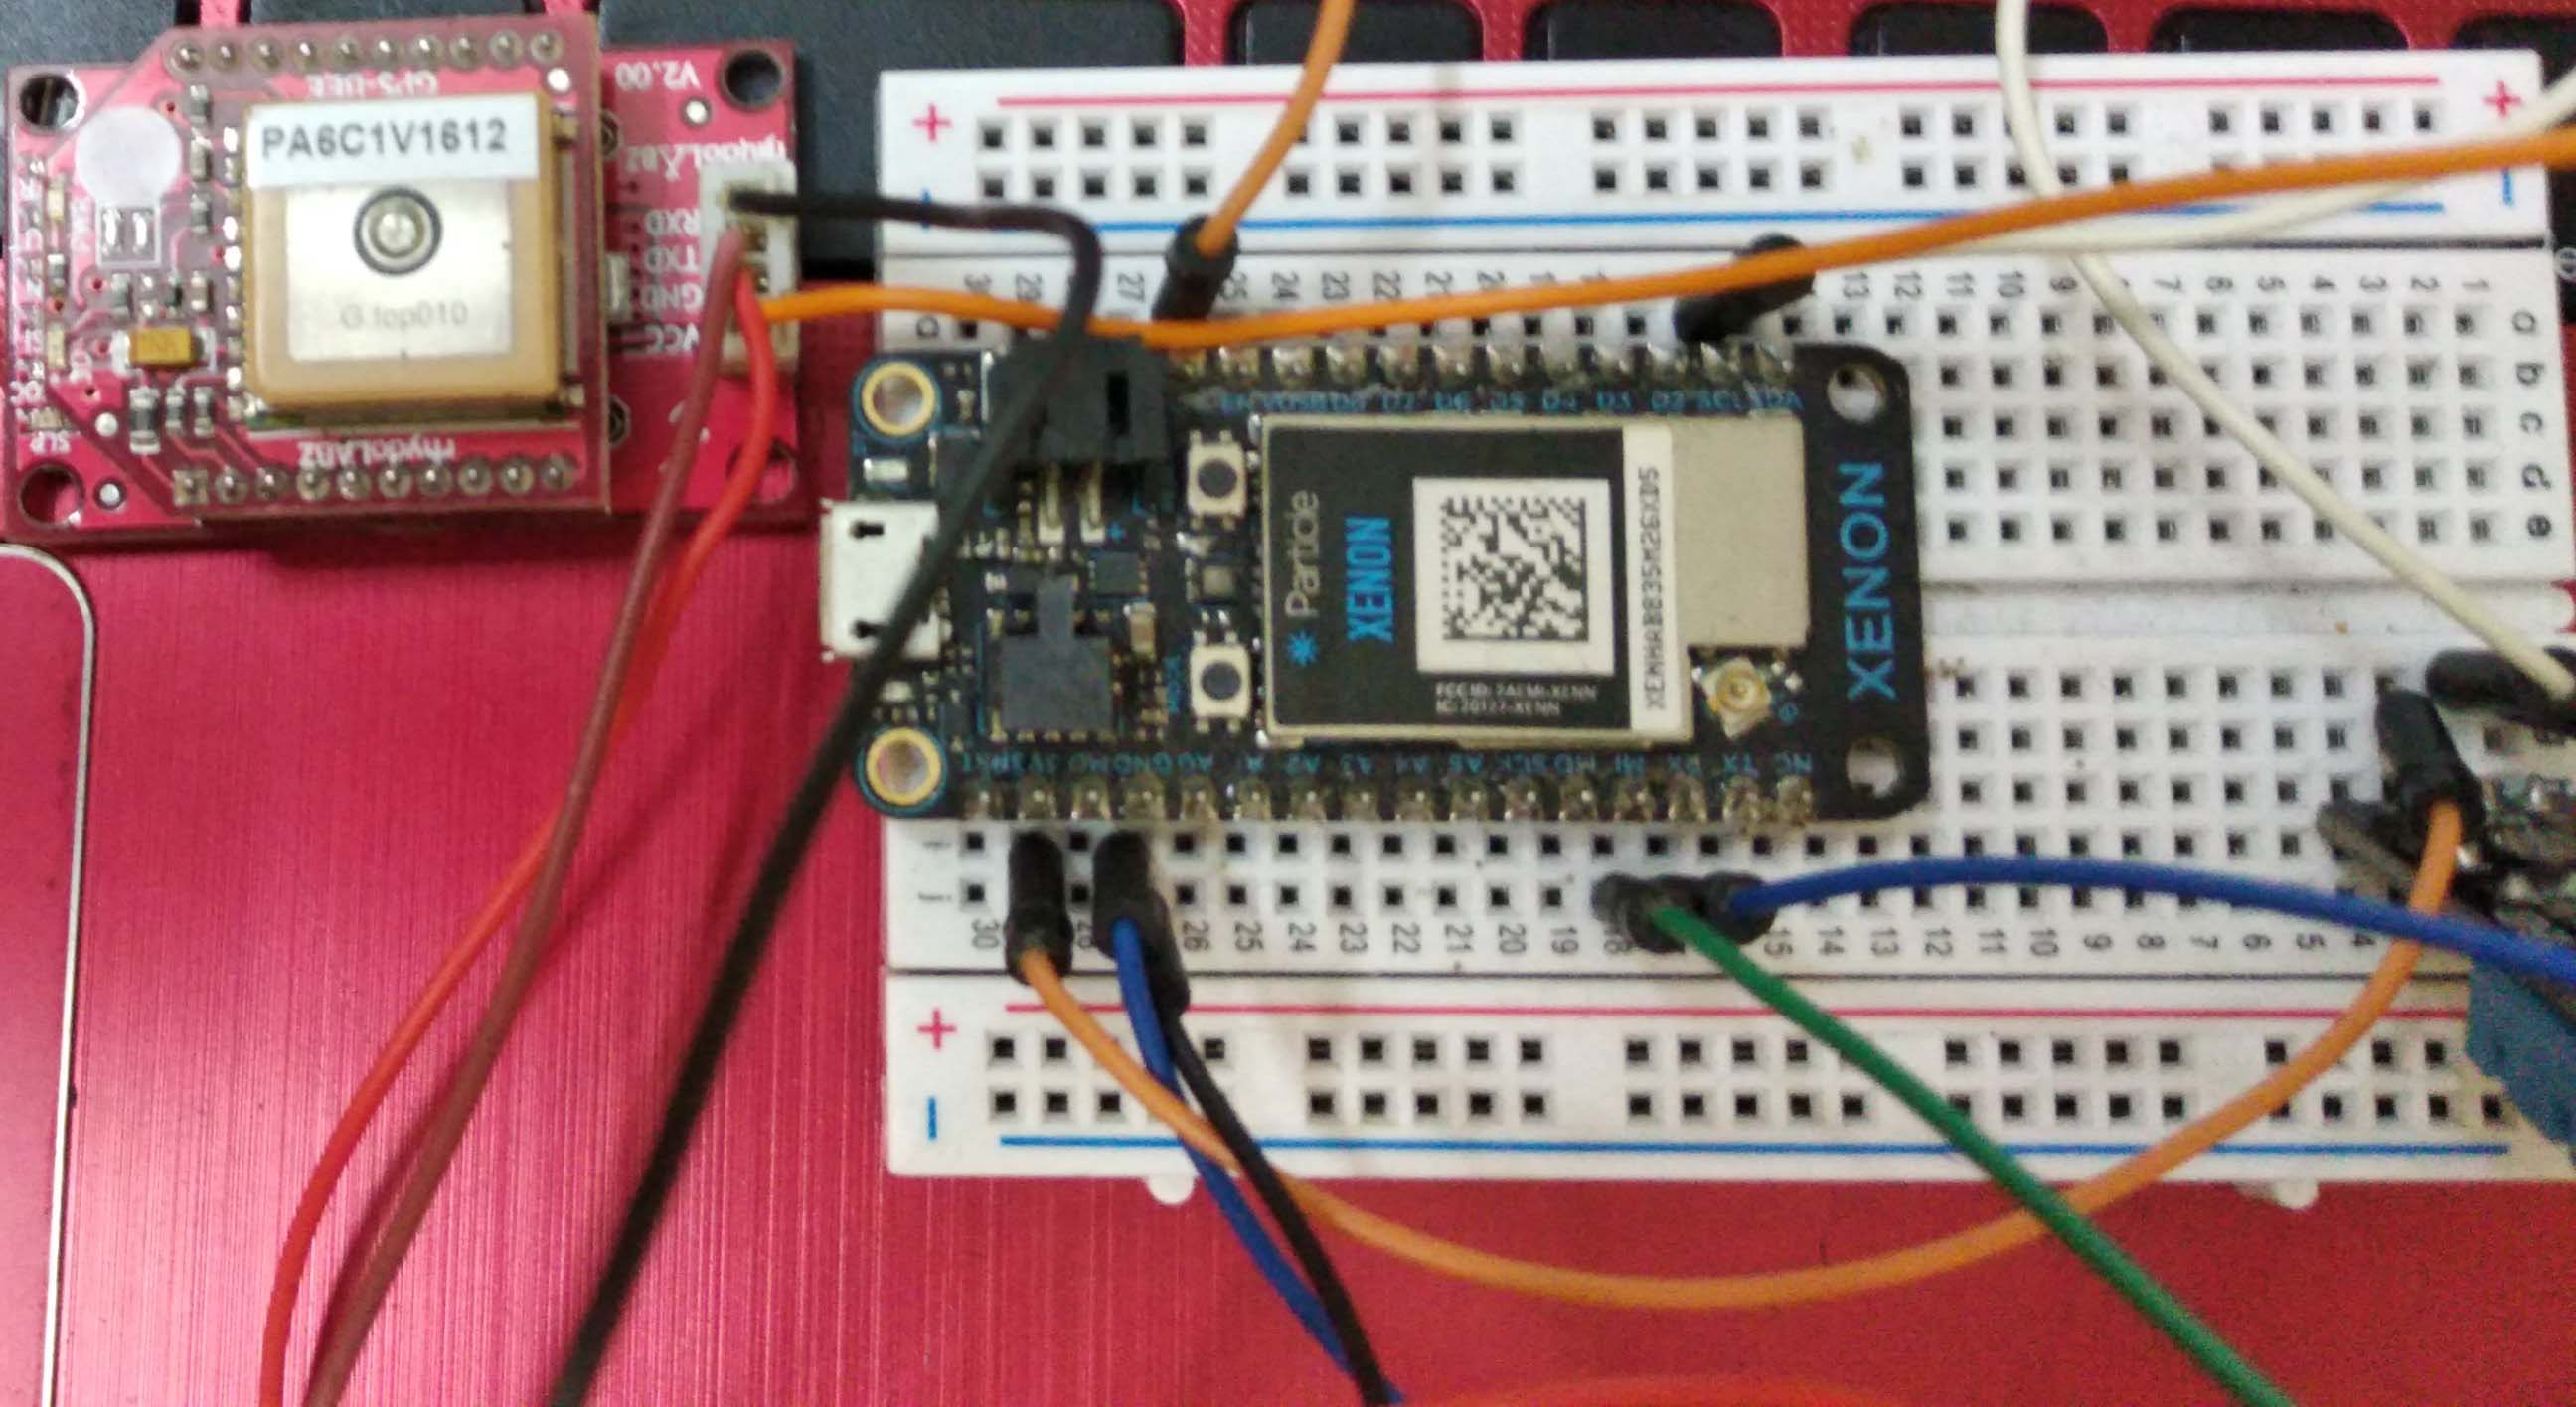
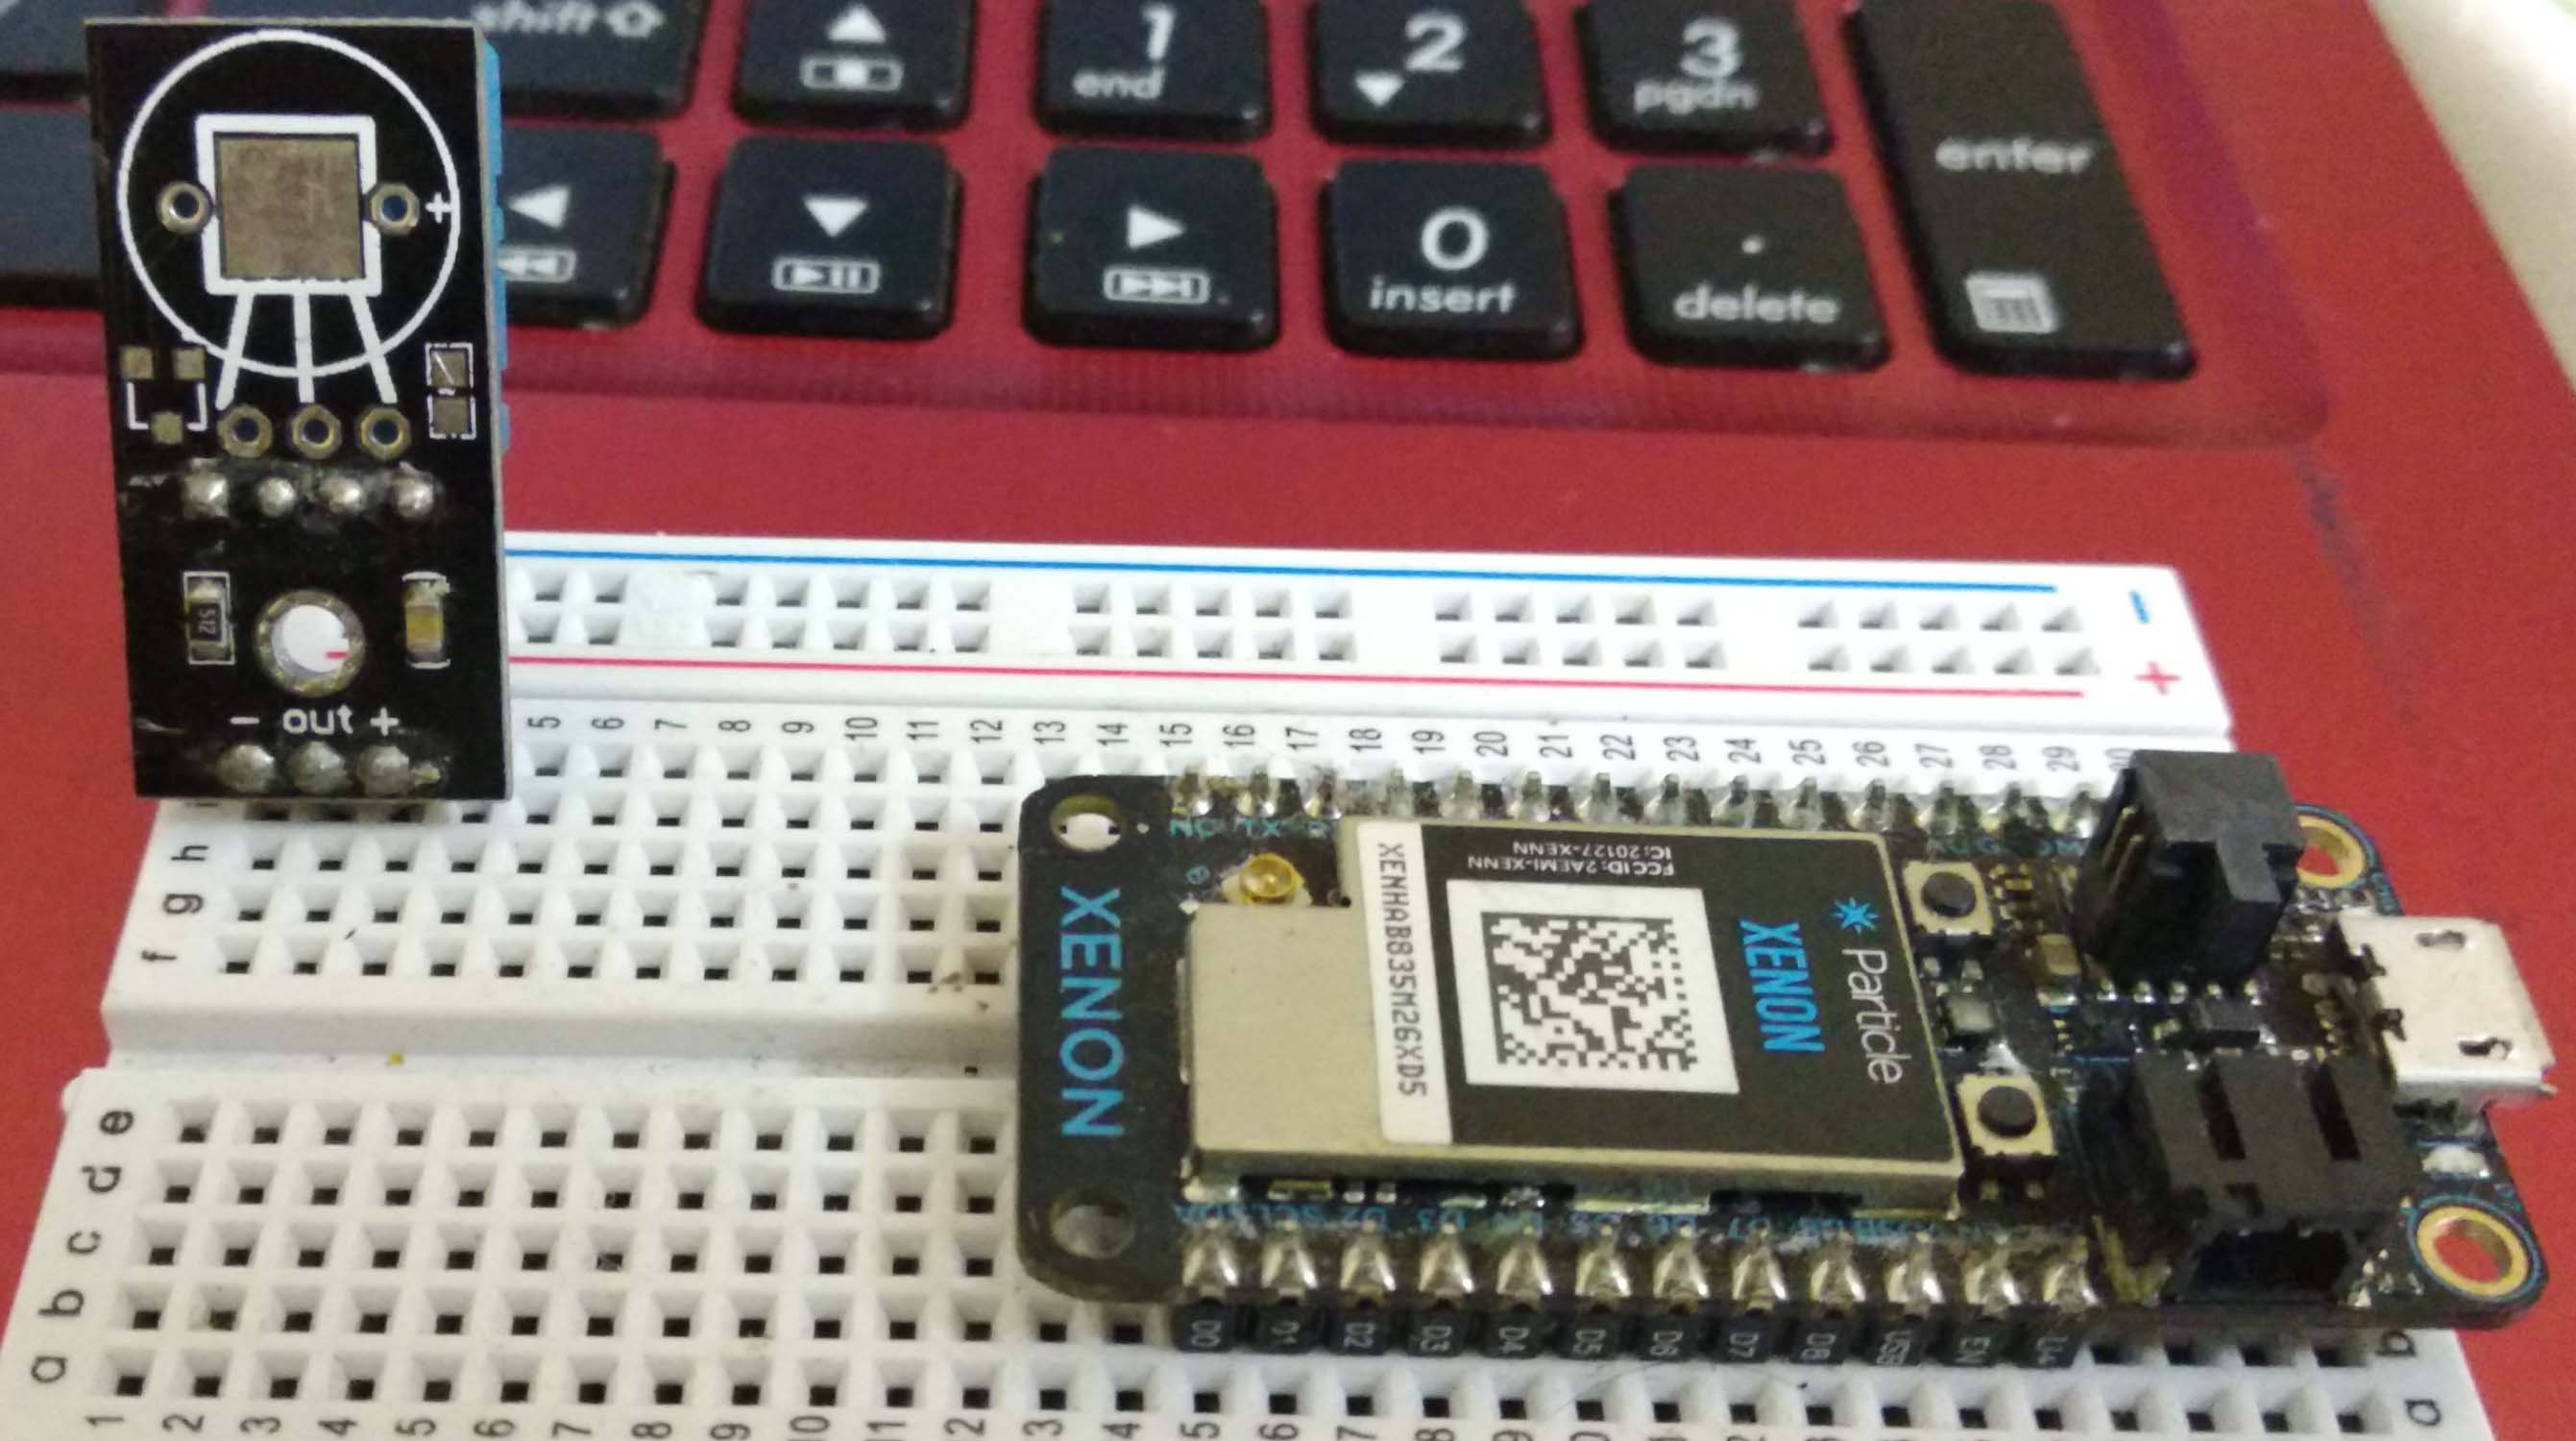
Connect the xenon to the breadboard.

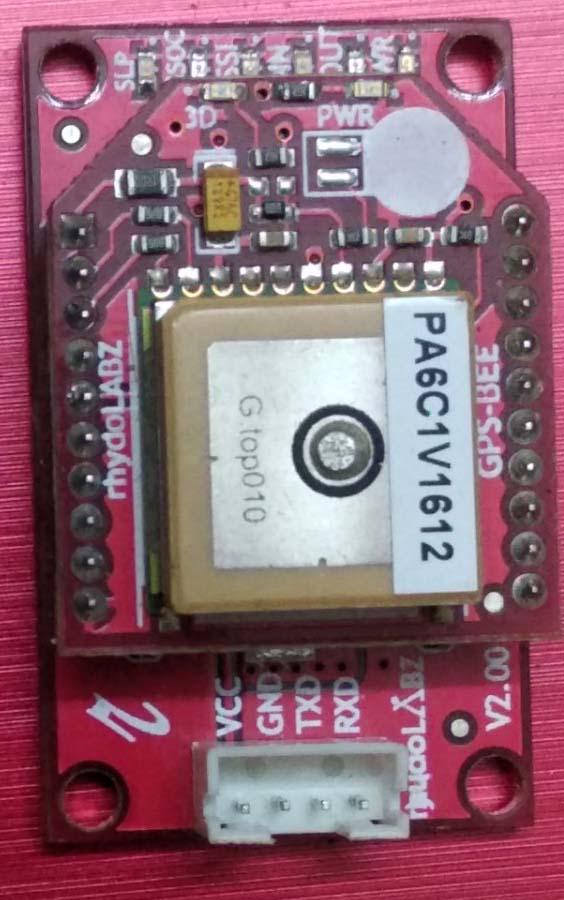
GPS Module

GPS Module

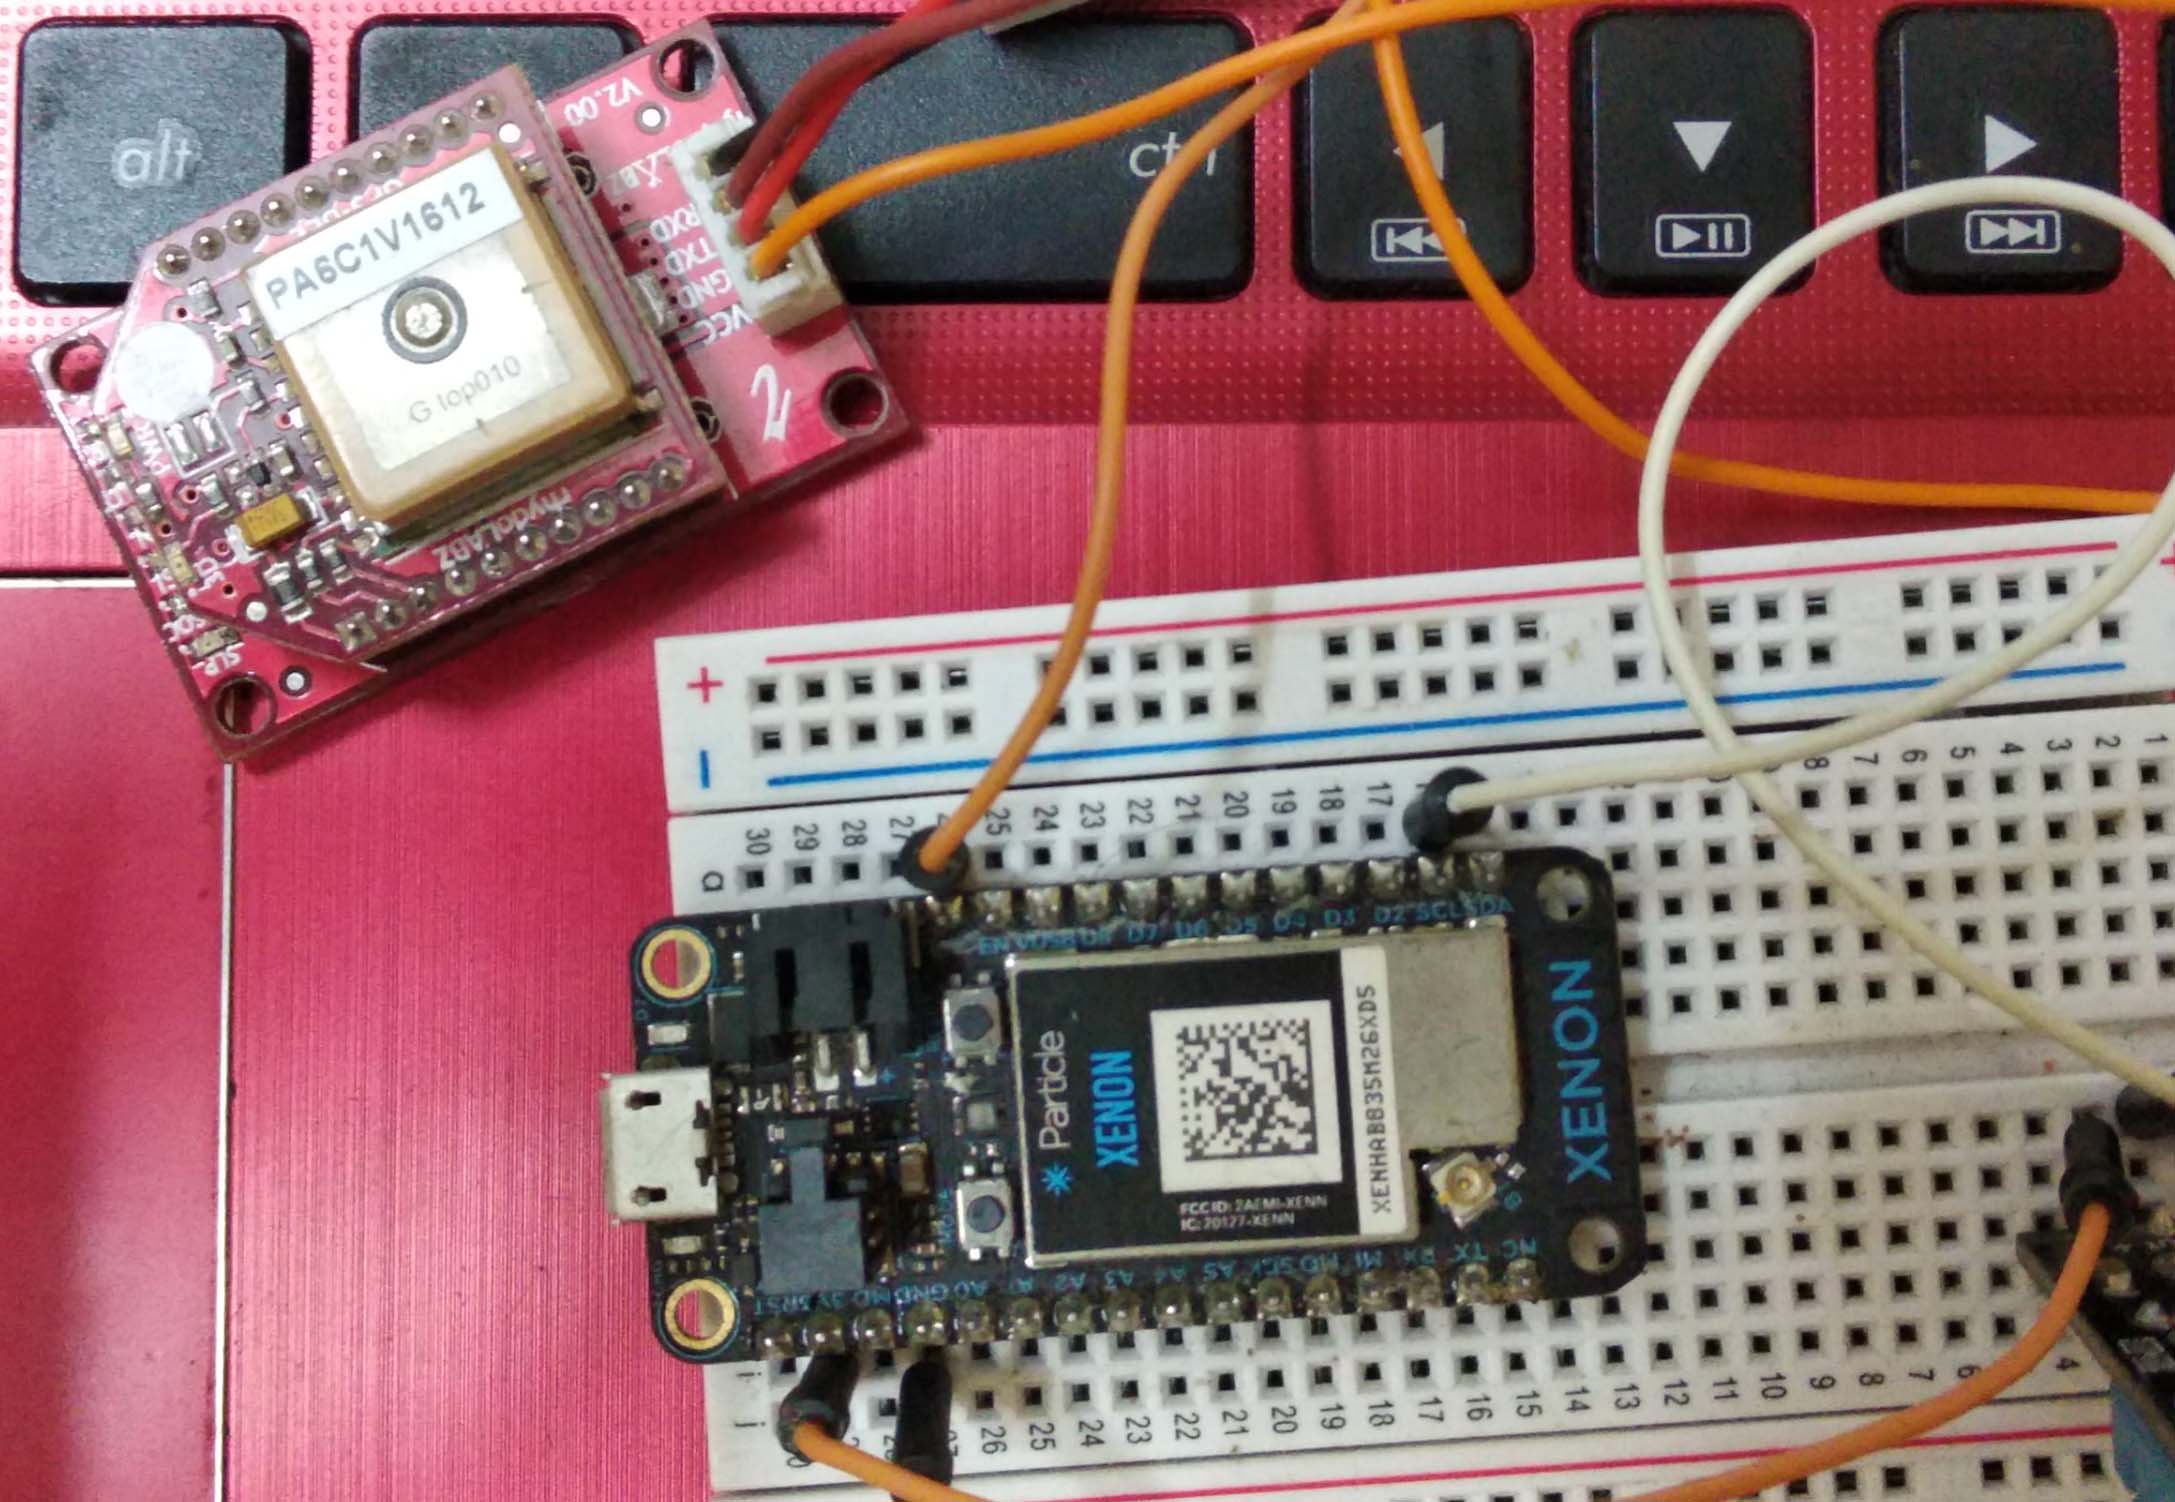
GPS Module Connection - Xenon

Connect the GPS module VCC to Li+ pin of Xenon

GPS Module Connection - Xenon

Connect the GPS module GND pin to GND pin of Xenon

GPS Module Connection - Xenon

Connect the GPS module TXD pin to Rx pin of Xenon

GPS Module Connection - Xenon

Connect the GPS module RXD pin to Tx pin of Xenon

DHT Sensor Module

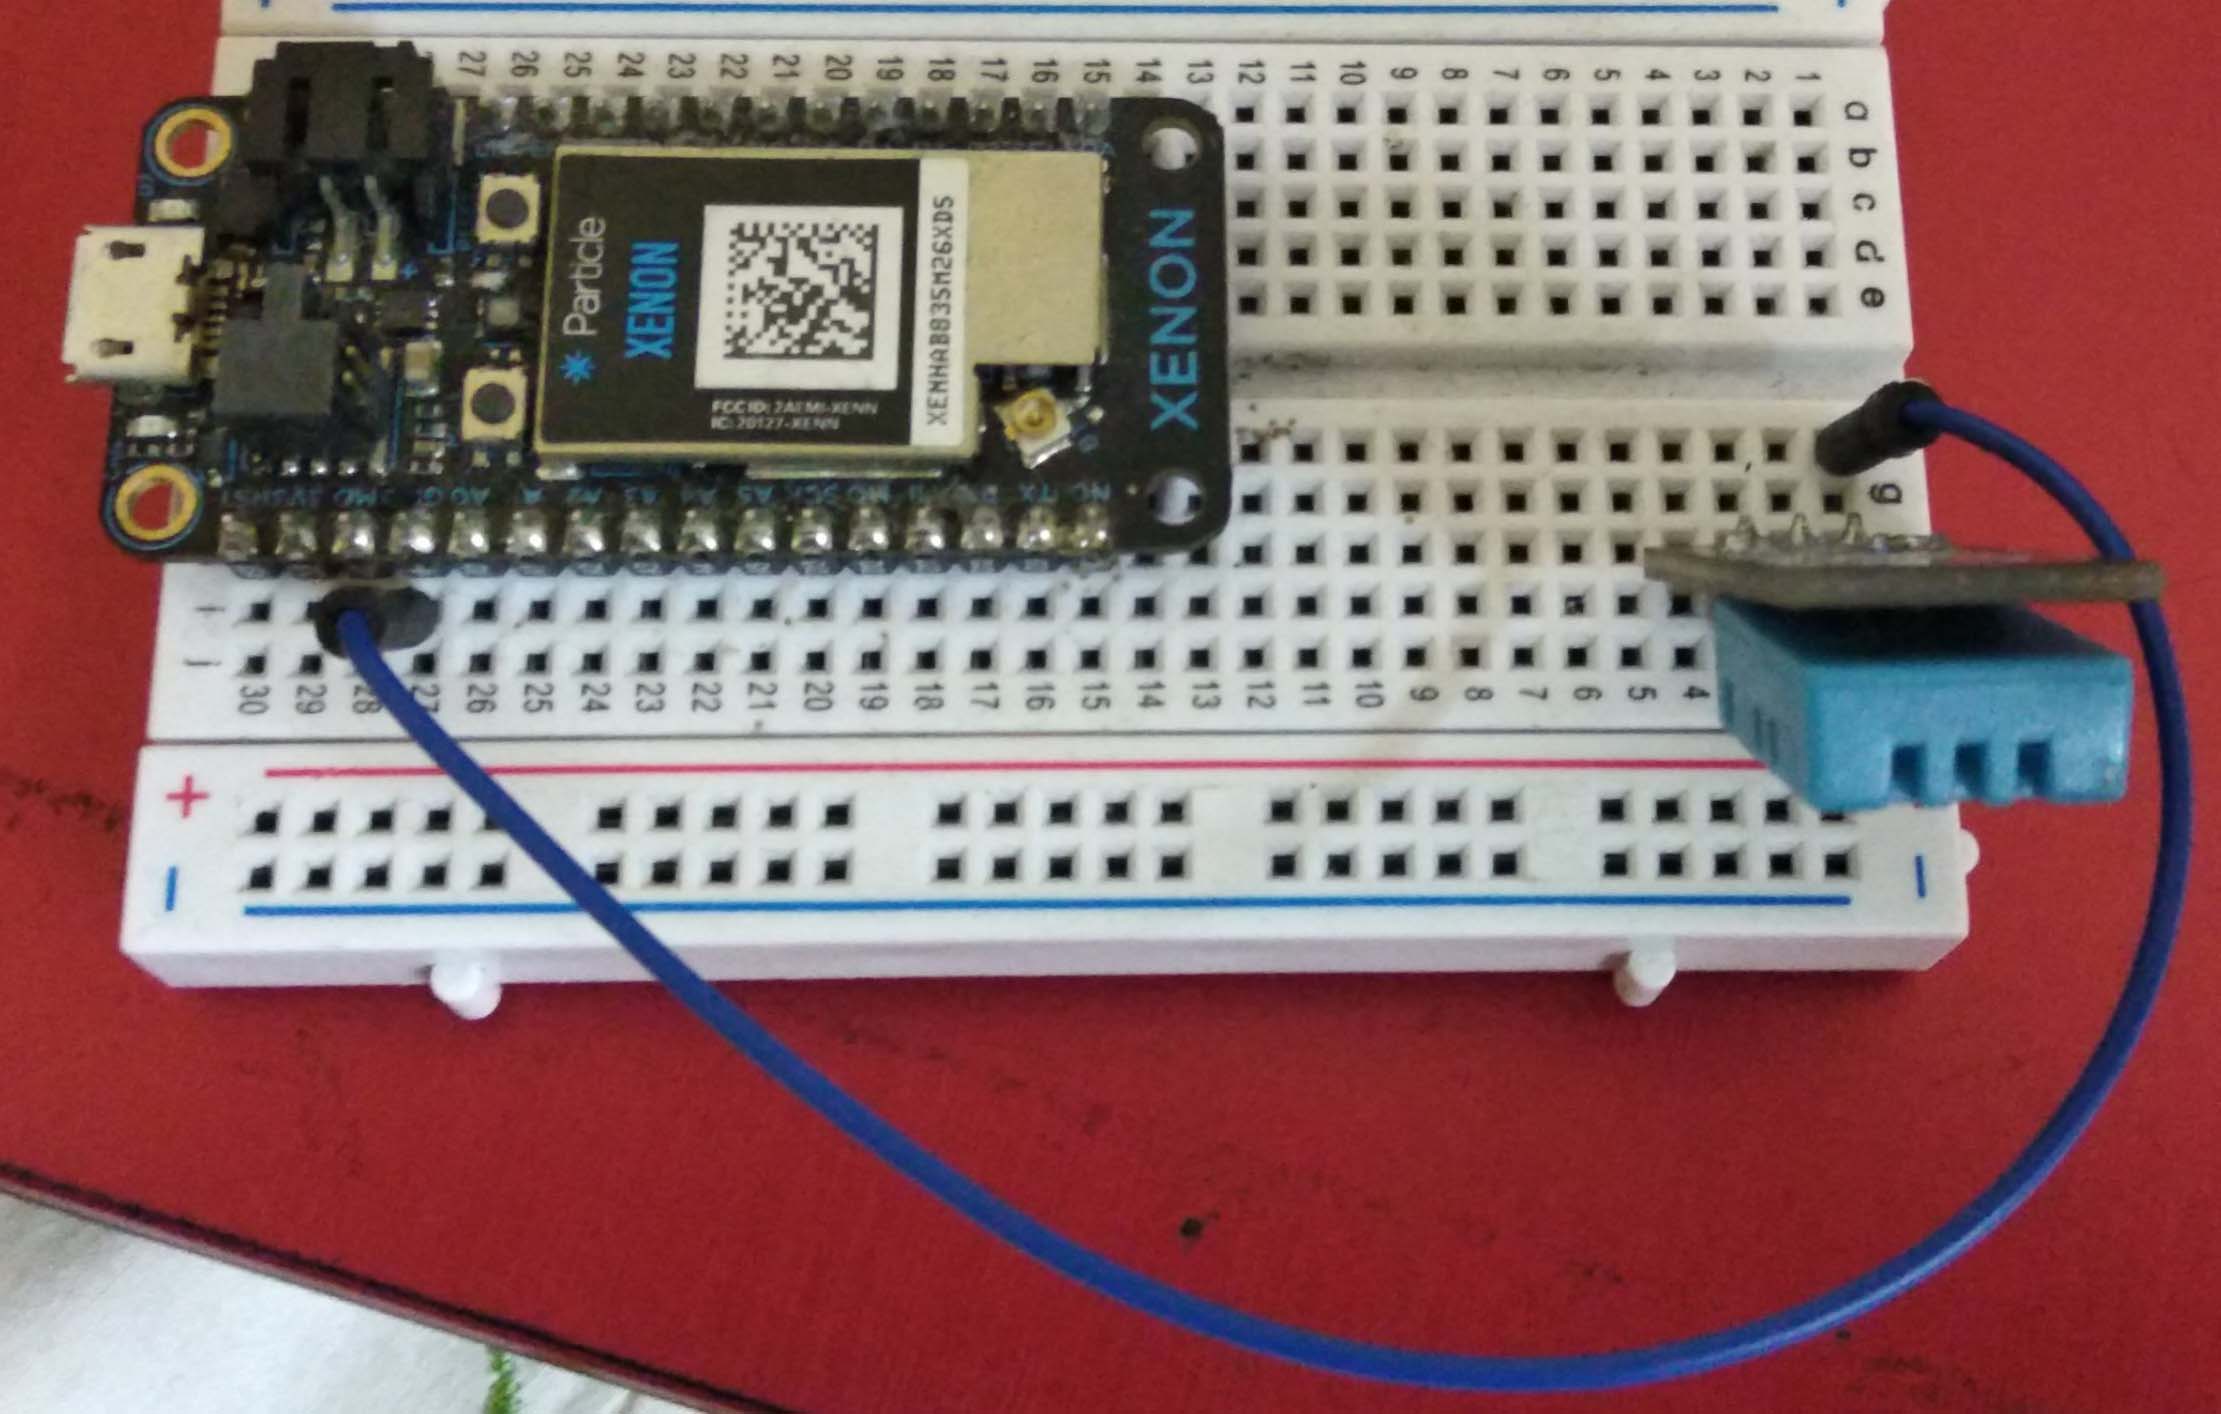
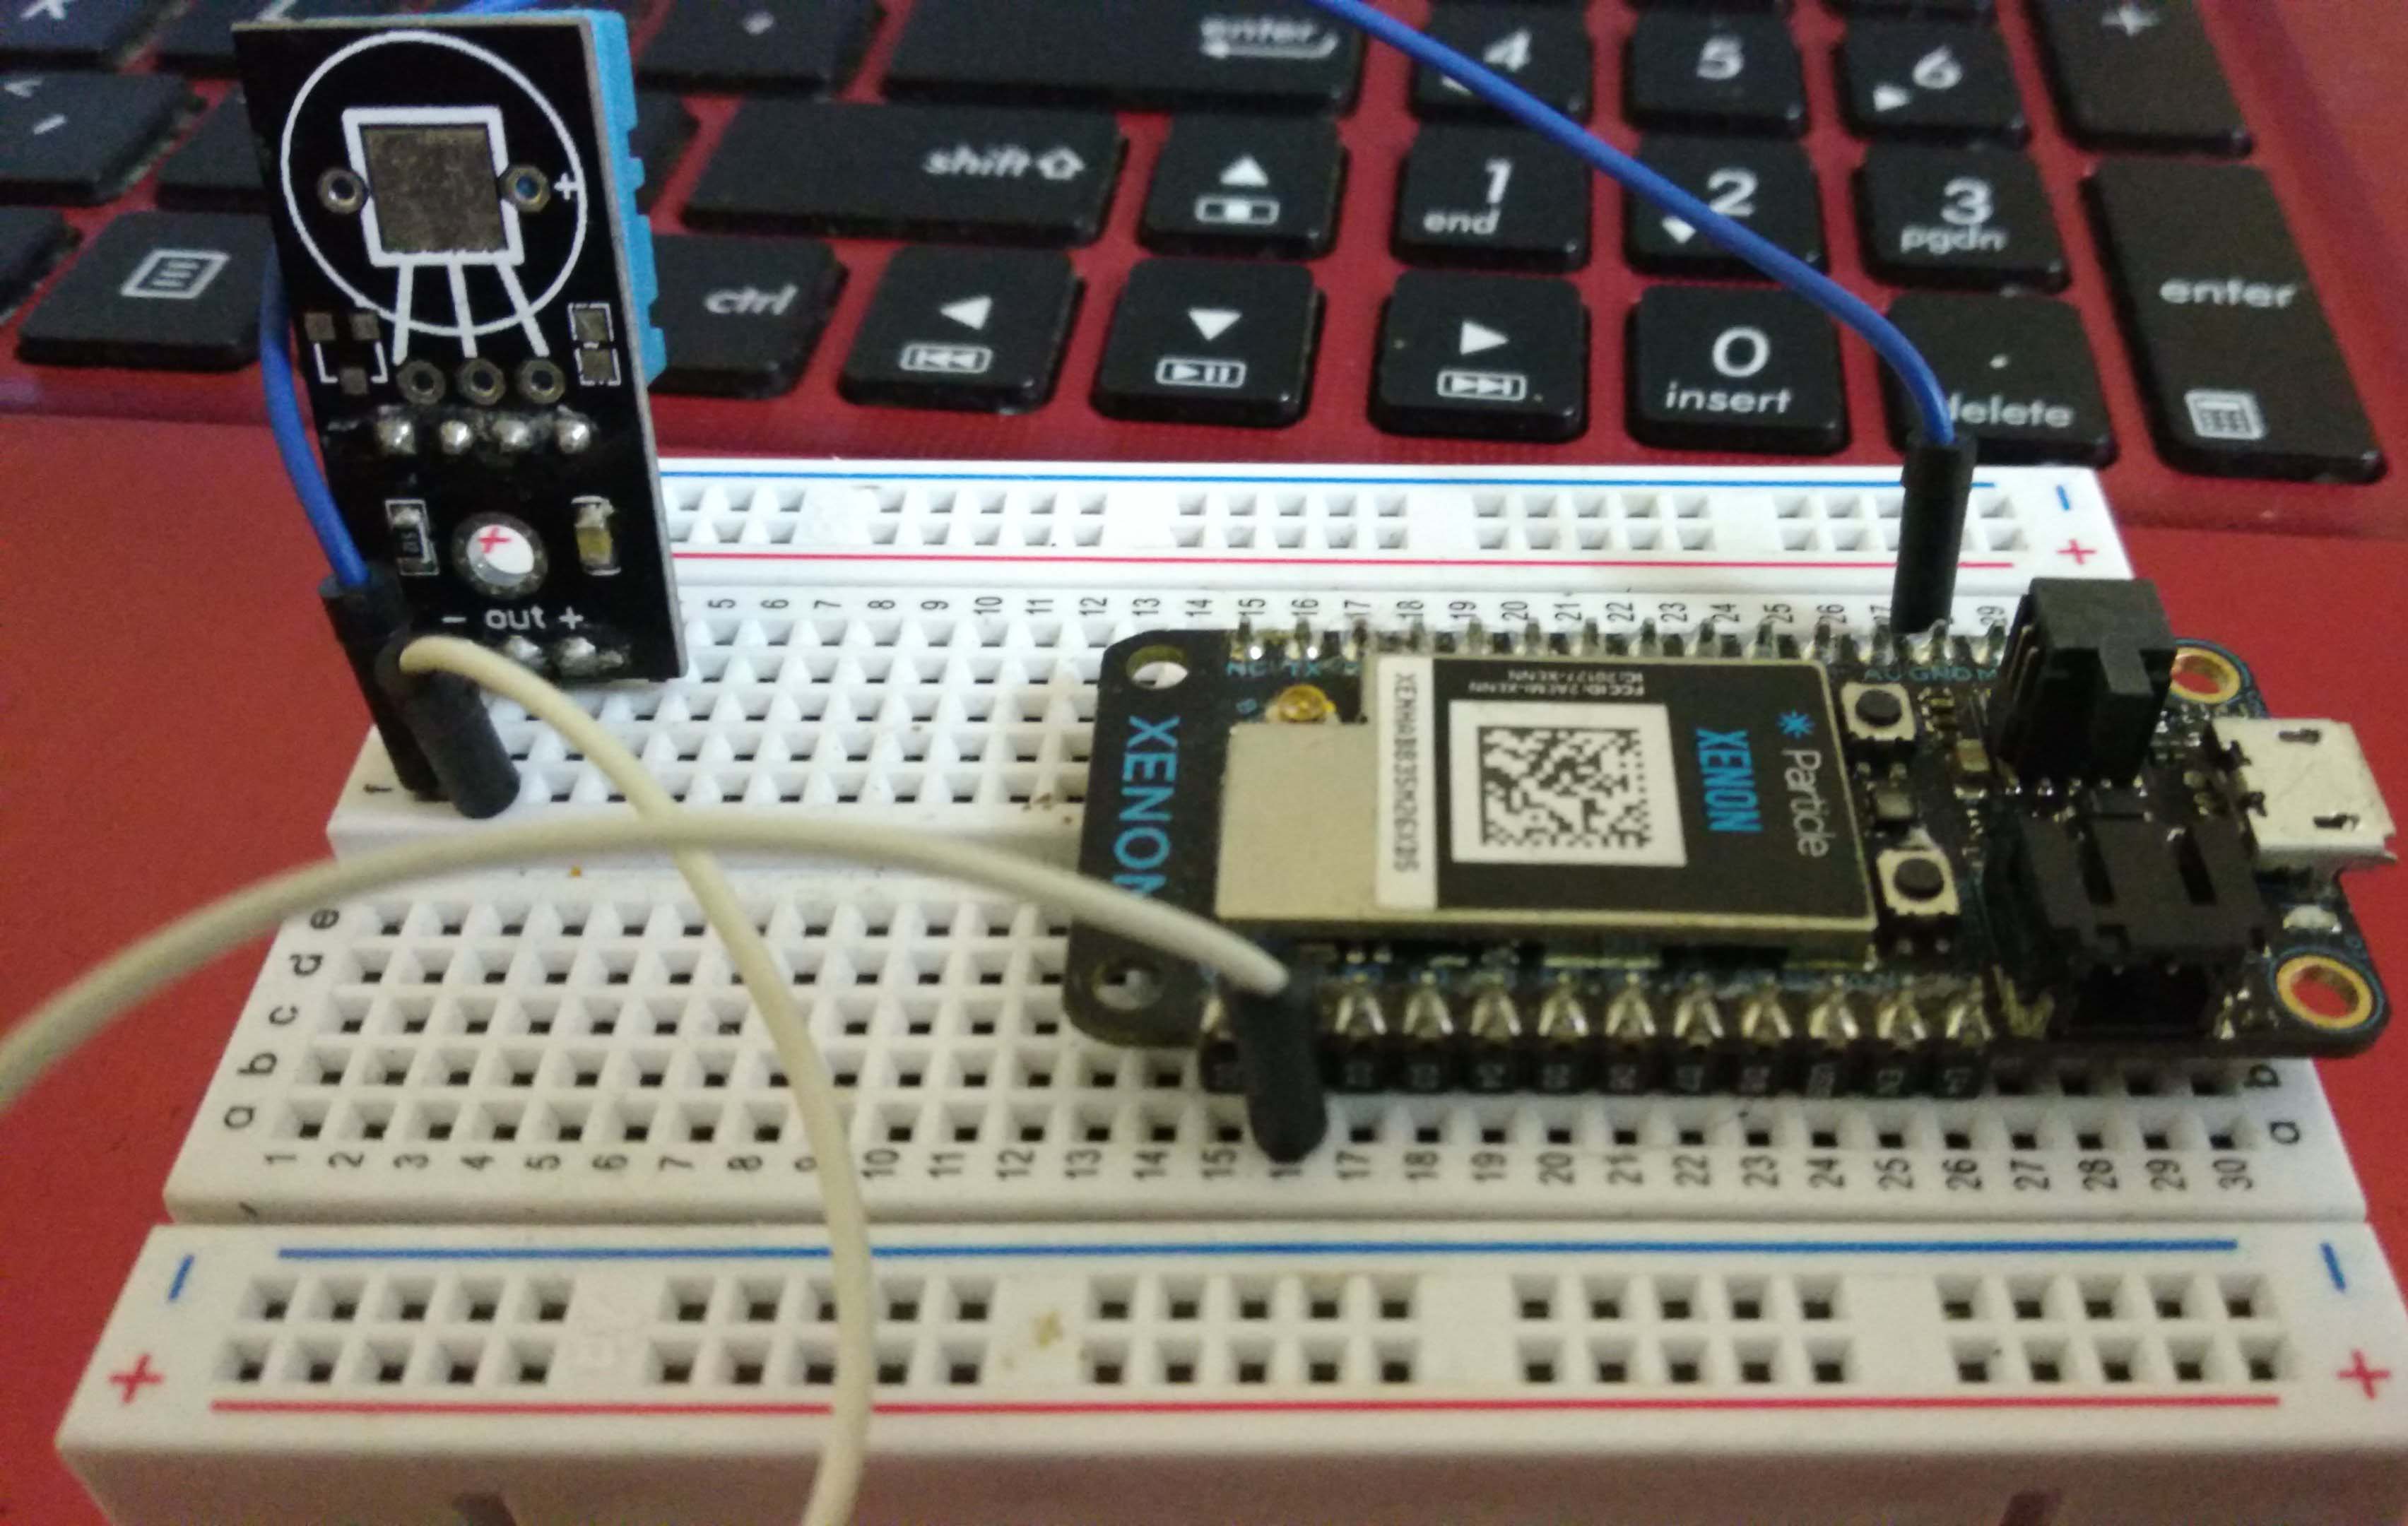
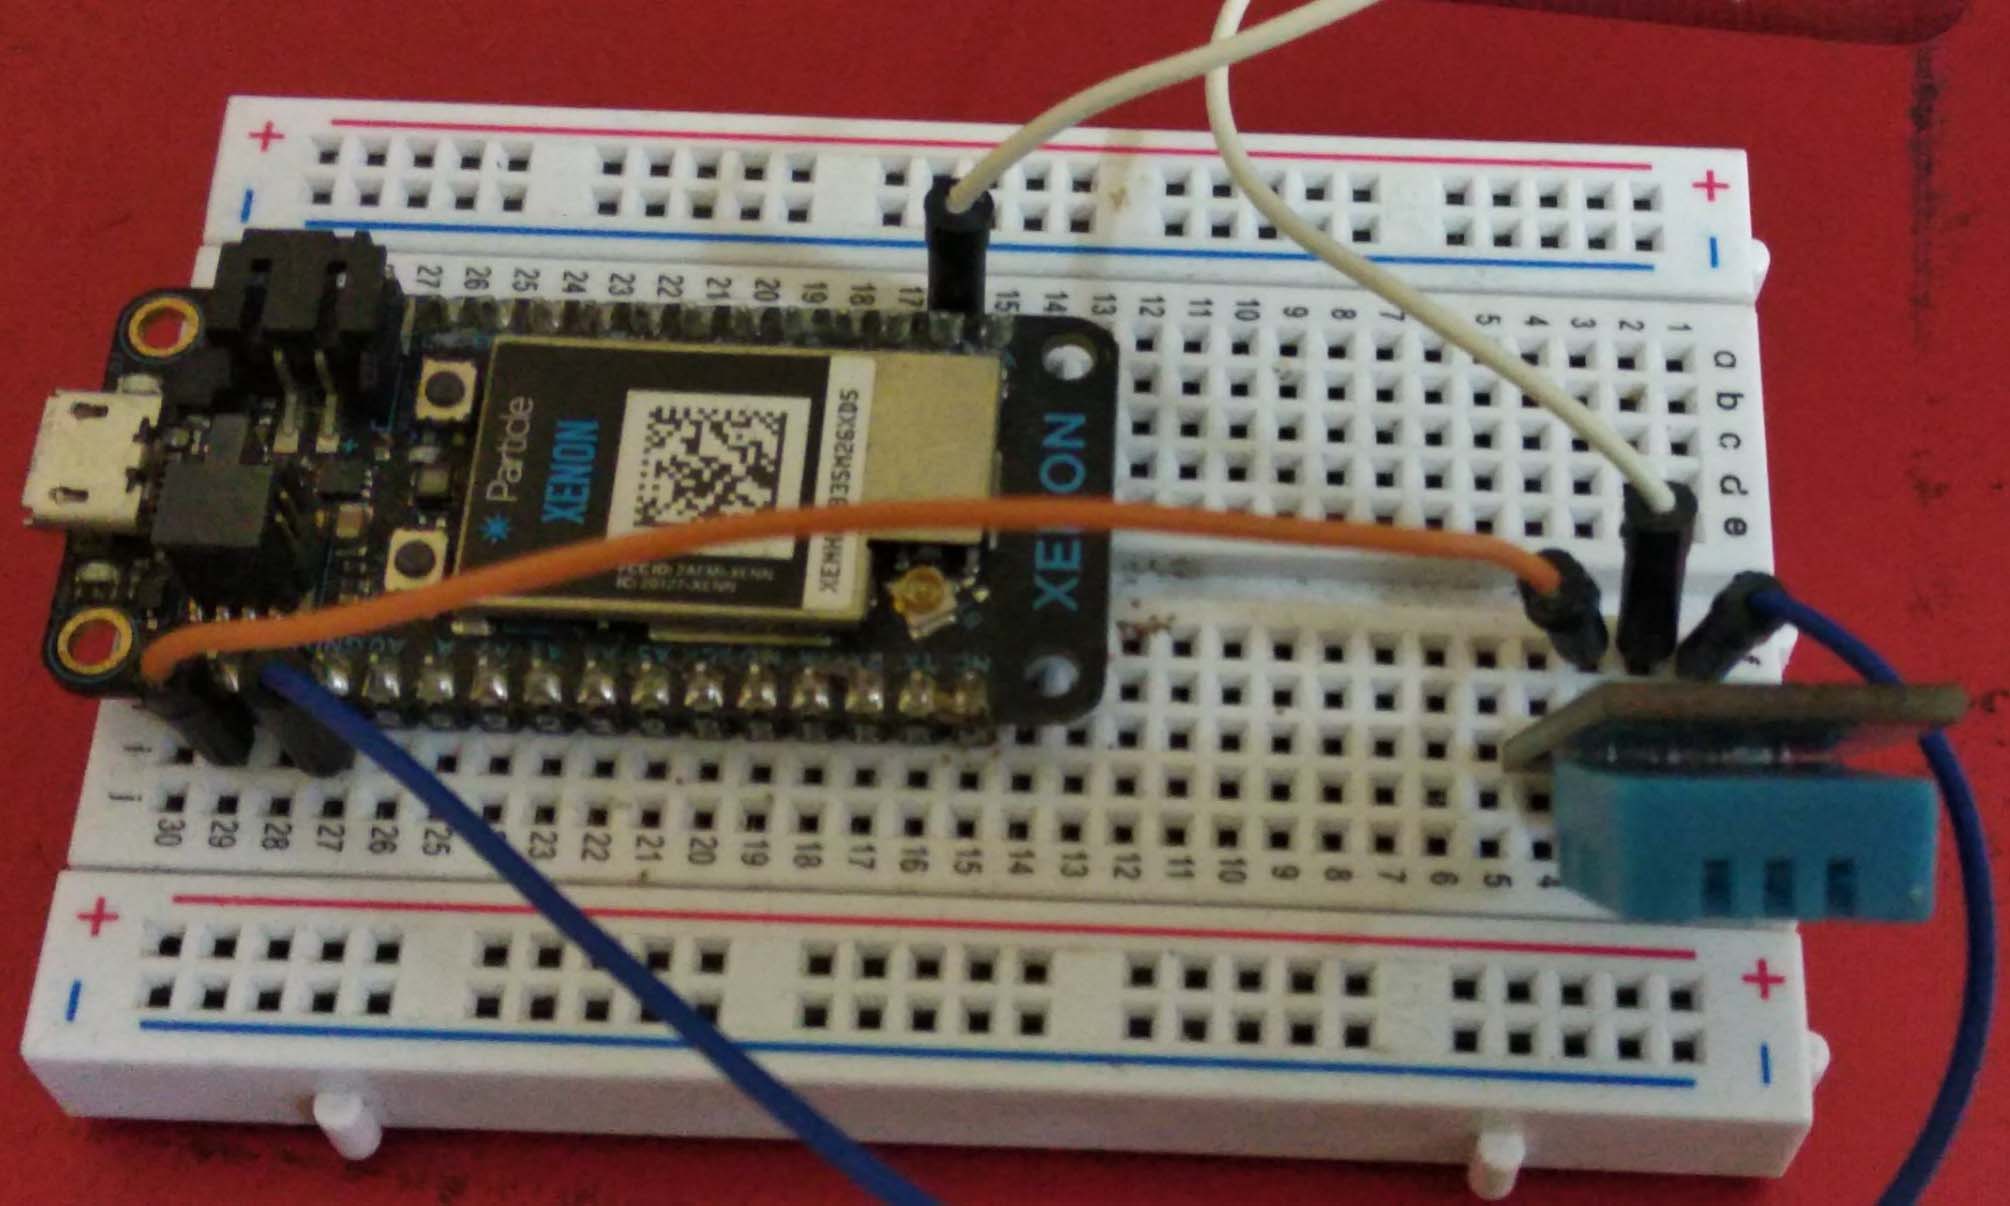
DST Sensor Module Connection - Xenon

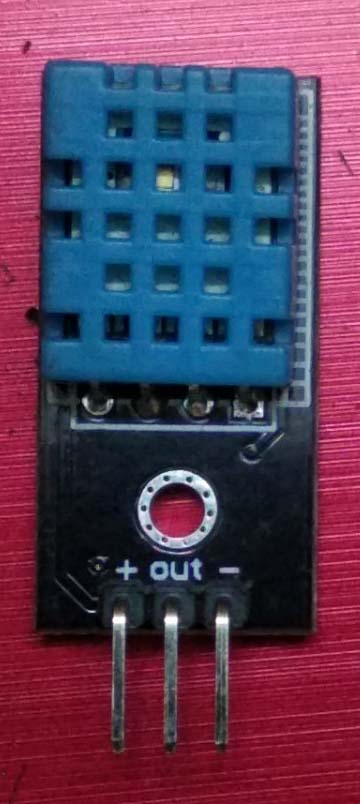
Connect the DHT sensor module to the breadboard

DST Sensor Module Connection - Xenon

Connect the DHT sensor module GND to GND pin of Xenon

DST Sensor Module Connection - Xenon

Connect the DHT sensor module OUT pin to D1 pin of Xenon

DST Sensor Module Connection - Xenon

Connect the DHT sensor module VCC pin to 3V3 pin of Xenon

Adafruit IO

visit: https://io.adafruit.com
Sign up to get username and AIO_key and insert it in the mesh_publish_xenon code and flash.

you can create a dashboard with a map widget and graph widget. The feeds are automatically created once data is been published

Particle IDE

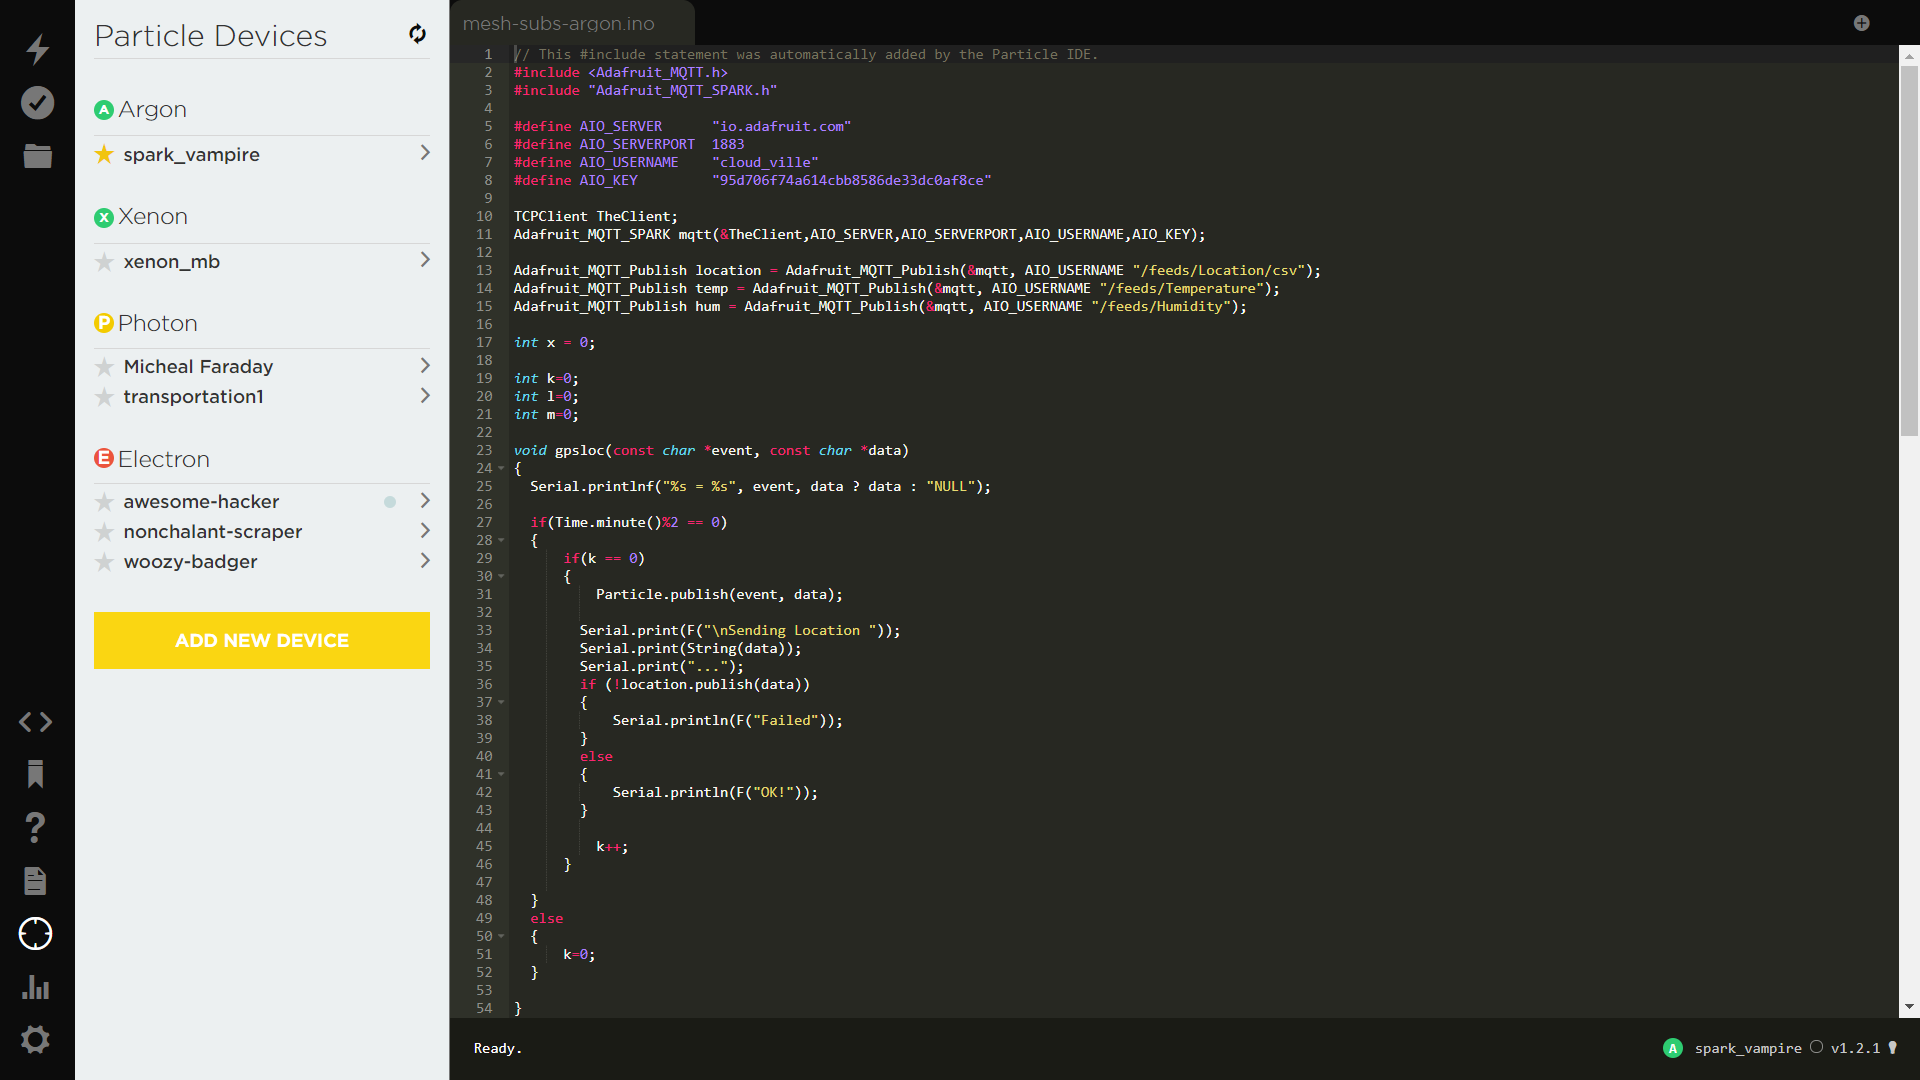
Once you have successfully added your xenon and argon you are ready for uploading the code.

copy and paste the code to the ide and add the respective mentioned libraries in the IDE.

After that select your device and upload.

Upload mesh_publish_argon code to Argon & mesh_subscribe_xenon to Xenon

Code

mesh_subscribe_argon

Arduino
In this code, we subscribe to the respective topics from the mesh nodes for getting temperature, humidity and location data. then we publish the received data to both particle console and to Adafruit IO via MQTT protocol.

visit: https://io.adafruit.com and sign up for getting AIO_USERNAME & AIO_KEY
// This #include statement was automatically added by the Particle IDE.
#include <Adafruit_MQTT.h>
#include "Adafruit_MQTT_SPARK.h"

#define AIO_SERVER      "io.adafruit.com"
#define AIO_SERVERPORT  1883                
#define AIO_USERNAME    "username" //replace username with your adafruit IO username
#define AIO_KEY         "xxxx"  //replace xxxx with your adafruit IO AIO_KEY

TCPClient TheClient;
Adafruit_MQTT_SPARK mqtt(&TheClient,AIO_SERVER,AIO_SERVERPORT,AIO_USERNAME,AIO_KEY);

Adafruit_MQTT_Publish location = Adafruit_MQTT_Publish(&mqtt, AIO_USERNAME "/feeds/Location/csv");
Adafruit_MQTT_Publish temp = Adafruit_MQTT_Publish(&mqtt, AIO_USERNAME "/feeds/Temperature");
Adafruit_MQTT_Publish hum = Adafruit_MQTT_Publish(&mqtt, AIO_USERNAME "/feeds/Humidity");

int x = 0;

int k=0;
int l=0;
int m=0;

void gpsloc(const char *event, const char *data)
{
  Serial.printlnf("%s = %s", event, data ? data : "NULL");
  
  if(Time.minute()%2 == 0)
  {
      if(k == 0)
      {
          Particle.publish(event, data);
          
        Serial.print(F("\nSending Location "));
        Serial.print(String(data));
        Serial.print("...");
        if (!location.publish(data))
        {
            Serial.println(F("Failed"));
        }
        else
        {
            Serial.println(F("OK!"));
        }
          
          k++;
      }
      
  }
  else
  {
      k=0;
  }
  
}

void temperature(const char *event1, const char *data1)
{
  Serial.printlnf("%s = %s", event1, data1 ? data1 : "NULL");
  
  if(Time.minute()%2 == 0)
  {
      if(l == 0)
      {
          Particle.publish(event1, data1);
          
        Serial.print(F("\nSending Temperature "));
        Serial.print(String(data1));
        Serial.print("...");
        if (!temp.publish(data1))
        {
            Serial.println(F("Failed"));
        }
        else
        {
            Serial.println(F("OK!"));
        }
          
          l++;
      }
      
  }
  else
  {
      l=0;
  }
  
}

void humidity(const char *event2, const char *data2)
{
  Serial.printlnf("%s = %s", event2, data2 ? data2 : "NULL");
  
  if(Time.minute()%2 == 0)
  {
      if(m == 0)
      {
        Particle.publish(event2, data2);
          
        Serial.print(F("\nSending Humidity "));
        Serial.print(String(data2));
        Serial.print("...");
        if (!hum.publish(data2))
        {
            Serial.println(F("Failed"));
        }
        else
        {
            Serial.println(F("OK!"));
        }
          
          m++;
      }
      
  }
  else
  {
      m=0;
  }
  
}

void setup() {
    
  Serial.begin(9600);
  Mesh.subscribe("Location", gpsloc);
  Mesh.subscribe("Temperature", temperature);
  Mesh.subscribe("Humidity", humidity);
  
}

void loop() 
{
    mqtt.Update();
}

mesh_publish_xenon

Arduino
In this code, Particle Xenon collects temperature& humidity data from the DHT sensor and latitude & longitude from the GPS module and regularly publishes to the mesh network.
// This #include statement was automatically added by the Particle IDE.
#include <Adafruit_DHT.h>

#include <TinyGPS++/TinyGPS++.h>

TinyGPSPlus gps;

#define DHTTYPE DHT11
#define DHTPIN D1

DHT dht(DHTPIN, DHTTYPE);

void setup()
{
  Serial.begin(9600);
  Serial1.begin(9600);
  
  dht.begin();
}

void loop()
{
    
    float h = dht.getHumidity();
    float t = dht.getTempCelcius();
    
	Mesh.publish("Temperature", String(t));
    Mesh.publish("Humidity", String(h));

  Serial.println("\n");
  
  String lat = String(gps.location.lat());
  String lng = String(gps.location.lng());
  
  String loc = "0,"+lat+","+lng+",0";

  Mesh.publish("Location", loc);
  
  gpsDelay(1000);

}

static void gpsDelay(unsigned long ms)
{
  unsigned long start = millis();
  do 
  {
    while (Serial1.available())
      gps.encode(Serial1.read());
  } while (millis() - start < ms);
}

Credits

Dilghas Ommer

Dilghas Ommer

4 projects • 2 followers
Experienced Marketing with demonstrated history of working in the research industry. Strong professional with a B.Tech focused in E&I Engg.

Comments