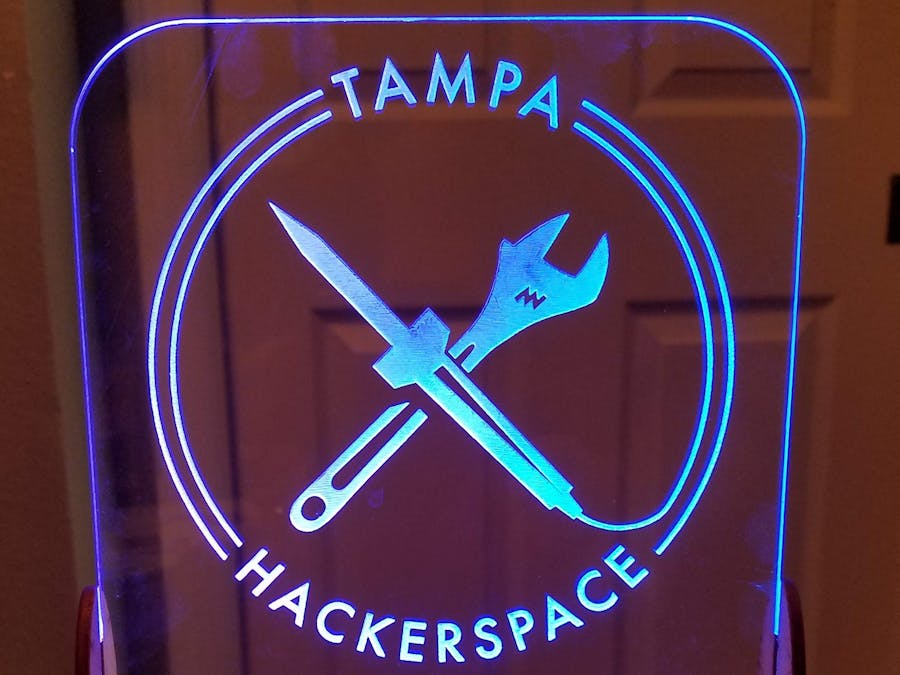
As Maker Faire Orlando 2018 approached, I wanted to make an edge lit acrylic sign for my local Hackerspace (Tampa, FL, USA). When I went to solder a JST connector onto a microcontroller, I decided to just use the LED controller that came with the LED strip. Therefore this build doesn't require code nor soldering, and the RF remote was an easier way to control it.
AcrylicI used 1/8" acrylic, which works, but thicker may be better.
I started with a template that I created after I made two other similar signs. I reduced the height of the arcylic cut, as our hackerspace's logo is round (1:1 aspect ratio), and my previous signs were taller.
I've read recommendations to mirror your image, to engrave it backwards on the back. When you look through it, the image is correct.
I later used tinkercad to design a 3d printed plug to insert into the 1/2" square hole with room for a usb cable to be tightly fed through. The .stl can be downloaded here.
BaseI use https://boxmaker.connectionlab.org/ or https://festi.info/boxes.py/ to generate vectors for laser cut boxes. I saved them to the template above. I used 1/8" plywood. I hand drew some vectors for 3 supporting brackets that hold a strip of wood that the LED strip is attached to. Use wood glue to attach these 3 brackets to the bottom of the top/lid. Once dried, glue all sides of the box together, except for the top. I used rubber bands to clamp the box while the glue dries. If desired, finish the wood with polycrylic, polyurethane, shellac, etc. If you do so, tape off the tabs for the A-shaped supports; as a finish will likely decrease adhesion.
LED StripI would recommend plugging the LED strip into the controller, and plugging the controller into USB power to test the LED strip first. Trim the LED strip to fix the wooden plank that fits in the 3 support brackets under the lid. Attach the LED strip to the wood plank.
Final StepsEnsure protective sheet is peeled off of acrylic by now. Attach the acrylic to the box lid, using wood glue to attach the A-shaped supports to the box lid. Use rubber bands again to clamp the supports at a 90 degree angle to the lid. Once it's dry, remove the rubber bands. Then feed the power cable through the square hole in the box, seat the LED strip in the support brackets, and place the lid on the base. Plug it in. If desired, stick on rubber or felt "feet" (pads) to the bottom.
I understand that many may not have access to laser engraver. A CNC router could be used to engrave the acrylic. There may also be a way of chemically etching the acrylic too.
For larger signs, brighter or denser (more LEDs/length) strips can be used. Ensure your power supply provides sufficient current.
My template assumed all 1/8" materials. Adjust accordingly as necessary.
Be careful not to leave fingerprints on the acrylic. Be careful not to scratch it while cleaning them off.
Some recommend lucite over clear acrylic.
The LED strip with controller I purchased doesn't seem to be available any more:


Comments
Please log in or sign up to comment.