Imagine having the scariest and at the same time the most tender decoration for your Halloween party. In this tutorial, you will learn how to easily nail this. The project doesn’t need a lot of knowledge in the electronic field, so beginners are welcome!
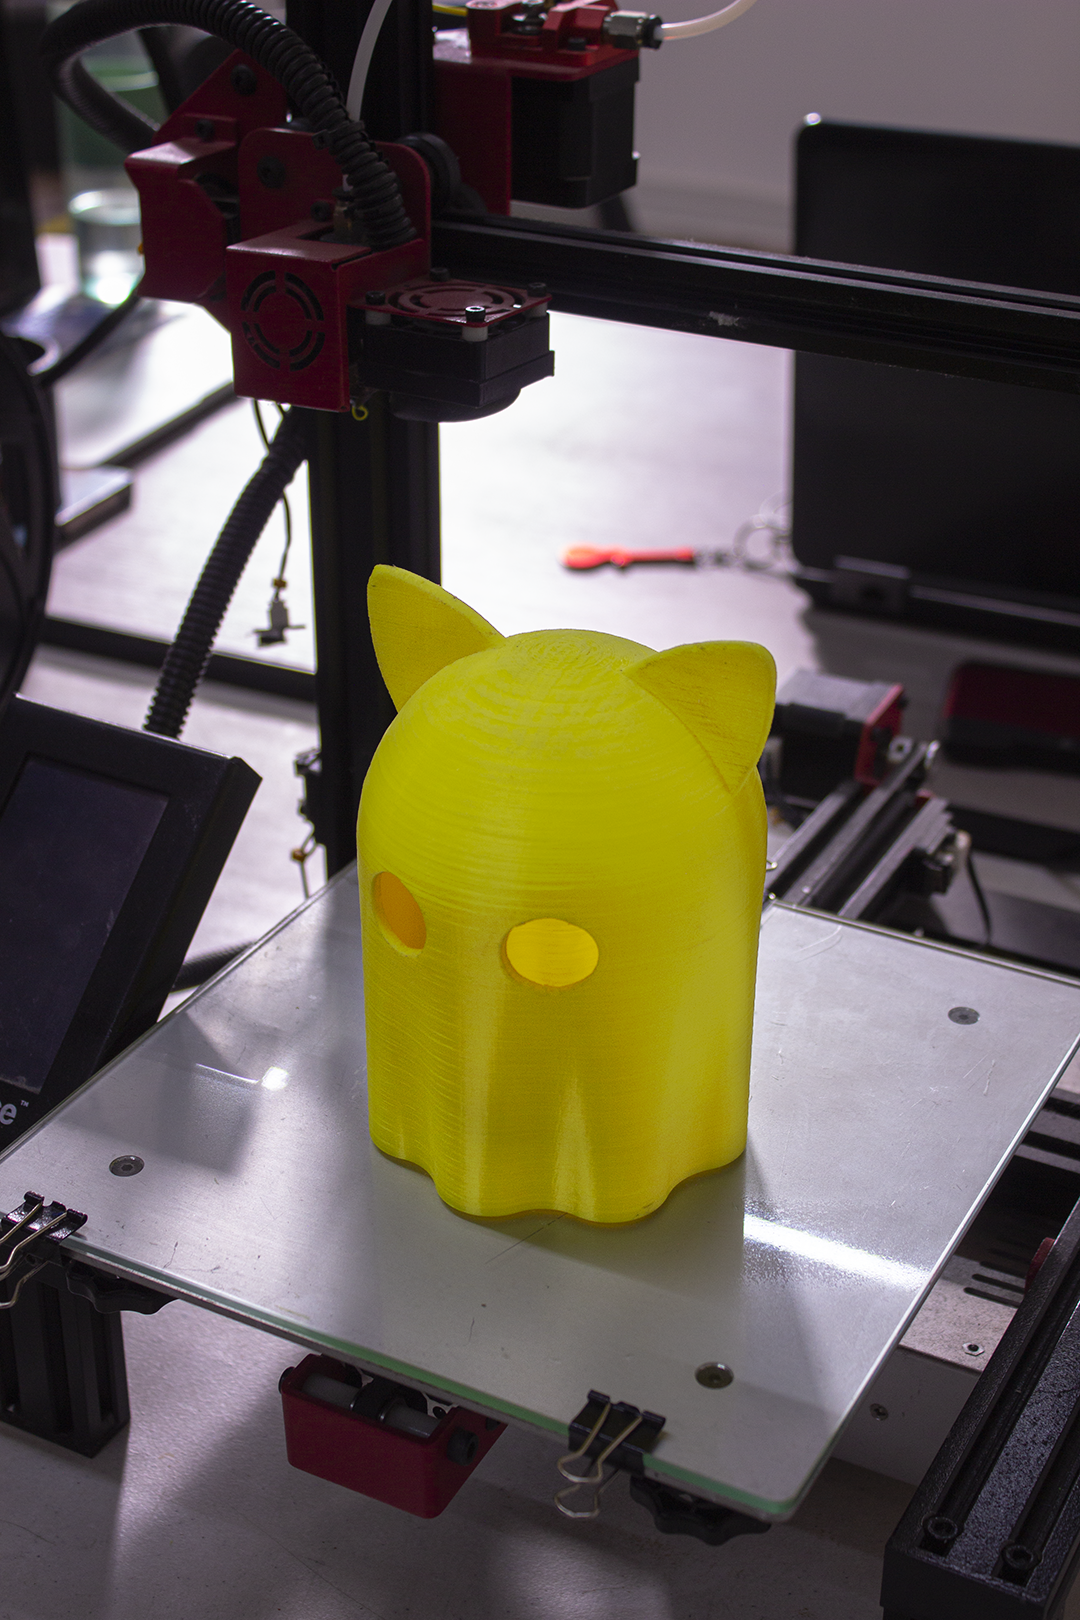
The Autumn season is one of our favorites. Here in Mexico, it is the beginning of a lot of holidays, the weather is great, the spooky feeling cheers us up and the people are preparing everything to celebrate the “Día de Muertos” (Day of the Dead). We, as part of the Electronic Cats team, are planning to celebrate the holidays and decoration is key, so we decided to create this spooky smoking cat ghost.
This project is a variation from the one done by EDISON SCIENCE CORNER, you can find it here: (https://www.youtube.com/watch?v=VRW2a1zu6bY), we used the 3D model from MIKEKAVOURAS found in https://www.thingiverse.com/thing:4635017, we will be using as microcontroller the Bast Pro Mini.
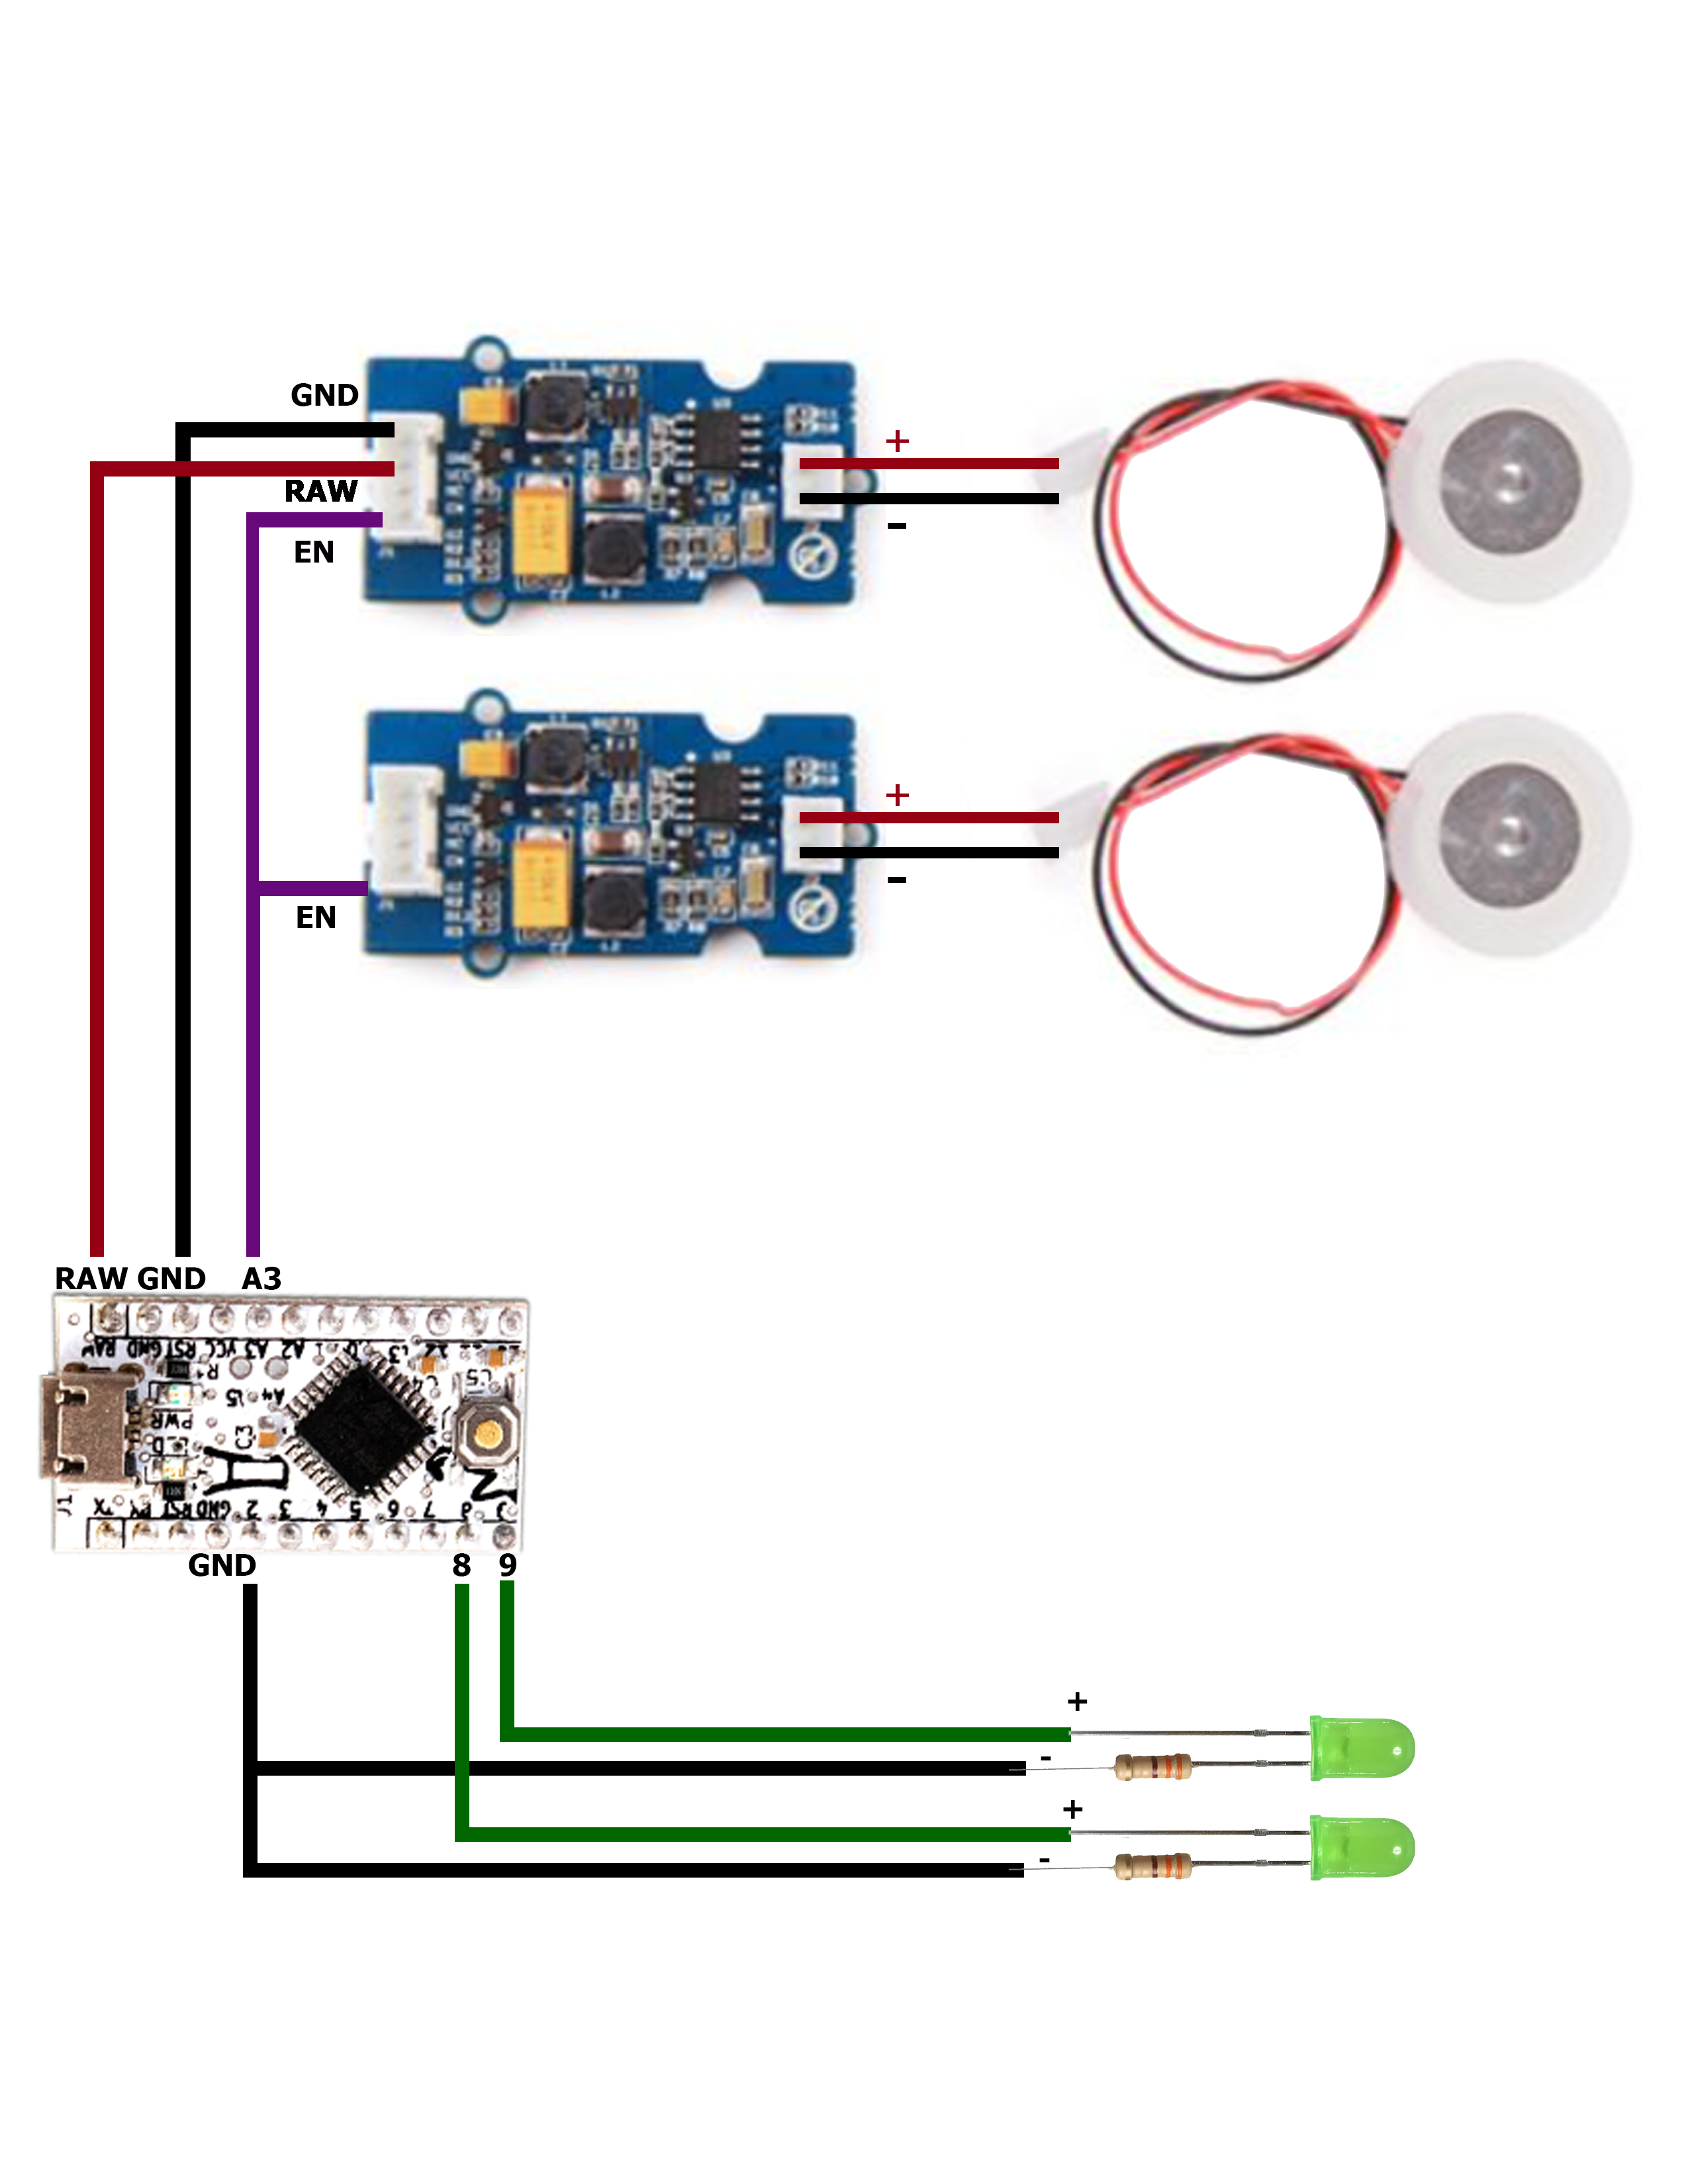
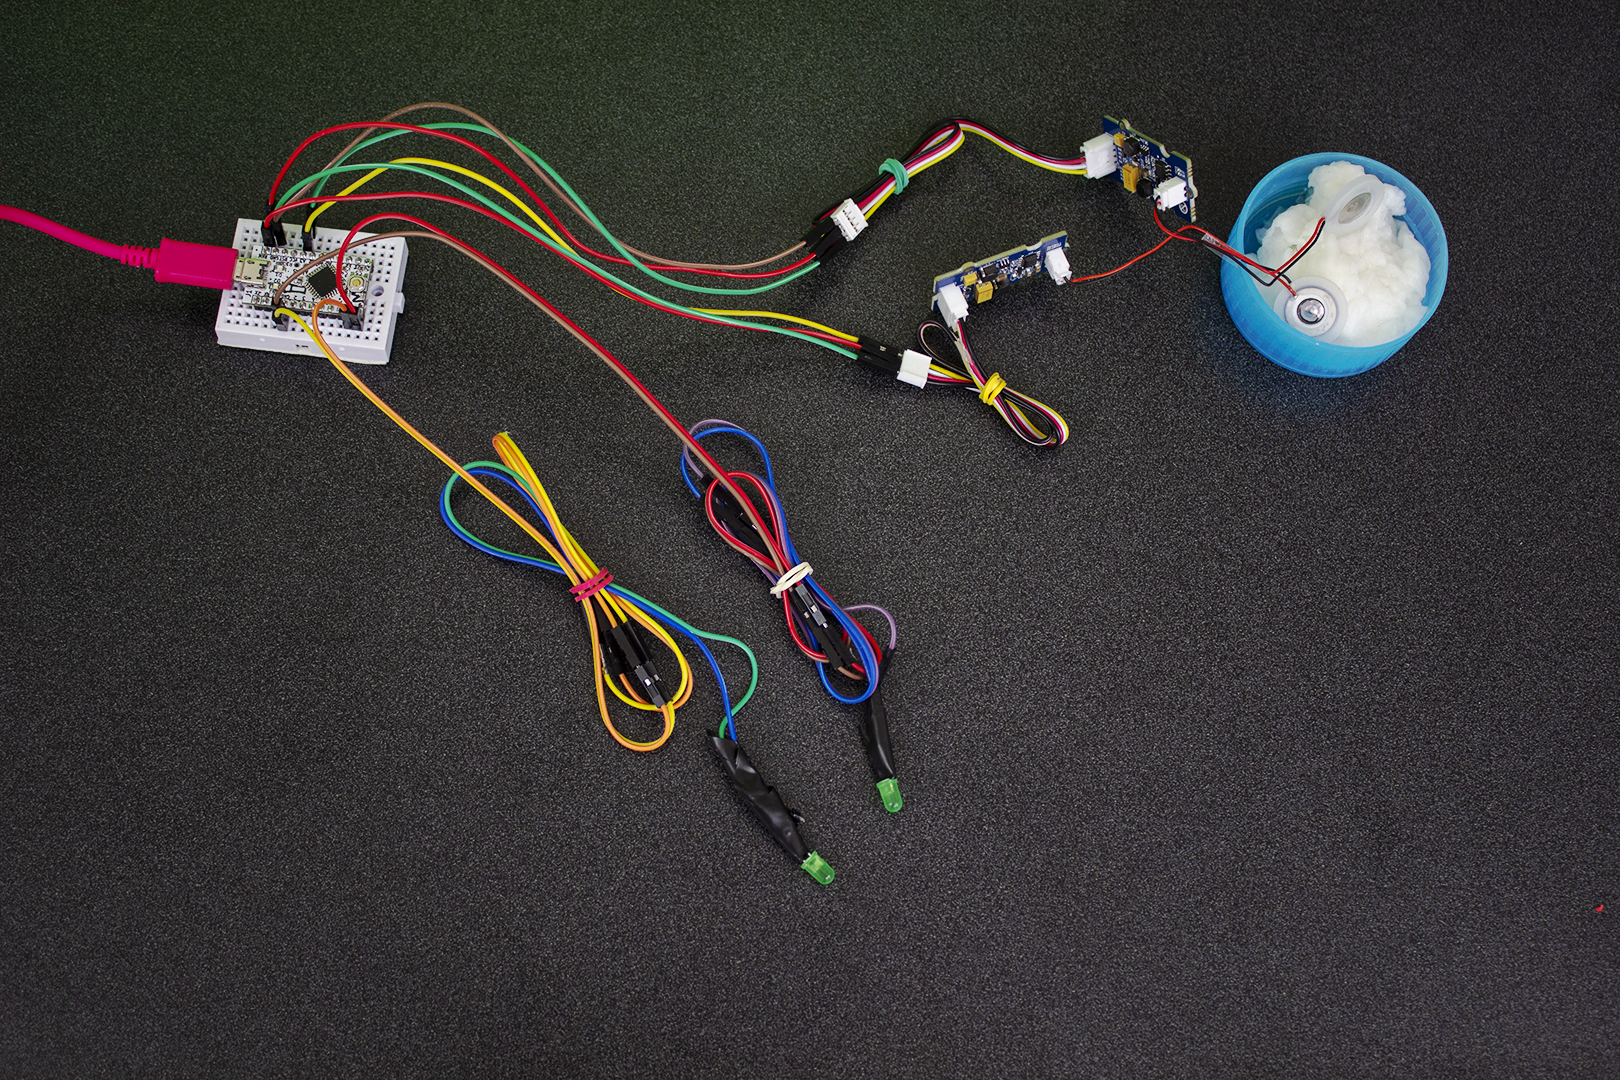
For this project, we are using the Grove - Water Atomization module. This module has a piezoelectric disc that resonates to a frequency capable of generating mist in contact with a water surface. ATTENTION: the angle between the water surface and the piezoelectric disc can affect the generation of mist.


Comments
Please log in or sign up to comment.