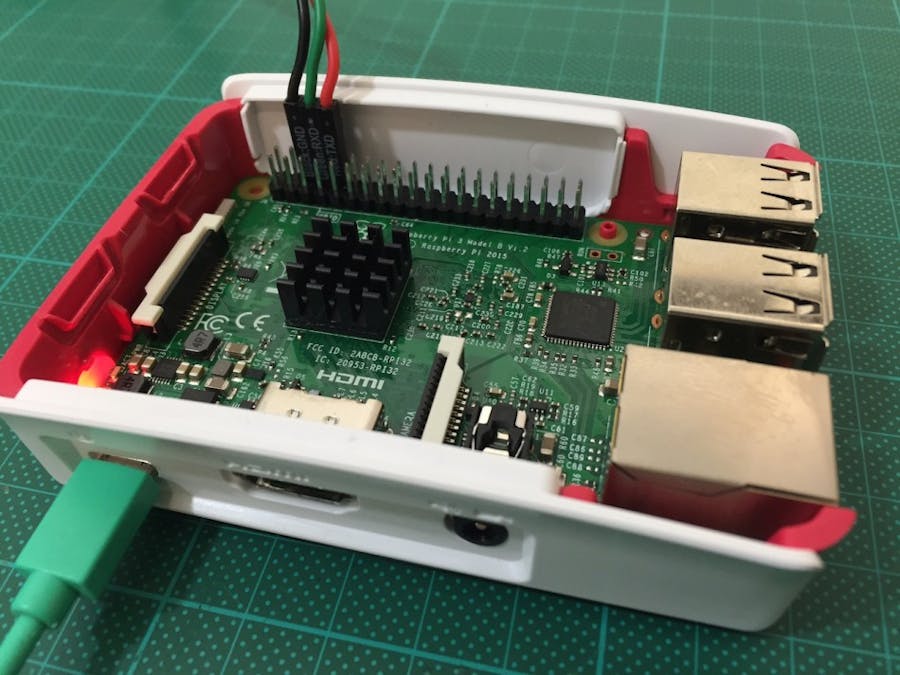
It seems the recently launched Raspberry Pi 3 behaves differently with regards to the UART interface on the GPIO header. In this guide I go through the steps I took to get the UART working for serial console or HAT communication.
I am assuming you are using a recent Raspbian Jessie image (2016-03-18 or more recent) on Raspberry Pi 3, that the file system has been expanded and that enough space is left for the software updates to be installed.
Let’s go!
Update SoftwareThe first thing you’ll need to do is to ensure all software components are up-to-date.
Update the repository and upgrade the installed packages:
pi@raspberrypi:~ $ sudo apt-get update && sudo apt-get upgrade -y
Update the firmware:
pi@raspberrypi:~ $ sudo rpi-update
Reboot to apply the changes:
pi@raspberrypi:~ $ sudo reboot
A new property has been introduced to enable the UART on the Pi. This property will put the core frequency to a minimum, ensuring stability. It’s possible to put the core frequency to maximum as well, assuming the power supply is powerful enough and the Pi 3 is properly cooled (heatsink!).
Enabling UART with minimum core frequency:
pi@raspberrypi:~ $ sudo nano /boot/config.txt

# Enable UART
enable_uart=1
Enabling UART with maximum core frequency:
pi@raspberrypi:~ $ sudo nano /boot/config.txt

# Enable UART
enable_uart=1
force_turbo=1
More information on this newly introduced property can be found here: https://www.raspberrypi.org/forums/viewtopic.php?f=28&t=141195
Below are two screenshots: on the left, console before update, on the right, after the update and enable. The results are clearly better!
In case you would like to connect a HAT using the UART interface, it’s recommended to disable the console.
To disable the console, edit the following file as follows:
pi@raspberrypi:~ $ sudo nano /boot/cmdline.txt

#dwc_otg.lpm_enable=0 console=serial0,115200 console=tty1 root=/dev/mmcblk0p2 rootfstype=ext4 elevator=deadline fsck.repair=yes rootwait
dwc_otg.lpm_enable=0 console=tty1 root=/dev/mmcblk0p2 rootfstype=ext4 elevator=deadline fsck.repair=yes rootwait
Reboot to apply the change:
pi@raspberrypi:~ $ sudo reboot
You can verify something is being sent/received by the HAT’s UART with the commands below.
Set the baudrate of the interface, for example 57600:
pi@raspberrypi:~ $ sudo stty -F /dev/ttyS0 57600
Dump the data of the serial interface:
pi@raspberrypi:~ $ sudo hexdump -C < /dev/ttyS0
00000000 0a 07 01 eb a5 00 55 00 0a 07 01 eb a5 00 00 70 |......U........p|
00000010 00 01 80 9d c1 00 01 ff ff ff ff 2d 00 4e 55 00 |...........-.NU.|
00000020 0a 55 00 0a 07 01 eb a5 00 00 70 00 01 80 9d c1 |.U........p.....|
00000030 00 01 ff ff ff ff 36 00 8e 55 00 0a 07 01 eb a5 |......6..U......|
00000040 00 00 70 00 01 80 9d c1 00 01 ff ff ff ff 2d 00 |..p...........-.|
00000050 4e 55 00 0a 07 01 eb a5 00 00 70 00 01 80 9d c1 |NU........p.....|
If you see data, your HAT’s UART should be working and can now be used in your script/application.
The screenshot below demonstrates my EnOceanPi HAT providing data to OpenHab using the GPIO’s UART:


Comments
Please log in or sign up to comment.