


Hardware components | ||||||
 |
| × | 1 | |||
_ztBMuBhMHo.jpg?auto=compress%2Cformat&w=48&h=48&fit=fill&bg=ffffff) |
| × | 1 | |||
 |
| × | 1 | |||
Software apps and online services | ||||||
| ||||||
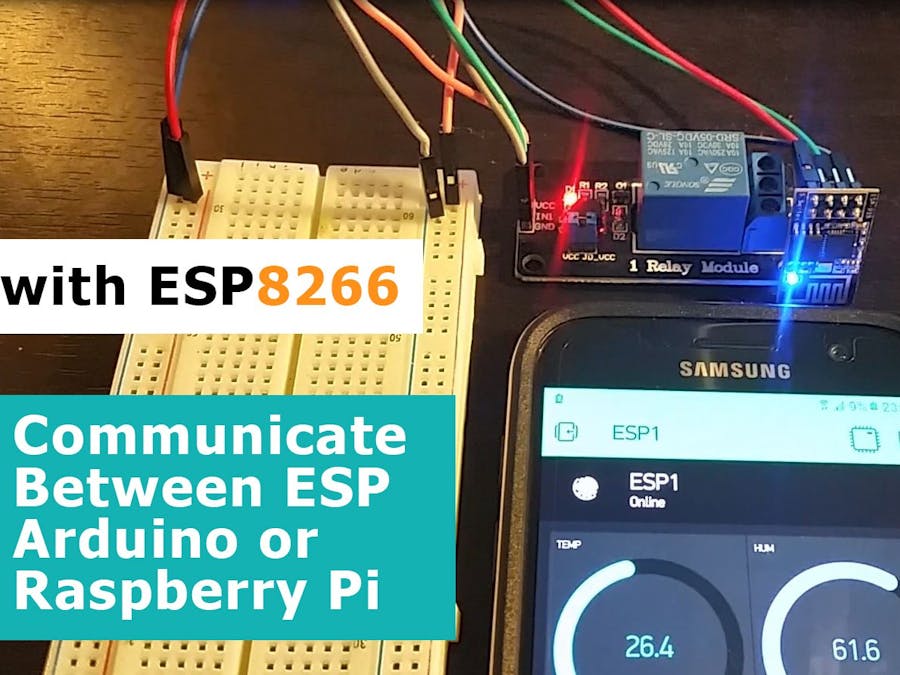
Project Summary:
This project shows how to use Blynk Bridge to enable simple communication between two ESP8266 boards — perfect for IoT setups that require device-to-device messaging without a local server. With just a few lines of code and the Blynk app, you can start sending data between devices in no time.
Quick Steps Overview:
Install Blynk Library – Add the Blynk library to your Arduino IDE.
- Install Blynk Library – Add the Blynk library to your Arduino IDE.
Create a Blynk Project – Set up two devices in the Blynk app and get their Auth Tokens.
- Create a Blynk Project – Set up two devices in the Blynk app and get their Auth Tokens.
Configure Blynk Bridge – Use the WidgetBridge class in one ESP8266 to send virtual writes to the other.
- Configure Blynk Bridge – Use the
WidgetBridgeclass in one ESP8266 to send virtual writes to the other.
Upload the Code – Flash each ESP8266 with the appropriate sender/receiver sketch.
- Upload the Code – Flash each ESP8266 with the appropriate sender/receiver sketch.
Test the Communication – Use buttons or sensors to trigger messages from one device to the other in real-time.
- Test the Communication – Use buttons or sensors to trigger messages from one device to the other in real-time.
For the full tutorial with code examples and detailed setup, visit Blynk Bridge: Another Way to Communicate Between Two ESP8266.


Comments
Please log in or sign up to comment.