


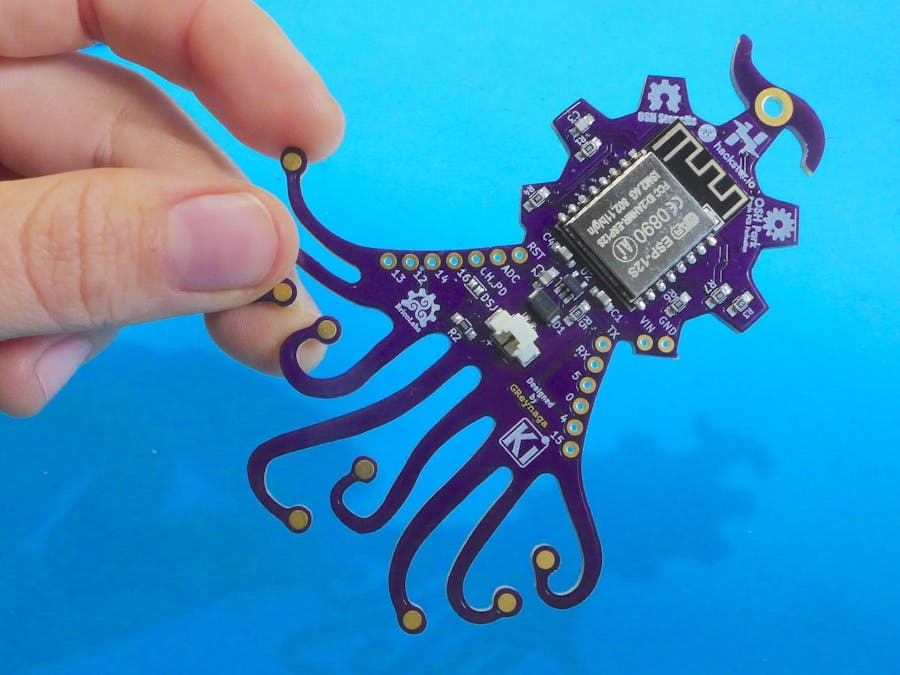
Hackster ambassador Gustavo Reynaga designed this amazing octopus PCB, OSHWi, which features five RGB LEDs and an ESP8266 chip.
It's been featured on the OSH Park blog, as well as the Hackster video channel.
We shipped a bunch of these to our Hackster Live ambassadors. Here's how to put it together!
Side 1: Solder paste + hotplateI put together the ESP8266 side using solder paste and the included metal stencil from OSH Stencils, as seen in this video:
...Here's your money shot of the solder paste melting into place:
Side 2: Soldering ironI used a soldering iron for side 2, since I hadn't used epoxy or anything on the first side, to hold the components in place. I've modified a couple of tactile switches (pushbuttons) so that they fit on the PCB:
TestingIt turns out that the batteries I have don't fit the JST connector on this board. So, I'll have to return to this another day. Can't wait to try it out!


Comments
Please log in or sign up to comment.