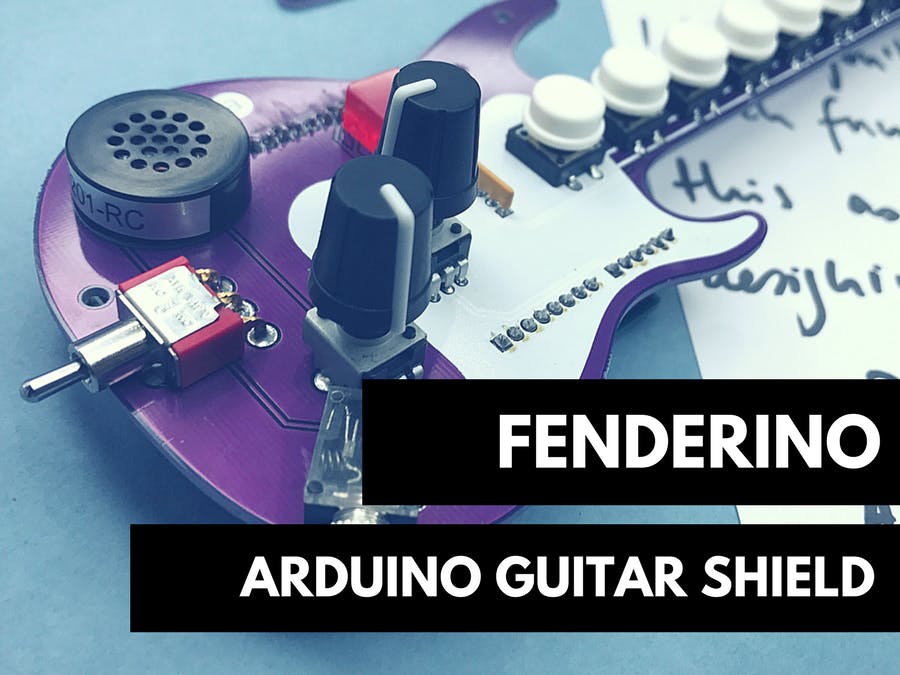
This is mostly a translation of these excellent instructions: https://sites.google.com/abierto.cc/fenderino
But we've done a video as well! Check it out, and watch for more in-depth guides using this board:
ComponentsYour kit contains:
- 1 gorgeous purple Fenderino PCB
- Audio jack
- 8 pushbuttons (with caps – 7 white, 1 black)
- 3-position toggle switch
- Resistor array
- LED array
- Piezoelectric speaker
- 2 potentiometers (with covers)
- Arduino header pins
Solder on the components in order:
1. Audio jack
2. Pushbuttons
3. Toggle switch
4. Resistor array: Orientation matters! One side of the array has printing on it, including a dot that marks the far-left pin. This should be placed in the square hole, at the "bottom" of the guitar.
5. LED array: This is also polar. Place it so the thicker piece of each LED is to the left, when you look at it from the "bottom":
6. Piezo speaker: It doesn't really matter which way this one goes in, but if you want to follow the directions exactly, place the positive pin to the left, from the same vantage point.
7. Potentiometers: There are two different versions of the kit. One comes with two 5KΩ potentiometers: just place them in the sockets. One comes with a 5KΩ and a 100KΩ: place the 100KΩ pot on the left, and the 5KΩ on the right. The difference shouldn't be noticeable if you're using headphones or an amplifier with its own volume control. But if you're using a cheap amp without volume control, the one with two 5KΩ pots may always play at the same volume.
8. Header pins: Place the pins in the Arduino's headers and then place the shield on top. Note that one of them will be two pins short: you can ignore the SCL and SDA pins on the Arduino.
9. Button and potentiometer caps: Put the tops on your controls, and you're done!! ^_^ (The black button cap goes toward the head of the guitar.)
Software testCheck out the Git repo for example Arduino sketches (as well as open-source hardware files!): https://github.com/abierto-cc/fenderino
This includes a couple of software libraries that will help you write and use code for the Fenderino. Copy those into your Arduino libraries folder; on a Mac, this is usually in <username>/Documents/Arduino/libraries and you'll have to restart the IDE to recognize them.
Fire up your Arduino IDE and try out some of the examples from the repo!
At the time of writing, these are, labeled in Spanish:
- FA_1 "Test pins"
- FA_2 "Metronome"
- FA_3 "Simple tone"
- FA_4 "Scale with buttons"
- FA_5 "Scale with buttons and potentiometer"
- FA_6 "Scale / polyphonic synth"
- FA_7 "Scale with voice"
- FA_8 "MIDI"


_ztBMuBhMHo.jpg?auto=compress%2Cformat&w=48&h=48&fit=fill&bg=ffffff)


Comments
Please log in or sign up to comment.