


Hardware components | ||||||
 |
| × | 1 | |||
 |
| × | 1 | |||
| × | 1 | ||||
 |
| × | 1 | |||
Software apps and online services | ||||||
| ||||||
| ||||||
Hand tools and fabrication machines | ||||||
| ||||||
| ||||||
| ||||||
| ||||||
| ||||||
I wanted to give SAMI a try, so here's a traffic-tracking doorbell!
Currently, when you push the button on a Raspberry Pi 2, it lights up an LED and sends a "Yo!" to SAMI, Samsung's IoT data manager. It generates a chart of activity over time – which could be your traffic, sensor data, or any number of other things.
Stage 1: Get your Pi ready for action
Download the latest NOOBS package from the Raspberry Pi website, and set it up on a MicroSD card, following the instructions at https://www.raspberrypi.org/help/noobs-setup/
Stick it in your Pi and power it up. I stuck with the basic install: hit the right-arrow a couple of times and click "Finish".
Log in with the default admin credentials (pi / raspberry) and type startx to fire up the GUI.
Now, you'll need to update and install a few things:
sudo apt-get update
sudo apt-get upgrade
apt-get install scrot python-pip
If you get an authorization or access error on the last one, send sudo !! to re-run the command as the root user.
scrot is a screenshot utility that I found helpful. You can take a screenshot at any time using scrot -cd 5 (take screenshot, delay 5 seconds, with a countdown).
python-pip is a package manager for Python. It's useful if you'll be installing any extra modules.
Neither of them is strictly necessary, but they're nice to have.
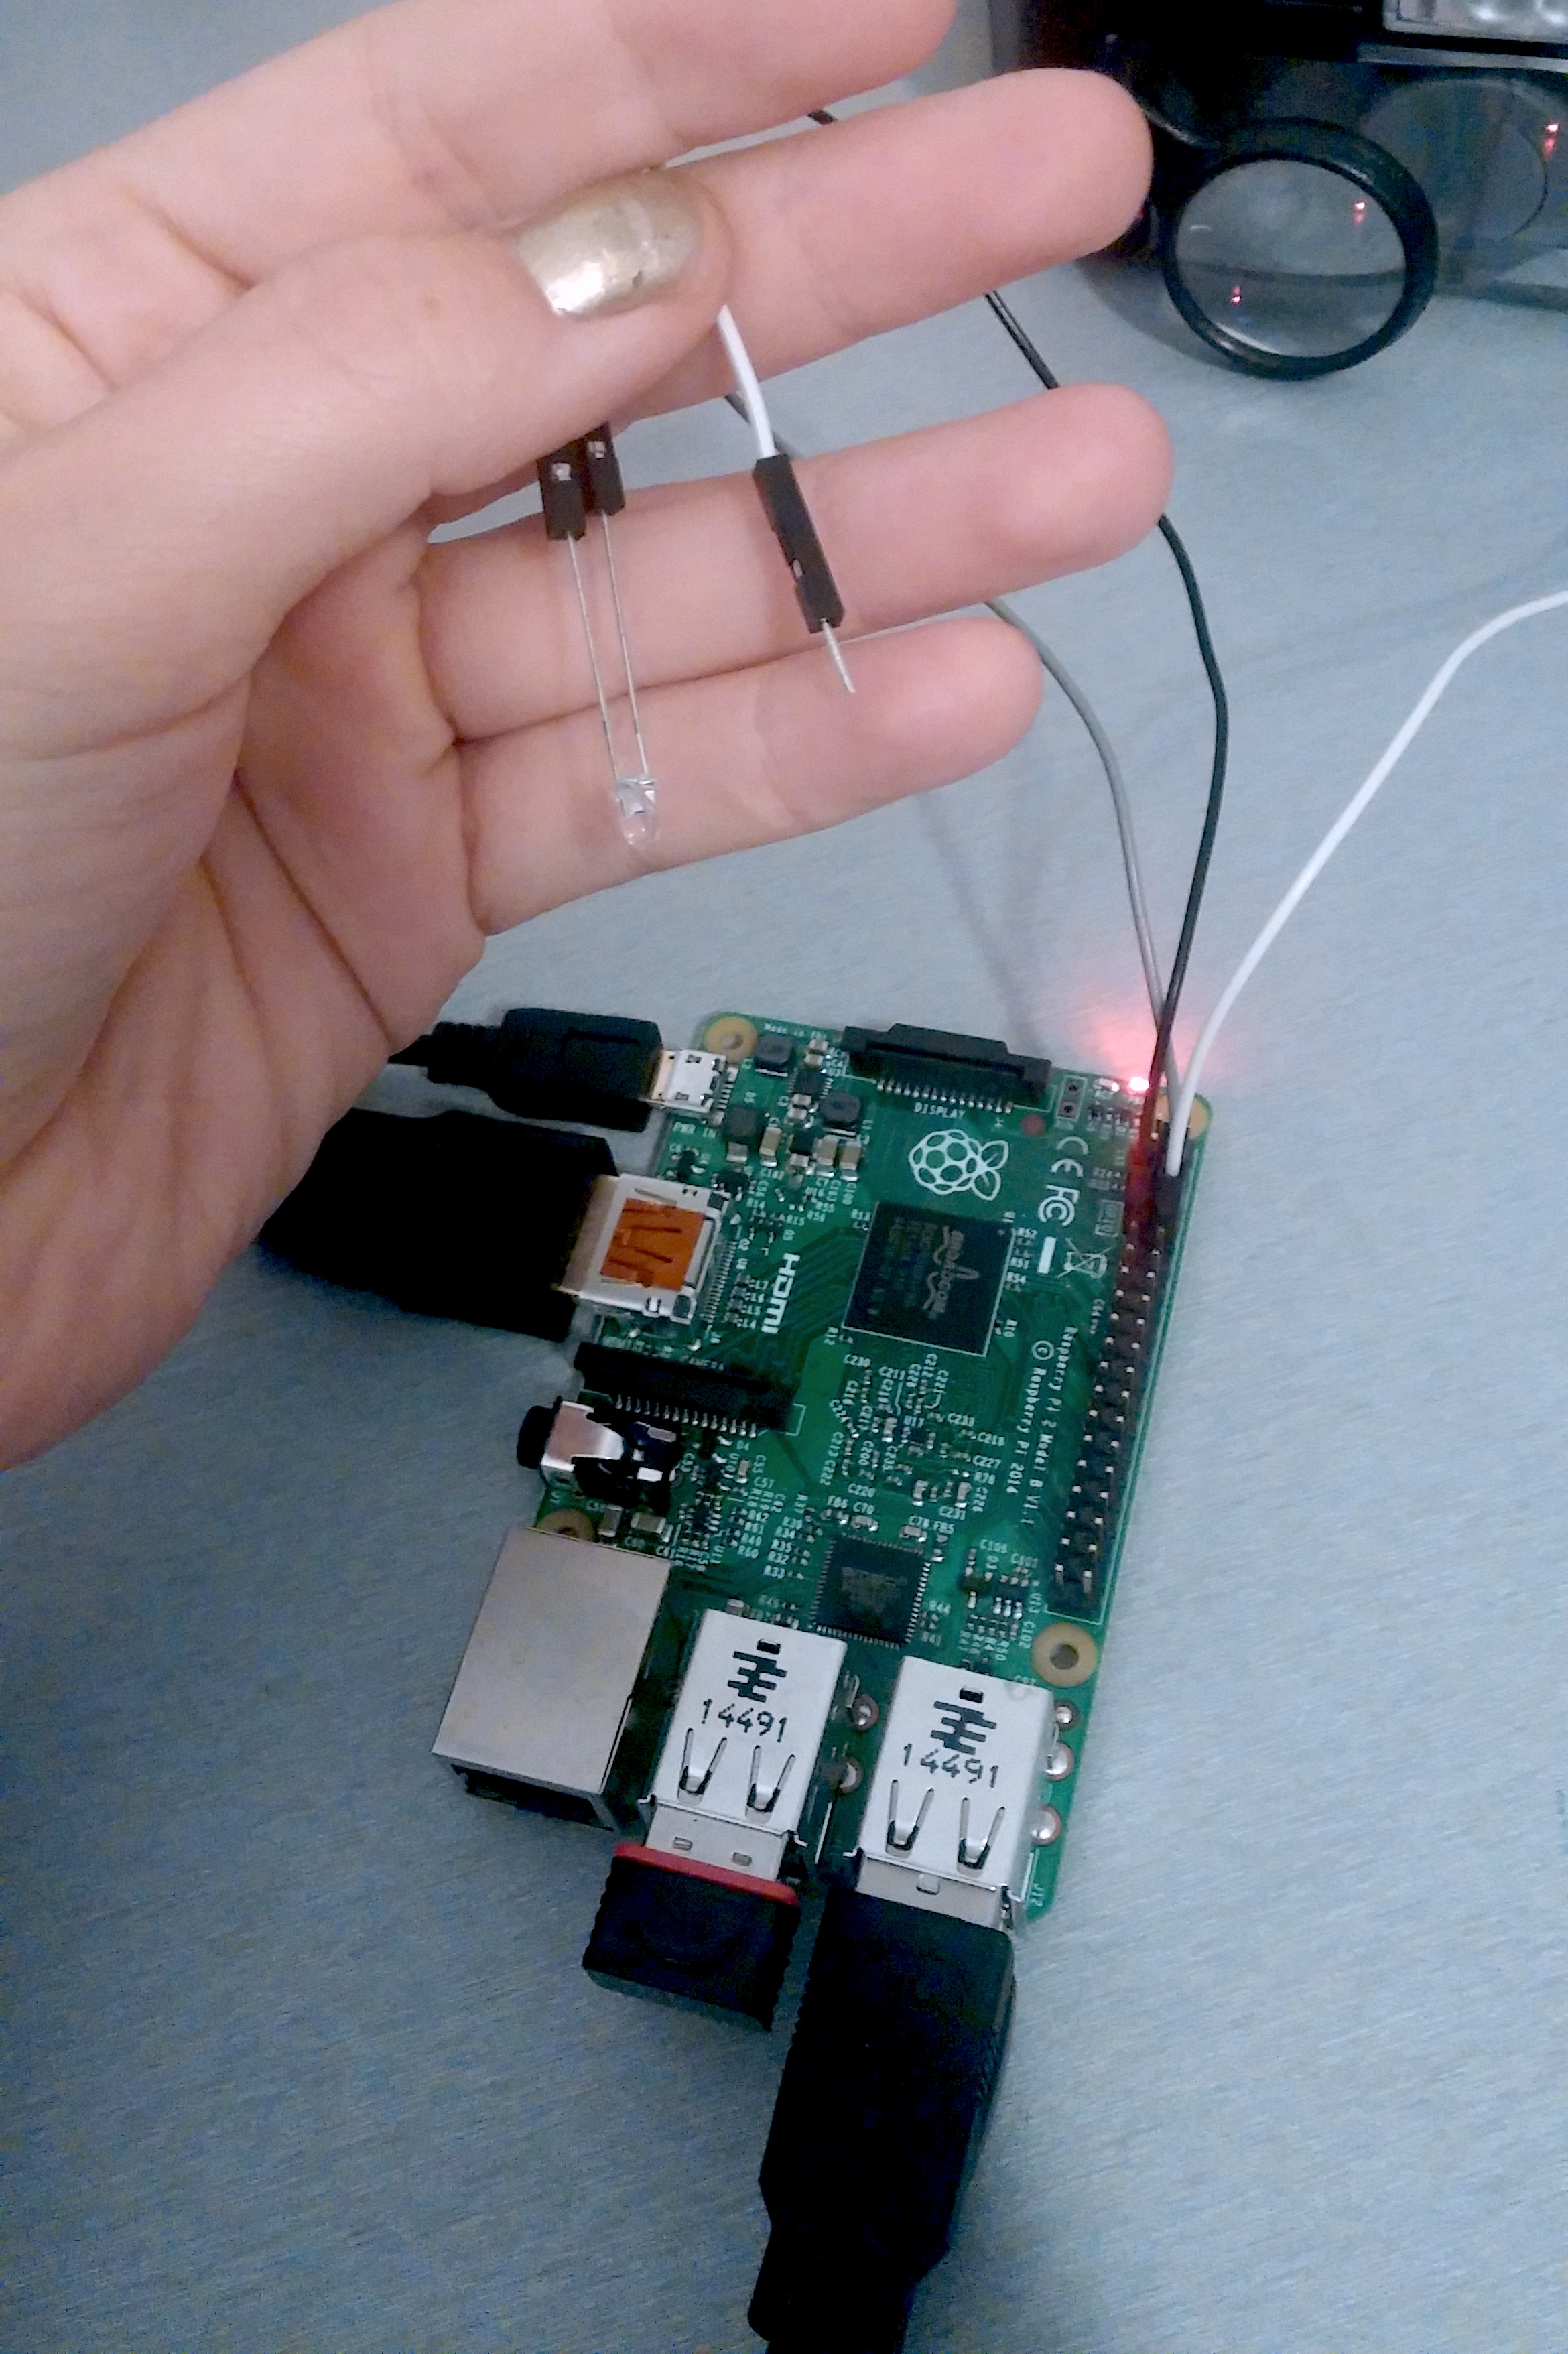
Stage 2: Hardware setup
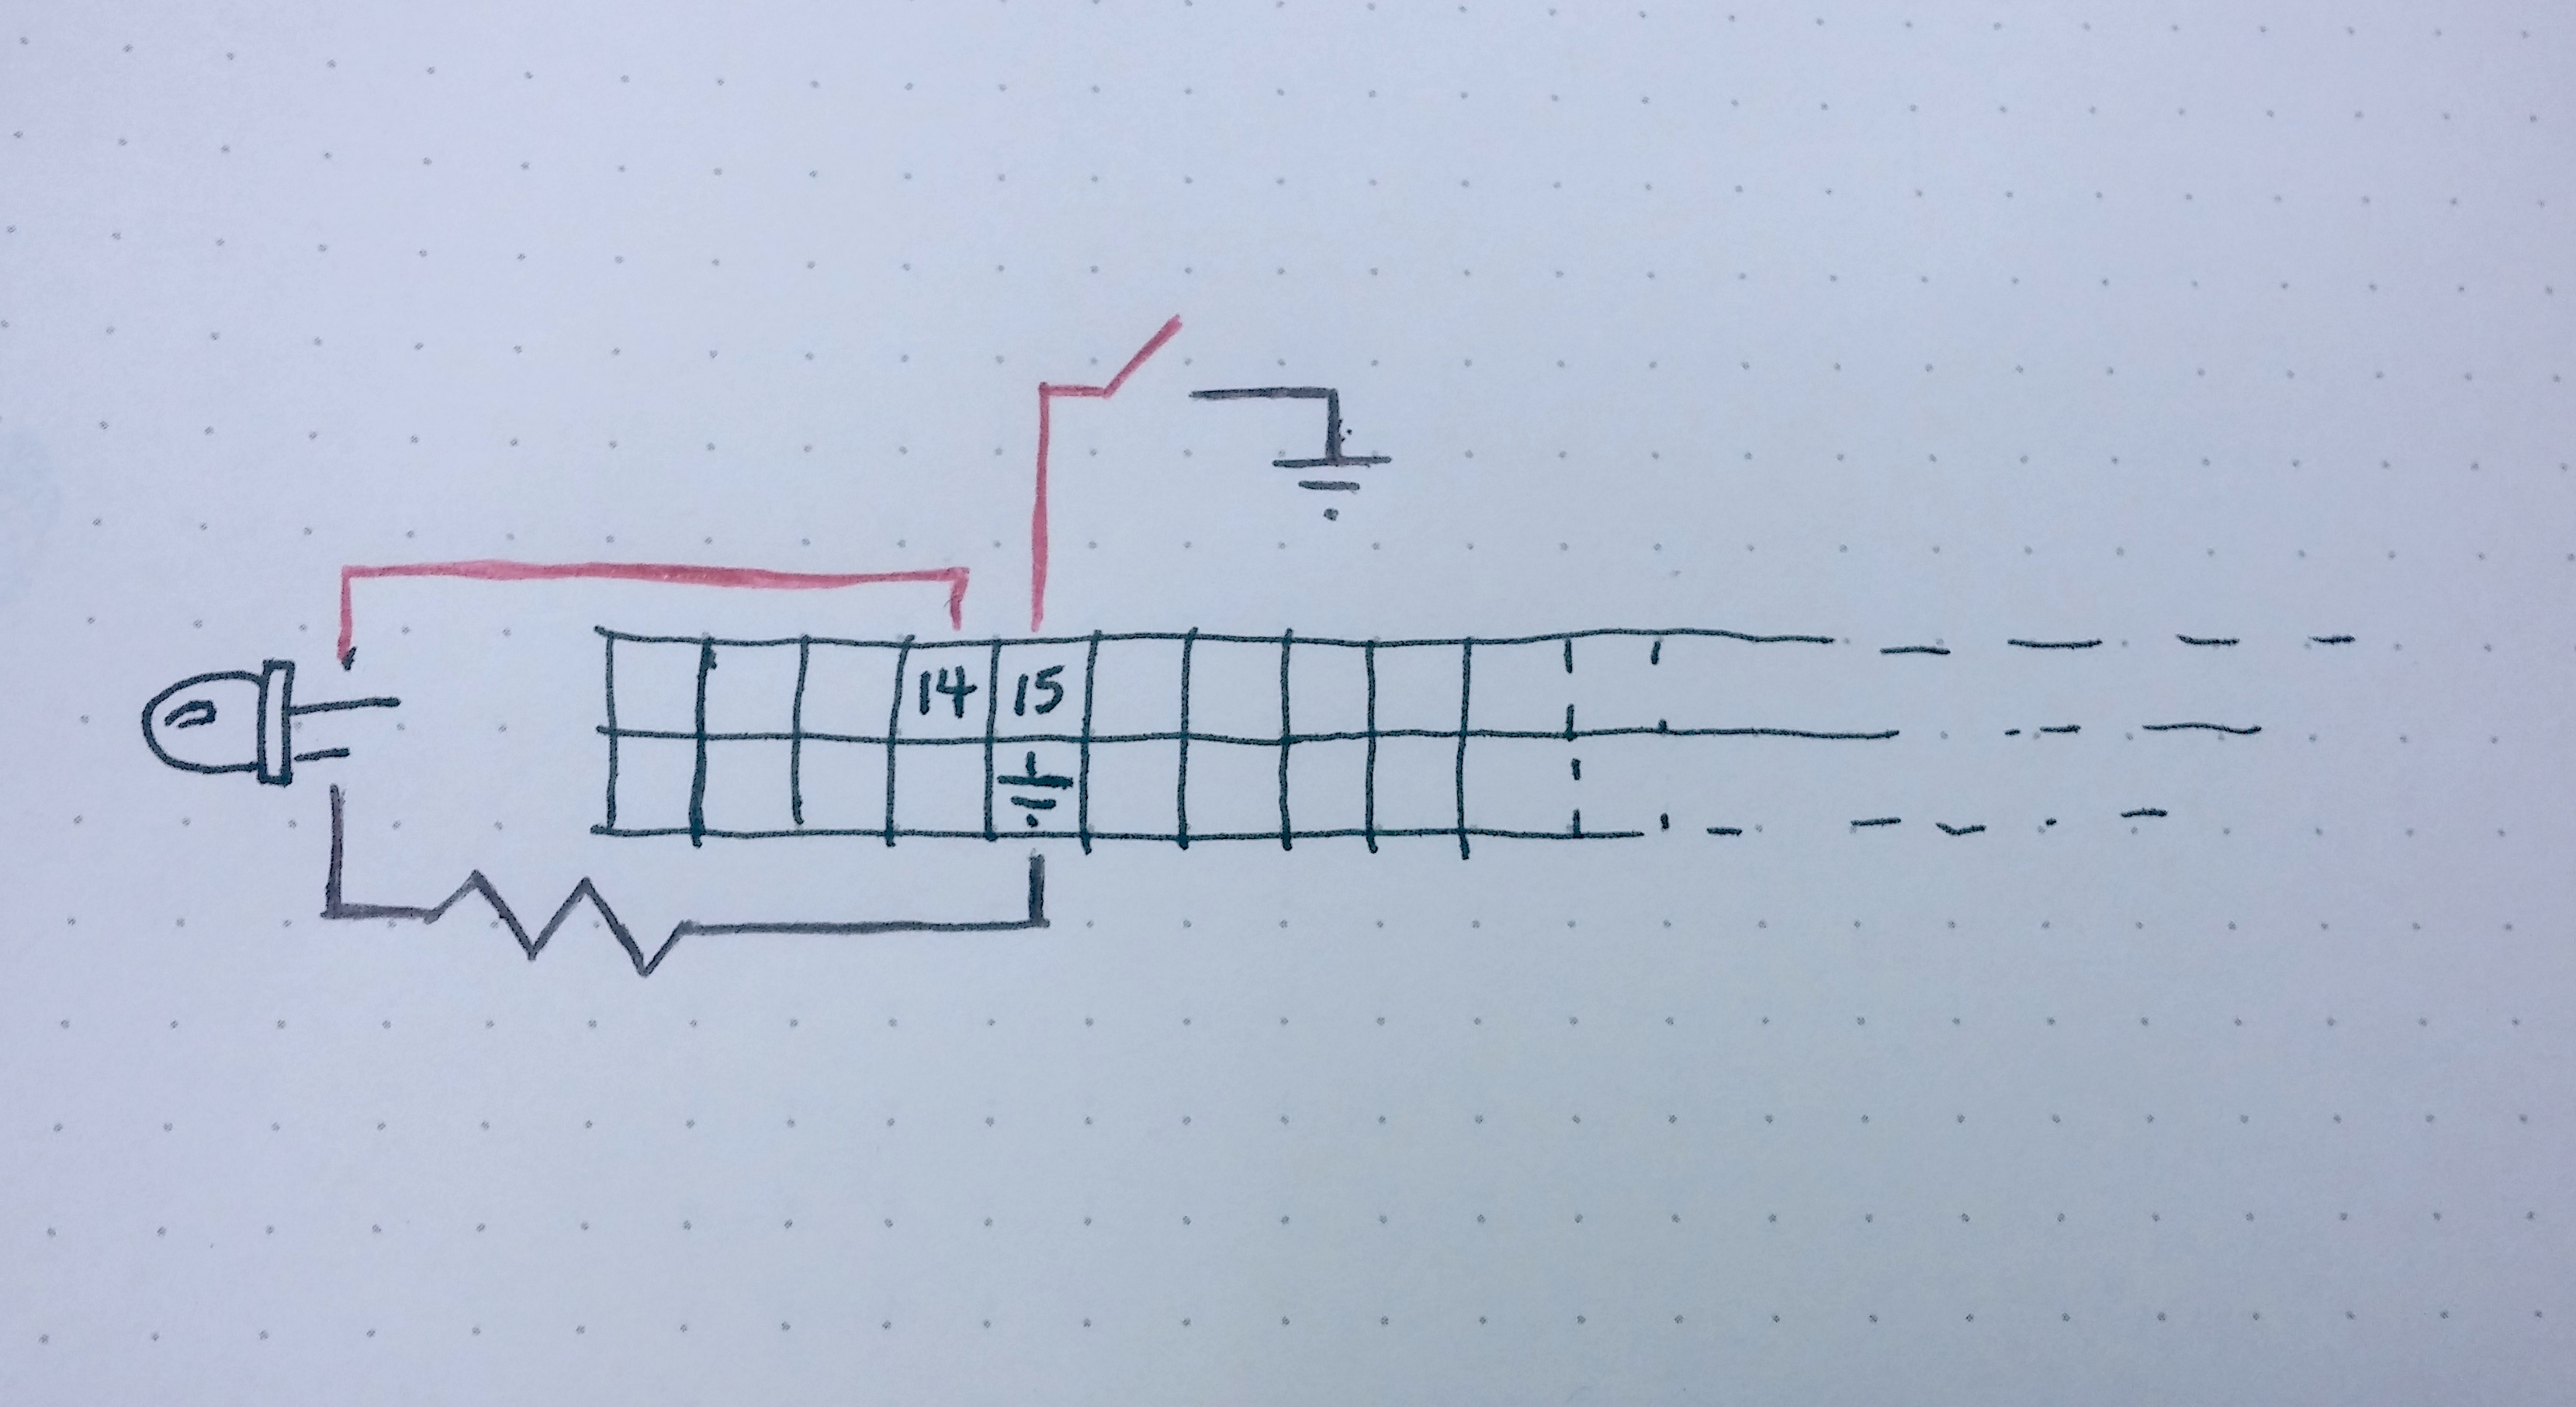
Set up your hardware with the LED (and its current-limiting resistor) on digital pin 14, and your button between pin 15 and ground.
[FRITZING]
That's it!
Stage 3: Programming
This involves 3 steps: setting up your device in SAMI; generating the code to talk to SAMI, via Temboo; and writing the rest of the code.
But we'll start with a simple sketch that triggers an action when you push a button.
Here's our starting button/LED code. (I adapted it from this tutorial.)
Save it somewhere on your Pi, ideally in a folder called something like "doorbell".
Now, open that directory in your Unix terminal and run the script:
cd doorbell
sudo python gpio-button.py
The script sets up digital pin 15 as a button with a pullup resistor. It gives you a 2-second LED flash to let you know it's started. Then, when you push the button, d15 connects to GND, pulling it low. The Pi sees this and turns the LED on for a second to acknowledge it, then waits around to see if you'll do it again.
It needs sudo (root) permissions to work, because the Pi requires that for talking to GPIO pins.
Set up SAMI
You can push data from any device into SAMI. All you need to do is...
- Define what data points you'll be sending: temperature, on/off state, brightness, or something else.
- Create a field for each variable in a manifest – this tells SAMI how to interpret the data you're sending.
Then, it automatically graphs the data for you! If you're curious, run the HelloWorld tutorial now – all you need is a computer, and you'll get a great idea of the capabilities.
Adding a manifest
Log into the developer portal and click the "New Device Type" button.
Enter a display name for the device, a unique name formatted like "io.hackster.device" (if you've written mobile apps, this will look familiar), and a description.
Once you're finished, you'll be taken back to the Overview page.
Click on your new device type and pick "Manifest" from the left sidebar. You'll see a "New Version" button in the top-right corner; for this project, we're just adding a simple manifest. Enter "text" for the field name, and it autocompletes – filling in the data type (String).
Since we're just reading sensor data, we don't need to send an action back to the device. Click "Next" to access that page, then "Save New Manifest" at the bottom.
Creating a new device
There are two portals in SAMI, and our next step takes us to the other one: theUser Portal. Log in, click "Connect another device...", and enter the name of your new device type. Name and save the device, and you're ready to go!
Click on the your device's name, and you'll see a dashboard where data from all your devices is displayed. You can pick which ones to display, from all the devices you have connected. Set it up however you like.
Using the API
Click "Devices" in the nav bar, and then the "settings" gear icon. In order to communicate using this device, you need to generate a device token for it. This is a unique code that you attach to each piece of data you send in; it tells SAMI that you're authorized to do so, like a password. And like a password, you can revoke the device token and generate a new one in case it gets compromised... for example, if you post a screenshot in a tutorial online ;)
The device ID is like a username: a unique identifier for the device.
That's it – we're ready to move on!
Set up Temboo
You'll probably want to do this next part while logged into Temboo on your Raspberry Pi. Open up the browser, head over to Temboo and get yourself an account, or log in.
You'll be redirected to the Library page; scroll down and click on Utilities at the bottom of the list, and navigate to HTTP > Post. (Direct link – works only when logged in)
Enter the information:
-
URL = https://api.samsungsami.io/v1.1/messages
- Click OPTIONAL INPUT
- Debug = true
- RequestBody
{
   "sdid": "YOUR_SAMI_DEVICE_ID",
   "type": "message",
   "data": {
      "text": "Yo!"
   }
}- RequestHeaders
{
   "Content-Type": "application/json",
   "Authorization": "Bearer YOUR_SAMI_DEVICE_TOKEN"
}
...And you're done! Now, scroll down and click the pink Run button:
This is the magic moment – your "Yo!" should be live in SAMI!
Head back to the SAMI user portal, and click the name of your device. Using the blue +/- CHARTS button, make sure your Text field is showing, and then click the triangular "play" button at top-right. Finally, you may need to adjust the time setting at the top.
Here comes your Yo!
As you can see, I've been playing with different text variants, and SAMI color-codes them. Rad! This means you could use an RFID sensor instead of a button, and send names to SAMI to chart individual guests. I could see this as a cool office or makerspace hack.
Debug info
Since you've got Debug set to "true", you can see the feedback from SAMI to Temboo. Go back to the Library page and check out the details, which come with useful copy buttons so you can track your experiments.
Especially interesting are the Response field, which shows you the individual ID of the particular packet of info you sent to SAMI just now ("mid" = "message id"), and ResponseStatusCode – which should be 200, the HTTP status code for "OK!" If you got anything else, look it up here for clues.
Almost done – scroll down a little more and you'll find the CODE box. Jackpot!
Since we're using Python, select that from the language dropdown, and copy the code to a convenient place.
Finally, click "Get the Python SDK" to the right.
Head over to the Temboo/Python getting-started guide and follow the steps to set up the SDK.
IMPORTANT: Move it into your doorbell directory, so your scripts can access it.
(The Temboo setup section was adapted from this awesome tutorial!)
Program Your Pi
After wrestling with different Python libraries for issuing HTTP requests, working with Temboo was absurdly simple. Hopefully, it will be just as clear for you soon.
Write the code:
Now, we're going to take that example code and mash it together with some stuff that makes the lights go!
You can either run sudo idle3 & to launch the Idle editor for Python 3, or run nano sami-gpio.py to create a new Python file and edit it right there in the terminal. If you use Idle, you can run the script by hitting F5 – but again, it must have sudo permissions to work.
Either way, you should still be in the doorbell directory.
Now, in a new text file, you're gonna paste in that code from Temboo. Try running it now! The code should look like this.
sudo python sami-temboo-test.py
Oh look! A beautiful 200 response! At least, that should be what you have... because you're running the same command as before, just from your terminal instead of the browser. Check by opening up the time chart in SAMI. (Note: it may not load on the Pi, but your computer will know.)
Finally, let's mash everything together! Your finished code will look something like this.
I've included the original Temboo comments, plus some of my own, to help you along.
Now, run it: sudo python sami-gpio.py (or whatever you called it)
Poke the button and keep your eye on the SAMI charts! Fabulous!
I hope this helps you get set up with a couple of awesome tools. If you have any questions, hit me up in the comments!
Next Steps
Well, next a doorbell is nothing without a speaker.
Then, I obviously have to 3D print an awesome enclosure.
On the coding side, it's trivial to add a line that sends a message to IFTTT's Maker channel and/or Twilio, triggering an email and text alert. (In fact, I had that bit working before all this SAMI integration! But that's for another day...)
Stay tuned :)


Comments
Please log in or sign up to comment.