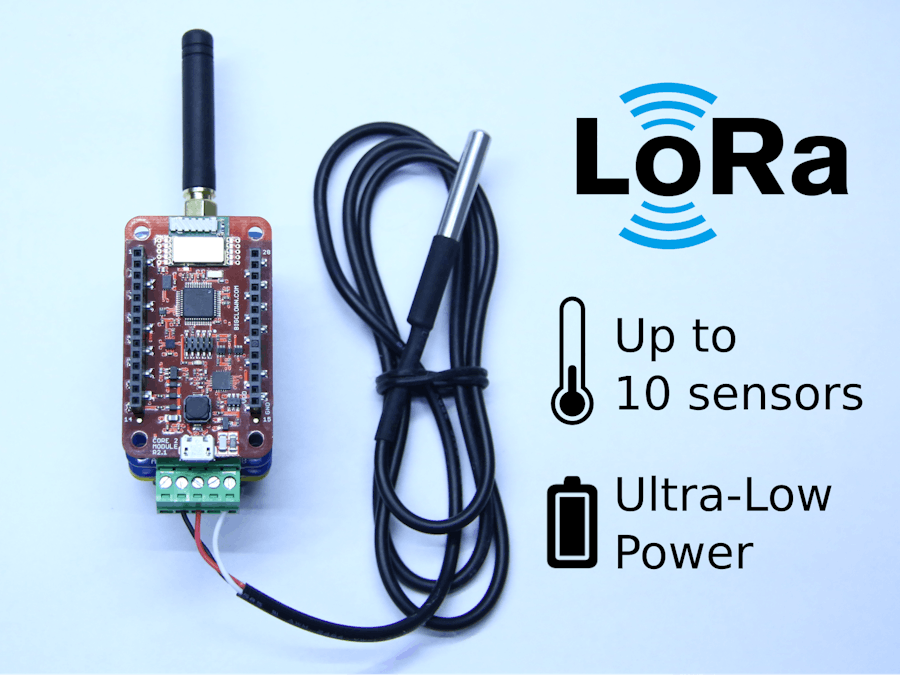
The new BigClown SDK has support for multiple 1-Wire digital temperature sensors. I've created this project that demonstrates this functionality and sends measured temperatures over LoRa network.
You can use ABP or OTAA authentication. Modem supports 868 and 915 MHz.
OverviewClimate Module is indoor device, measures and sends:
- Temperature
- Button press
- Battery voltage
You will need:
- Core Module
- LoRa Module
- Sensor Module
- Mini Battery Module
- You will need Windows, Linux or macOS computer to program Core Module
Optional enclosure:
Connect all the modules on top of each other. It does not matter in what order you put modules together unless you use our enclosure with a hole for LoRa antenna.
Put the batteries in and optionally put device into the enclosure.
Download BigClown Playground multiplatform GUI tool. This tool can flash firmware. It also contains gateway for Radio Dongle and Node-RED but we will not use them because our device talks directly to LoRa gateways.
- Connect Core Module over USB to your PC and wait until the FTDI driver is installed
- Run the BigClown Playground
- Go to the Firmware tab and choose bcf-lora-1wire-thermometer firmware
- Choose the correct serial COM port and press "FLASH FIRMWARE" button
- After flashing, the Core Module will turn on red LED for 2 seconds
See troubleshooting section or visit BigClown forum If something goes wrong
To configure they node keys you will need serial terminal application. Connect the Core Module to your computer over USB.
For configuration we use AT commands over USB virtual serial port. Use your serial terminal application (Hterm, putty, minicom).
More information about console application configuration and parameters are in docs.
Communication parameters are:
- Baudrate 115200
- 8 data bits, 1 stop bit, no parity
- New line
CR+LFfor transmit and for receive ( ! )
To list all possible commands use AT$HELP. You will get:
AT$DEVEUI
AT$DEVADDR
AT$NWKSKEY
AT$APPSKEY
AT$APPKEY
AT$APPEUI
AT$BAND 0:AS923, 1:AU915, 5:EU868, 6:KR920, 7:IN865, 8:US915
AT$MODE 0:ABP, 1:OTAA
AT$NWK Network type 0:private, 1:public (TTN, your own)
AT$JOIN Send OTAA Join packet
AT$SEND Immediately send packet
AT$STATUS Show status
AT$BLINK LED blink 3 times
AT$LED LED on/off
AT+CLAC
AT$HELP This help
AT$APPSKEY?
You receive the key:
$APPSKEY: BF22C15EB89237A65DAABB05B2C91EB4
To write the parameter:
AT$APPSKEY=BF22C15EB89237A65DAABB05B2C91EB4
For LoRa ABP mode you need to set these keys/values:
APPSKEYNWKSKEY
Also for the LoRa gateway/backend you need to get this information:
DEVEUIDEVADDR
For OTAA set the MODE to 1 and the DEVICE and APP EUIs and call the AT$JOIN command to exchange the keys.
If you use public network like TTN, then you need also to configure AT$NWK parameter for public network.
AT$NWK=1The LoRa Climate Monitor sends a LoRa packet when:
- After power-up, when the batteries are inserted
- Every 15 minutes
- After pressing the button
- When you type
AT$SENDto the console
You can also ask over serial port what is the status of sensors by typing AT$STATUS.
If you would like to decode data manually, in the firmware repository there is the decode.py Python script which decodes the received binary HEX data.
hub@hpnix:~/thermometer$ python3 decode.py 001D00E600E8012200E500D600E5
Header : BOOT
Voltage : 2.9
Sensor  0 : 23.0
Sensor  1 : 23.2
Sensor  2 : 29.0
Sensor  3 : 22.9
Sensor  4 : 21.4
Sensor 5 : 22.9You can flash other ready-to-use LoRa firmwares, just type "lora" on our github or in the firmware tab in BigClown Playground. Other functionality can be easily changed and extended in open-source firmware.
You can easily extend the project and create:
- LoRa Motion Detector
- LoRa Pulse Counter
- LoRa Button
- LoRa GPS Tracker
- LoRa tester with LCD Module
- Check out other BigClown projects.
- Take a look at the Module Overview.
- Learn about MQTTand BigClown MQTT topics to control LEDs and relays.
- Try other integrations with Grafana, Blynk, IFTTT, Ubidots and others.
- Use your Raspberry PI or other single board computer (SBC) as a server.
- Flash other firmware or write your own firmware for the Core Module.
- Check the Core Module pinouts and add your own buttons, relays and sensors.


Comments
Please log in or sign up to comment.