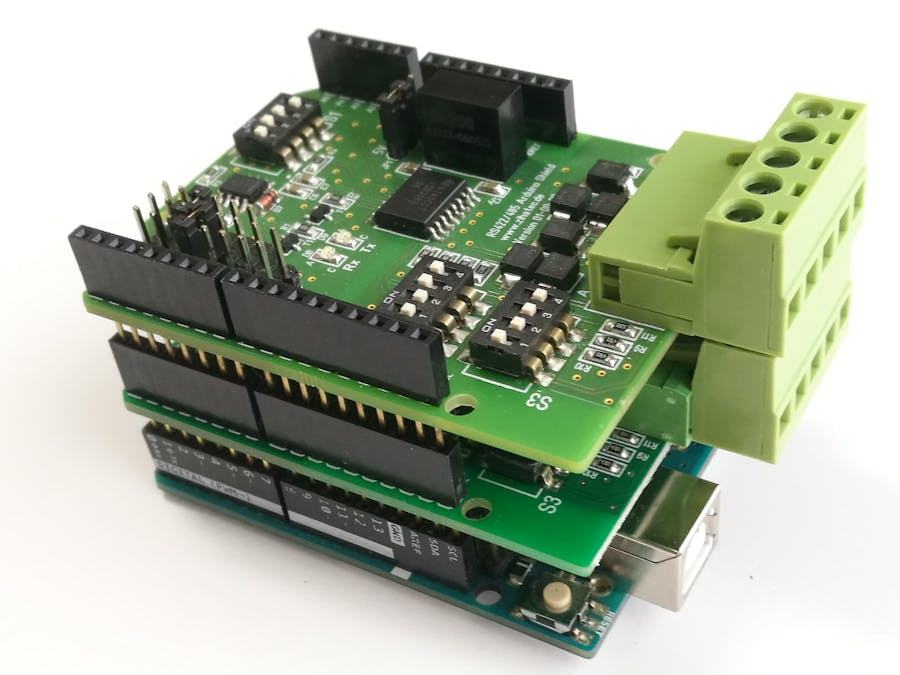
In this blog entry I will show how to connect up to three independent RS485 buses to one Arduino. This can be useful if you want to create a gateway between these buses or if you want to control devices in these buses (without to connecting the buses itself). Another application is the connection of an RS422 device (for example motor control) and an RS485 device (for example a sensor) to the same Arduino.
In any case you will need a stackable RS485 shield with isolated interface to eleminate grounding problems and to protect the Arduino. For any RS485 bus (or RS422) we will need a seperate shield.
Jumper:
- UART RX to position 0
- UART TX to position 1
- Voltage to position 5V
DIP Switch:
- S1 = OFF - ON - ON - OFF
- S2 = OFF - OFF - ON - ON
- S3 = ON - OFF - OFF - OFF
Jumper:
- UART RX to position 2
- UART TX to position 3
- Voltage to position 5V
DIP Switch:
- S1 = OFF - ON - ON - OFF
- S2 = OFF - OFF - ON - ON
- S3 = ON - OFF - OFF - OFF
Jumper:
- UART RX to position 4
- UART TX to position 5
- Voltage to position 5V
DIP Switch:
- S1 = OFF - ON - ON - OFF
- S2 = OFF - OFF - ON - ON
- S3 = ON - OFF - OFF - OFF
The shield for bus 1 will use the hardware UART on PIN 0 and 1 of the Arduino. The both other shields will use software UARTs.
#include <SoftwareSerial.h>
SoftwareSerial RS485_BUS2(2,3);
SoftwareSerial RS485_BUS3(4,5);
void setup()
{
....
// init serial port for bus 1
Serial.begin(9600);
// init serial port for bus 2
RS485_BUS2.begin(9600);
// init serial port for bus 3
RS485_BUS3.begin(9600);
....
The transmittion data of these software UARTs is limited by the calculation power of the Arduino. Of course, if you will use an ARM-based Arduino or STM32 board this will not be really a problem, but for the UNO it is recommend to use only two shields at the same time and for the second shield not more as 9600 Baud as data rate.


_ztBMuBhMHo.jpg?auto=compress%2Cformat&w=48&h=48&fit=fill&bg=ffffff)


Comments
Please log in or sign up to comment.