


Hardware components | ||||||
_ztBMuBhMHo.jpg?auto=compress%2Cformat&w=48&h=48&fit=fill&bg=ffffff) |
| × | 1 | |||
| × | 1 | ||||
| × | 1 | ||||
 |
| × | 4 | |||
| × | 1 | ||||
 |
| × | 1 | |||
Software apps and online services | ||||||
 |
| |||||
To get to this, let's start with the assembly:
I bought this car chassis:
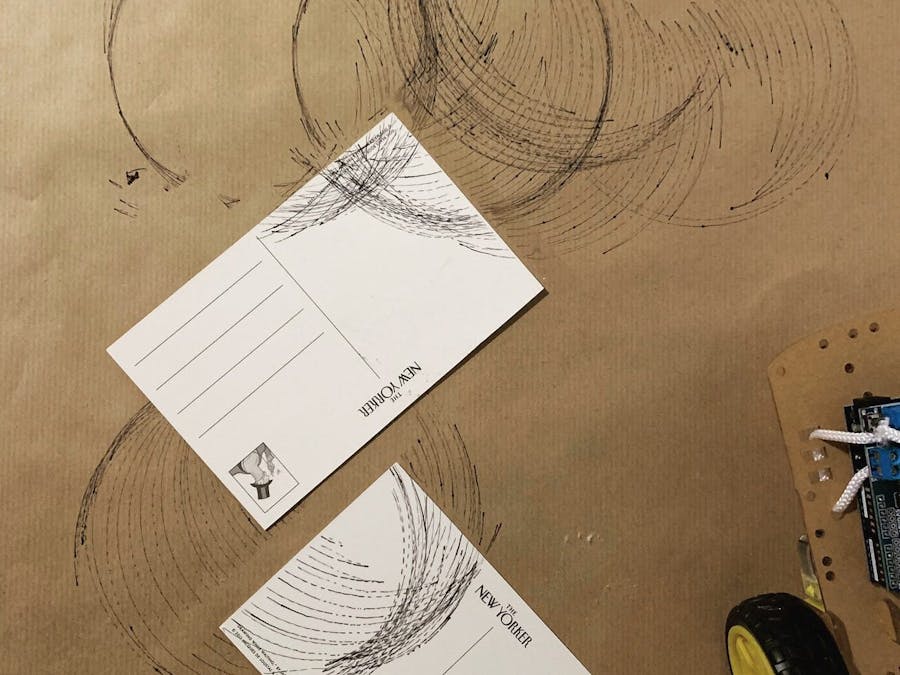
I decided not to use some of the parts, specially the front wheel as rolling forward and backward wouldn't make straight lines because the wheel rotates as well. Instead I put some semi sphere made of plastic which I took from a roll-on deodorant. So the end result is this:
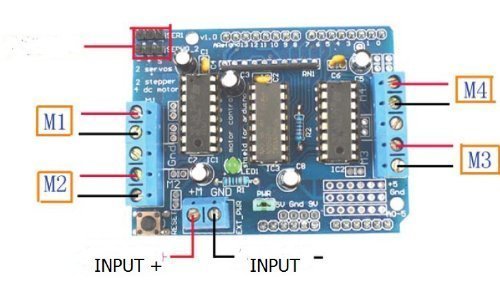
Now, the Arduino and Motor Shield.
The Motor Shield provides an easier set up for your motors and also allows to control their direction and speed. It also protects the Arduino from any current coming back from the motors and even lets you plug it to higher voltage sources. I use a 9V adapter for example.
To install the shield you just need to put it on top of the Arduino and press down as shown below.
I will be connecting the motors to the M3 and M4 pins
So all we need to do now it wire the thing up
There's one optional step and it's to secure the board to the car chassis. I used a small string and also put the circuit in the front part of the chassis because I want my pen to be between the wheels, in this way it's easier to control the results of the drawings.
Alright, so everything is in place and now we can just put a pen on top of it and it will draw something cool.
Well, not so fast. We still need to program the thing!
I used the Arduino Online Editor and you can find a copy of the code here.
The drawing happens in the loop and it's very simple
void loop() {
 delay(1000);
 rotateLeft(90);
 rotateRight(180);
 rotateLeft(90);
}
The code is self-explaining. This car will do semicircles forever XD.
Check out some other drawings at my website.
Thanks for reading and if you think this is too simple I invite you to check my other project: Alexa, launch a paper plane.


Comments
Please log in or sign up to comment.