My wife wanted to be able to start planting seeds here in a week and also wanted to have an indoor shelf with lights on which to start them. The plants need significant light, and it's cold enough outside here that we can't have them outside.
I designed a set of shelves in Fusion 360, which I then cut on my CNC. If you look below in the Github repository, you can find links to the Fusion project so that you can download the objects and use the milling option to cut them out yourself on your local Makerspace's CNC.
The AssemblyOnce I had all the parts built in fusion, I assembled them to make sure that they'd fit. After I was convinced that they did, I exported the DXF to my milling program (estlCam) and had the CNC cut out the pieces from some birch ploywood that I bought at the local hardware store.
Once all the pieces were cut out, it was time to assemble the main shelving unit. As you might imagine, the most important part is keeping the wife happy, so the shelves have to come first.
After this, I added a couple sets of lights to the shelves and moved on to electronics.
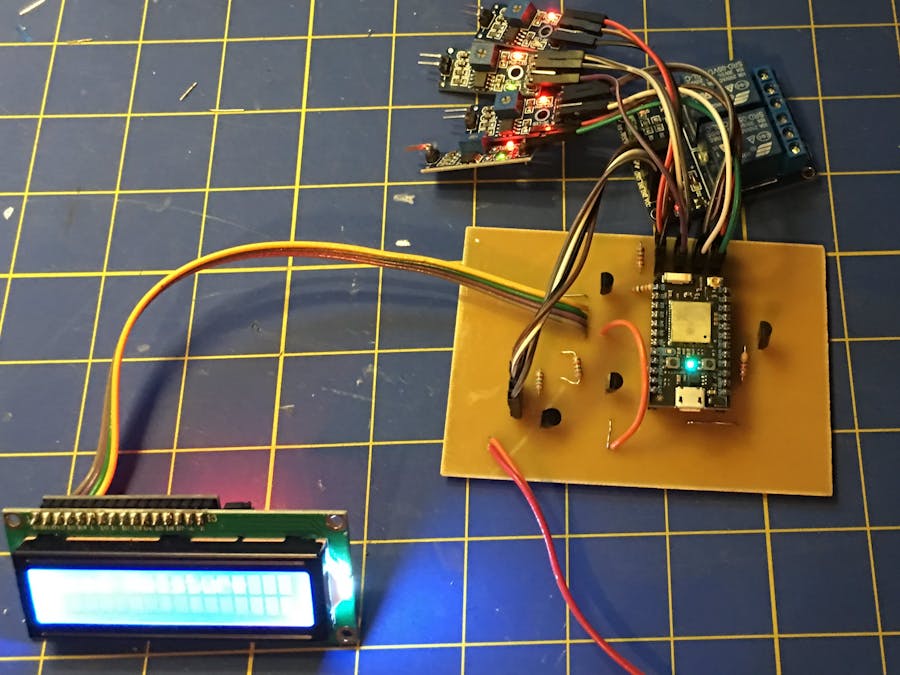
The ElectronicsThe main controller is just a Particle Photon. I chose this as it does have a decent app, and it's reasonably fun to use. The only real downside is that my relays and moisture sensors were 5v, and the Photon only has 3.3v pins. That meant I needed to build some NPN switches into the device in order to use the supply voltage of 5v. You can see the schematic in the Github repository below.
I then assembled the whole circuit on a large protoboard that I have.
After that was all done, it was off to Sprint Layout to draw up a circuit board. After design and validation in sprint, it was off to the CNC again to create the board.
Once the board is built, it's time for assembly and finally using the soldering iron.
Notice that red jumper wire right next to the Photon. Apparently v1 of the board doesn't have power going to the display. V2 which is uploaded into the Github repository below has corrected this issue. But the board works, so back to Fusion 360 to create a box for the unit to be housed in.
As before, you will find links in the Github repository below, but you can also see it here.
The 3D PrintThen off to the 3D printer to create the box. I use Repetier Server to control the 3D printer, and Repetier Host to do slicing and send to the server. You can see my 3D printer and CNC projects by looking at my profile. These were the tools I used to create the box and shelves. It's rather nice to be able to use the tools that you created in order to make other things.
Then assembly of the electronics into the box.
And then finally, installation onto the shelves and a power test.
And we're done. A plant shelf, with IoT controllable lights, made from birch plywood and using tools made at home.


_3u05Tpwasz.png?auto=compress%2Cformat&w=40&h=40&fit=fillmax&bg=fff&dpr=2)
Comments
Please log in or sign up to comment.