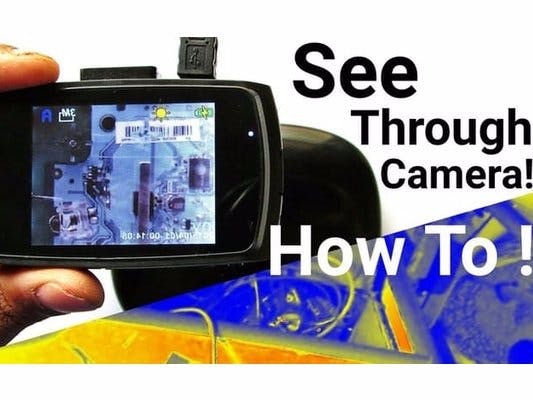
Every camera sensor has the ability to see infrared, i.e., the thermal part of light. But the infrared blocking filter inside digital cameras protects the CCD sensor from burning due to high energy infrared light, such as sunlight. Now, if we remove the blocking infrared filter, the camera will also be able to see the infrared part of the light spectrum! Which is pretty cool because, after this hack, you can see hot objects with your camera glowing more as they emit more infrared energy. And there are many other things you can do like see through some clothes and black objects, which takes teardown to another level!
Even the cheapest Seek Thermal camera is 200$. Compare that to this DIY which can be done with just 10$ including the HD video camera! Which Seek Thermal cameras don't have. Now you have the ability to see through objects & know their temperature, almost like the professional cameras (Fujifilm X-T1, Sony X-ray cameras, the Seek, or Flir One thermal imaging camera) but for very cheap!
Step 1: How Does It Work?Every digital camera has a CCD sensor which is capable of seeing the infrared portion of the light spectrum. But since long exposure of infrared light can cause permanent damage to the sensor, the infrared blocking filter is used to solve this problem.
If we remove the infrared filter from the lens, it is possible to see infrared beauty!
- In the first image, you can see a normal image vs its infrared image.
- In the second image, there are different nm lens filters used to archive different effects.
So, theoretically, you can use any camera for this hack, like your DSLR, cellphone camera or a (10$) Dashcam just like I used. Remember: the cheaper the camera, the easier your job will be.
Step 2: Modify Your Camera!1. Open your camera.
2. Remove the CCD sensor by disconnecting the flex cable.
3. Detach lens mechanism from the sensor.
Now you have successfully separated the lens from the CCD sensor.
4. In the lens part, remove the collimating lenses.
5. You will see the reddish-looking infrared blocking filter.
6. Remove this infrared filter with a screwdriver.
7. Now insert the collimating lens again in its place.
8. Fit the camera properly.
Step 3: Things Under the Infrared Thermal Camera!Here are a few things viewed under this infrared thermal camera, which are quite interesting-looking!
- A USB lighter showing heat more sensitively than a normal camera.
- Moto E showing a normal LED.
- Moto E showing a proximity sensor flashing.
- You can see the circuit board inside the Logitech Harmony Hub.
- A heated soldering iron. You can't see this heat with a normal camera.
- You can see the heated part of the soldering iron glowing.
- You can clearly see the electronics ICS or component numbers. This can be helpful if you have lots of unlabeled component boxes.
- See the part number in very congested spaces.
- A normal green laser pointer.
- A normal green laser pointer also emitting infrared light in random directions.
- You can see through RFID tags easily.
Here Are Some Sample Images From Infrared Thermal Camera
- A heated soldering iron
- Eye focused into the distance
- Eye focused at a very close distance
- A USB lighter glowing
- Looking at a circuit on the Harmony Hub
- A chip & coil inside RFID tags
- See parts number very easily
1. It's cheaper than the cheapest thermal camera, which is the 200$ Seek Thermal camera. I built this camera with just 10$.
2. You can record 1080p videos, which is not possible with any thermal camera on the market to date!
3. You can take high resolution pictures.
4. If you want a similar RGB thermal camera, you can use thermal camera Android apps.
Step 6: Tell Me Your ThoughtsHere I just touched the tip of the iceberg; there's more to explore. Tell me your thoughts!


Comments
Please log in or sign up to comment.