

Hardware components | ||||||
| × | 1 | ||||
Software apps and online services | ||||||
| ||||||
| ||||||
 |
| |||||
 |
| |||||
| ||||||
| ||||||
Hand tools and fabrication machines | ||||||
| ||||||
If you're anything like me, you regularly drive around the block to double-check your garage door is actually closed. You go on autopilot, pull out of your driveway, and you're down the street by the time the thought occurs to you that your tools, bicycles, and other treasures are probably sitting out in the open. You flip around, drive back, see you closed it, and then set off on your way probably to turn around one more time to check the oven is off (unfortunately I don't have something to help you with that one, yet).
If you're also like me, one of the treasures you're trying to protect is the junk drawer in your garage workbench. Inside, you probably have some abandoned IoT gadgets like some smart lightbulbs that were destined for making sound-reactive art or a notification system. Unfortunately for me I put them back in their boxes without marking how long I'd burned them or if they still worked- I'd been meaning to test them for months. But they're so hackable, and often have a nice cloud API you can just use with your favorite programming language. I hatched an idea looking at these to solve my environmentally destructive habit of driving home to check my garage door is closed- my garage door opener, probably like yours, has a socket for a lightbulb in it!
This light turns on and off as the garage door opens or closes. What if we could keep track of these cycles?
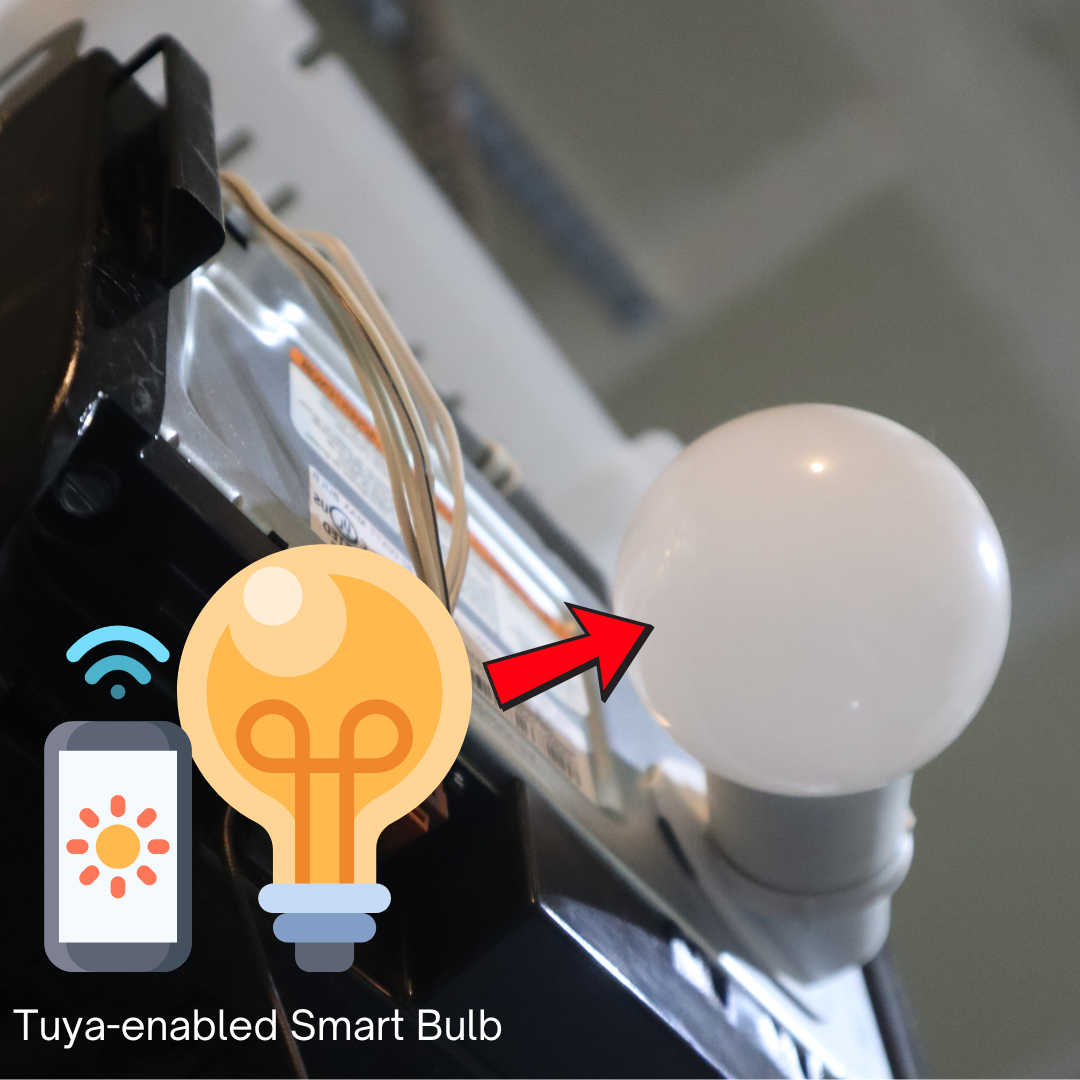
Introducing Garage GuardianGarage Guardian is a cloud-based solution to monitor the state of your garage door using a Tuya-enabled smart bulb. You replace the bulb that's likely already in your garage opener with a WiFi smart bulb, and then it keeps track of its on/off state to tell you when your garage door is open or closed - no modification required. Recall how that bulb turns on and off as the opener iis used- this lets us keep track of open and close events. This project uses AWS services like Lambda, DynamoDB, API Gateway, and Secrets Manager to provide real-time garage door status updates to a simple website you can bookmark on your phone. These services are deployed with a single click with no coding knowledge required, simply follow the steps below!
You will need:
- A Tuya-compatible WiFi smart bulb (I used these, but others likely work)
Why Tuya? Tuya has a great API which lets us interact with these devices programmatically.
Word of warning! Not all Tuya bulbs use WiFi. I started using one of the old bulbs in my picture above, and discovered that it was Bluetooth only- it did not report any status up to the Tuya API. Be sure when you buy or find your bulb that it supports WiFi so you can check it while you're away!
- An Amazon Web Services account
- A garage door opener that has a built-in lightbulb
- A ladder or other means to access your garage door opener safely
Installyour Lightbulb
1. Install the Tuya Smart app and sign up for an account: iOS, Android
2. Safely set up a ladder under your garage door opener (unless you're tall enough to reach it, I suppose)
3. Open the front of the unit where the lightbulb can be replaced. On mine this part of the case is on a hinge and simply flips up.
4. Remove the light bulb
5. Install your Tuya WiFi bulb
6. Close the case
7. Open and close the garage door to turn the bulb on. It may start blinking showing that it is in pairing mode.
8. Click "Add Device" in the Tuya Smart App and follow prompts to add the smart bulb to your account. You may have to enable some permissions for Tuya to find your bulb.
9. Verify you can change the bulb color or turn it on and off before continuing. This confirms the bulb is connected to your WiFi and registered correctly with your Tuya account.
Get Your Tuya API Credentials
1. Go to the Tuya IoT Platform.
2. Log in or sign up for an account. This website does not use the same credentials as your Tuya Smart app account. We will link them later.
3. Navigate to the Cloud section.
4. Click on Create Cloud Project and follow these steps:
- On the 'Authorize API Services' window, ensure you have 'IoT Core' and 'Authorization Token Management' in your selected API services. They may have been added by default.
- Click 'Authorize'
5. From the 'Overview' section you can copy and save your 'Access ID' and 'Authorization Key'. They will be needed in later steps.
6. From the top navigation bar select 'Devices'
7. From this new page, in the new navigation bar that appeared below the top navigation bar select 'Link App Account'
8. Click the 'Add App Account' button
9. Keep the default selection of 'Automatic Link' selected. Click 'OK'.
10. In the Tuya Smart app, click the add button again (+) and click 'Scan'. Scan the QR code the Tuya IoT Platform is displaying. Your account will be linked automatically. If it complains about the data center you selected, repeat these steps with a different data center that may be closer to your present location.
11. You should see a list of devices that includes your new smart lightbulb. Copy its Device ID. You will need it in the next section.
Deploy the CloudFormation Stack
Important! Close your garage door and wait for the light to turn off before completing this section. The Lambda function this deploys checks the bulb status once every minute and tracks opening and closing events based on if the bulb is currently online. The statusing code assumes the door starts in the closed and bulb off state.
1. Click here to launch the stack! This will launch a CloudFormation stack with the Garage Guardian code after we configure a few details. Think of this like a recipe for deploying some code to the cloud!
2. Using the presented form, we'll now enter the information we collected in the previous section. These credentials will be held safely in the Secrets Manager this stack deploys. For your TuyaAPIKey enter the Access ID you copied in the previous section
3. For your TuyaAPISecret enter the Authorization Key you copied in the previous section.
4. For your TuyaDataCenter select the data center you chose in the previous section from the dropdown.
5. For your TuyaDeviceID enter the Device ID you copied in the previous section.
6. Click the checkbox acknowledging CloudFormation may create IAM resources.
7. Click "Create Stack" or "Next".
8. You may be brought to additional pages with options and features this project does not use. You can read about them if you choose. Click "Next" once you are satisfied until the last page allows you to click 'Submit'.
9. You will be brought to the CloudFormation dashboard. You will see that CloudFormation is deploying GarageGuardian. Wait several minutes while this occurs. You may need to refresh to see that the deployment has succeeded.
10. From the successfully deployed GarageGuardian stack, select the 'Outputs' tab.
11. You will see two URLs. The first is an API you can use for your own integrations to check if your garage door is open. The second is a link to a status page you can bookmark on your phone or computer. Click this link. You should see your garage door status display momentarily - theLambda function runs once per minute so there will always be a slight delay with the door status!
What we have just deployed is a system that takes your API credentials out of secure storage, makes requests to the Tuya API to check if the bulb is turned on, and records changes in state in DynamoDB, a cloud database. We have an API gateway that allows us to make API requests to find out if the door is open or closed, as well as another Lambda function that prepares a status page you can view in your browser that displays this status information.
Here's how the state changes throughout this project. We don't want to toggle the door open state every time the function runs- we need to check if we are already in an open or closed state and not change the door state in these scenarios. This helps avoid false positives and negatives.
From the settings menu (on Android) or the share menu (on iOS), you can click "Add to Homescreen" to have a shortcut for Garage Guardian appear so you can launch it like an app. This is handy for quickly checking your garage door status on the go!
The Garage Guardian project has been a journey of problem-solving and the occasional head-scratching over API quirks. This project showcases how seemingly mundane items—like a smart bulb and some clever cloud computing—can come together to solve a relatable problem: “Did I leave the garage door open?” By marrying Tuya smart device integration with the power of AWS, users have created a system that keeps their garages secure and their minds at ease. I hope you take this guide and some junk drawer e-waste and have fun!


](https://console.aws.amazon.com/cloudformation/home#/stacks/create/review?templateURL=https://garageguardian.s3.us-west-2.amazonaws.com/cloudformation.yml)
Comments