This project is based upon the topic of the internet of things. I have used Bolt WiFi module to connect and send data to the Bolt cloud. this WiFi module is connected to the temperature sensor and a power supplying device. it can only handle a voltage of 3.3 V so the power must not exceed it. This setup will sense the surrounding temperature, detect anomalies, predict data and send alert to the user by twilio app in the presence of an anomaly. This will help the user to asses any temperature based machine continuously and detect and predict any anomaly.
Hardware required- The Bolt WiFi module
- 3 female to male wire
- Temperature Sensor: LM35 sensor
- 5V Cable of DC adapter
Hold the sensor in a manner such that you can read LM35 written on it.
In this position, identify the pins of the sensor as VCC, Output and Gnd from your left to right.
In the above image, VCC is connected to the red wire, Output is connected to the orange wire and Gnd is connected to the brown wire.
Using male to female wire connect the 3 pins of the LM35 to the Bolt Wifi Module as follows:
- VCC pin of the LM35 connects to 5v of the Bolt Wifi module.
- Output pin of the LM35 connects to A0 (Analog input pin) of the Bolt Wifi module.
- Gnd pin of the LM35 connects to the Gnd.
The setup should look like the image below:
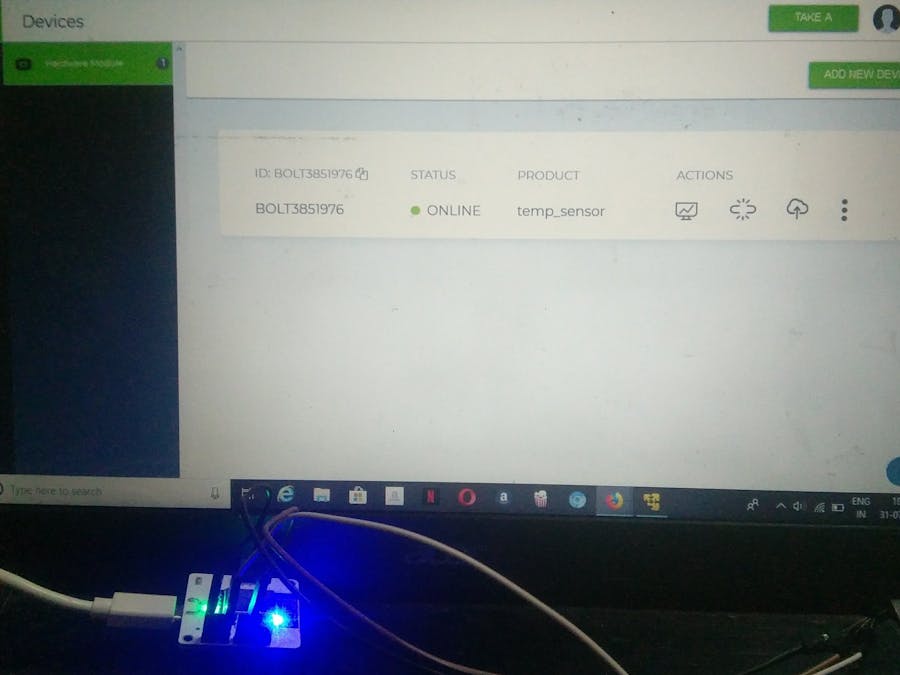
This is how my setup looks like:
Now we will learn about Twilio and how to collect data from LM35 sensor.
Introduction to TwilioTwilio is a third-party SMS functionality provider. It is a cloud communications platform as a service (PaaS) company. Twilio allows software developers to programmatically make and receive phone calls and also send and receive text messages using its web service APIs.
Please note that SMS delivery via a trial Twilio account is not guaranteed to be instant by Twilio. Also, note that SMS will not be sent to numbers which have DND(Do Not Disturb) turned ON.
Creating an account on Twilio1: Open https://www.twilio.com/ in browser.
2: Click on Get a Free API Key button to sign up.
3: Fill all the necessary details in SIGN UP form. Below is the screenshot of filled sign up form.
4: To verify they will ask for your phone number. Choose India as an option in the dropdown and then enter your phone number.
5: Click on "Products" as shown on the screen below,
6: Now enable the SMS services by clicking on two checkboxes for Programmable SMS and Phone Numbers as shown below.
Once you have done this, scroll to the bottom of the screen and click on "Continue".
7: Now, you will need to give a name for your project. I have given the name as My Project. Click on "Continue" once you have entered the project name.
8: Click on "Skip this step" when it asks you to Invite a Teammate.
9: Your project should be created at this point. Click on "Project Info" to view the account credentials which is required for your projects.
10: You can view the Account SID and Auth token on this page. The Auth token is not visible by default, you can click on "view" button to make the Auth token visible as shown below. Copy both and save them somewhere securely.
11: From the drop-down menu, choose "Programmable SMS". Now click on Get Started button to generate phone number.
12: Click on Get a number button.
13: Then a popup will appear. Click on Choose this number button.
14: Then a popup will appear which will have the final number. Copy this number and save to notepad for future references.
You have successfully created the account on Twilio.
Now the given code can used to start the temperature monitoring, anomaly detection and data prediction.
The given code is written on a virtual workstation ubuntu software and is in python language.
For people who do not have ubuntu or cant use it, here is a video to help it.
HERE ARE SOME HELPFUL LINKS:
VMWare Download link - https://my.vmware.com/web/vmware/free#desktop_end_user_computing/vmware_workstation_player/12_0
Ubuntu Server ISO link - http://old-releases.ubuntu.com/releases/16.04.5/ubuntu-16.04.5-server-i386.iso
To access Bolt cloud, you will need to create an account there
1) Go to https://cloud.boltiot.com/
2) Go to products and click on ADD PRODUCT option
3) Give a name to your device and select input devices and GPIO option. Click on CONFIGURE option.
4) Select A0 pin and give it a name say temp.
5) Go to software tab and write the code in javascript and select file extension as js. give some name to the file and click on save button.
6)Go back to previous menu by clicking on the X button.
7)Now click on link the device option and select the bolt device you want to link with the code.
8)Click on deploy configuration option and then on view this device. You will get a menu with your data in a graphical form. You can check and predict your data here.
Now you have your own bolt cloud account, twilio account, vmware workstation and ubuntu system. You can easily use the given code to make this project by your own and can also do many other exciting IoT-based projects.
This image below shows the prediction of the temperature curve by using machine learning algorithm and is the result from my evaluation of this temperature system.
After an anomaly


Comments
Please log in or sign up to comment.