Story :
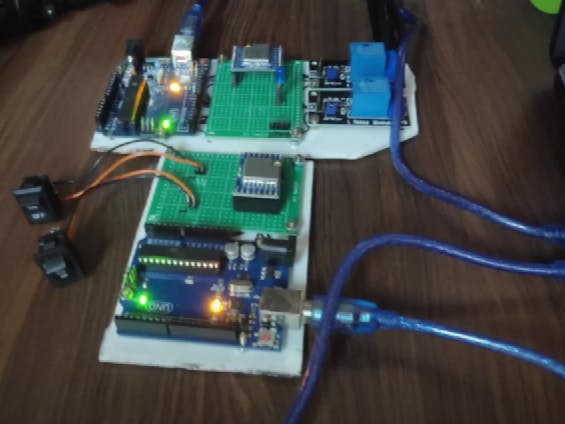
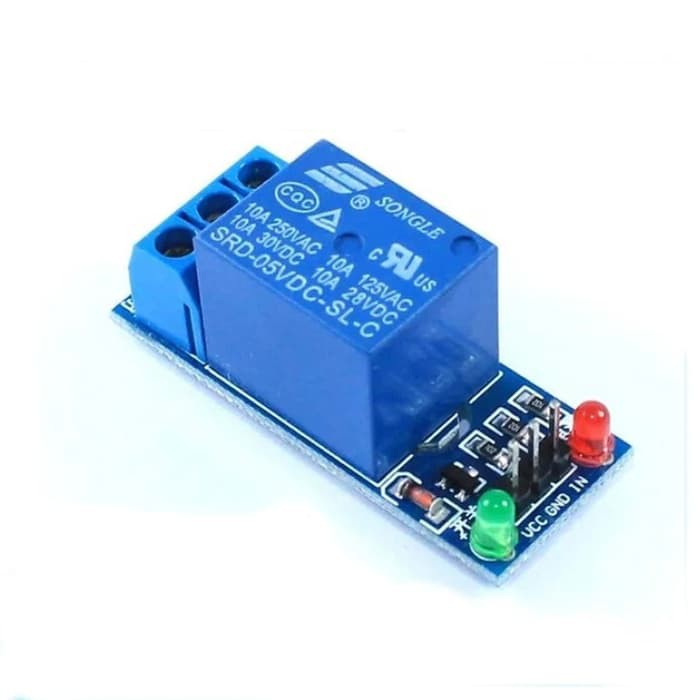
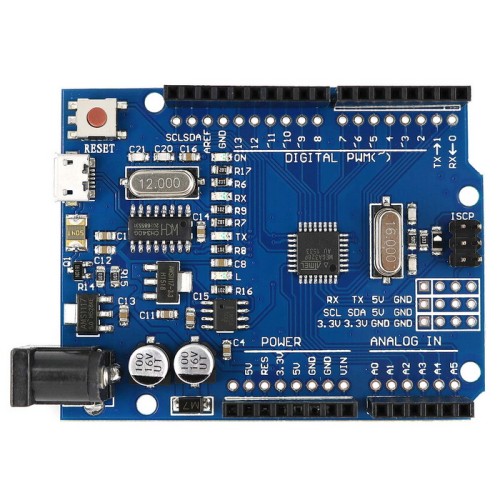
Hi, friends ! This time I got an interesting combination of Relay + Arduino uno. We will use LoRa_02 to receive messages via LoRa
- And to display received messages in our applicationArduino uno is one of the simplest boards and easy to use with built-in WiFi, which can be programmed from the Arduino IDE with several additional.
- platforms with applications that can be easily connected to IoT devices using simple libraries.
- LoRa is a Long Range technology that has a long transmission range and consumes less power.
- The combination of these three technologies can be used to develop excellent projects.
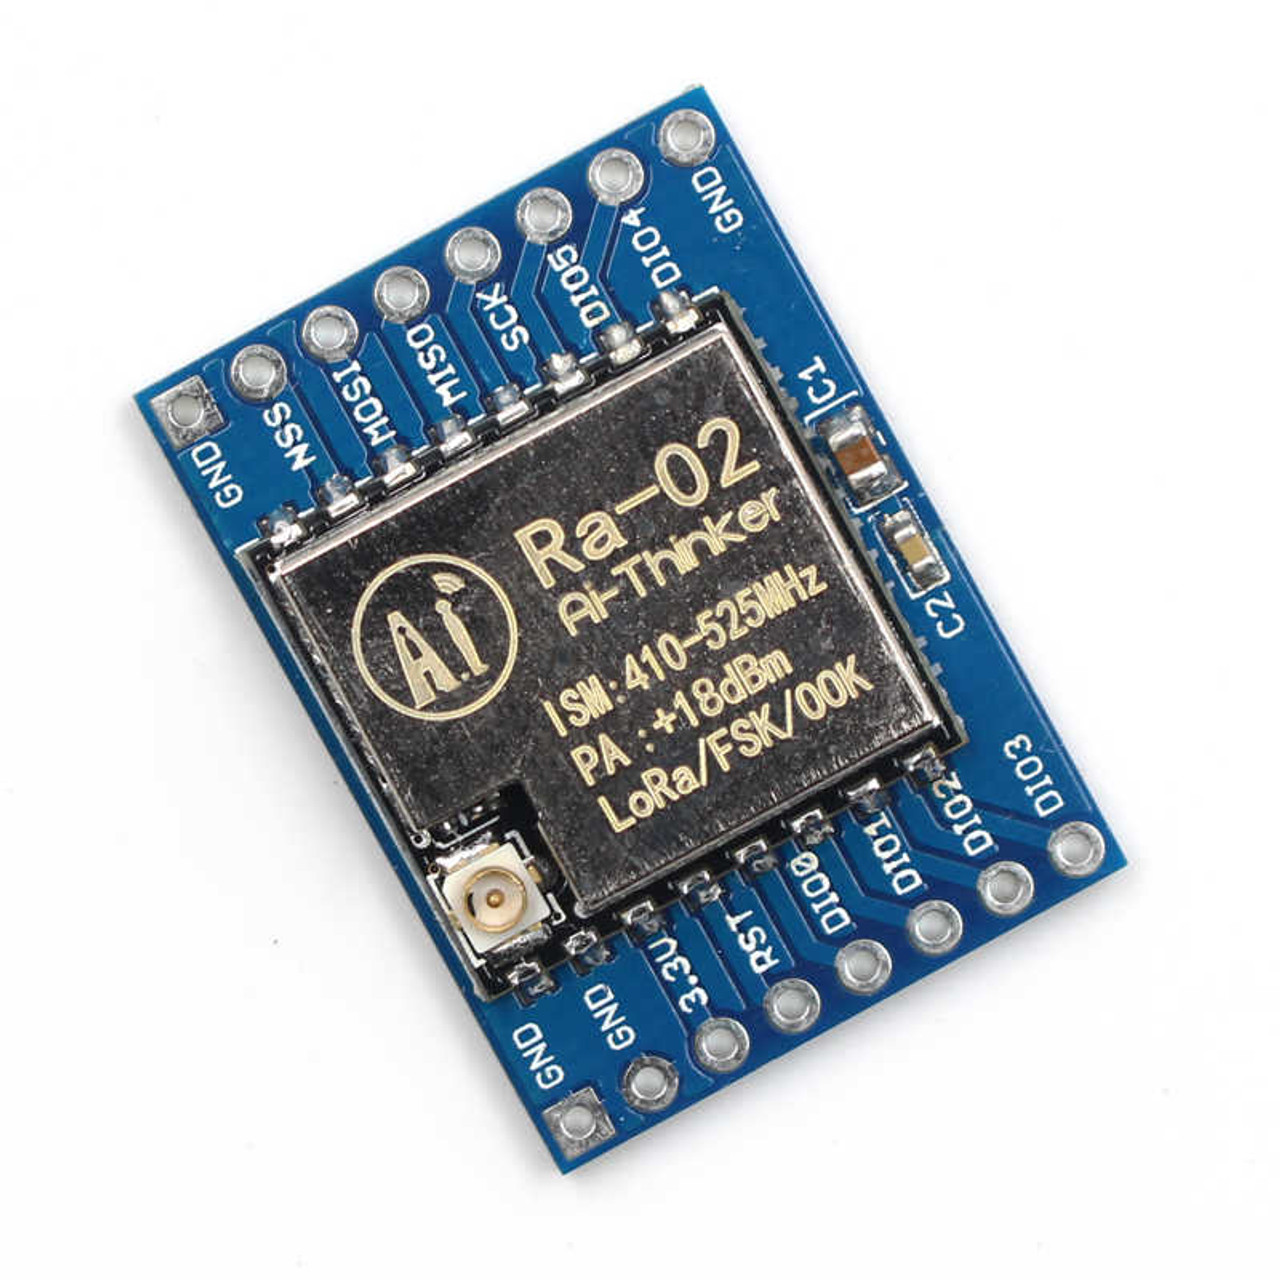
LoRa RA-02 Module is available in two forms - SMD Form and Breakout Board Form. I would recommend ( and use ) the breakout board type as it is easy to use and breadboard friendly. Before starting the project, we have to solder the header pins on the LoRa Breakout board. Be careful not to overheat the board.
Project Flow :
- LoRa module reads the received message packet and transfers the packet to Arduino uno using SPI protocol.
- Arduino Uno reads the packet and sends it to the application display contained in the Arduino Ide application itself.
Note : I have already demonstrated the interfacing of Arduino and LoRa, which can be used to make a transmitter, which can be found here.
How to Program LoRa_02 Using Arduino IDE :
1. Go to Files -> Preferences and paste the given link in Additional Boards Manager and select OK.
http://www.arduino.org/learning/reference/LoRaNode
2. Go to Tools -> Board and select Board Manager.
3. Search for LoRa by sandeep mistry An Arduino Library for sending and receiving data using LoRa radios.0.8.0 version
4. Go to Tools -> Boards, navigate and select Arduino uno. Now, your Arduino IDE is ready to program on LoRa_02.
1 / 4 • Step 1
Importing Libraries :We will use two new libraries. So we need to import it from its source. This can be done from the Arduino IDE.
1. Go to Sketch -> Include Library -> Manage Libaraies
2. Search for LoRa by Sandeep Mistry, select latest version and install.
3. Similarly, search for Blynk, select latest version and install.
Pin Connections :
Transmitter
Receiver


_ztBMuBhMHo.jpg?auto=compress%2Cformat&w=48&h=48&fit=fill&bg=ffffff)


_58vGiABuHX.png)
_bW33Lmukw9.png)


Comments
Please log in or sign up to comment.