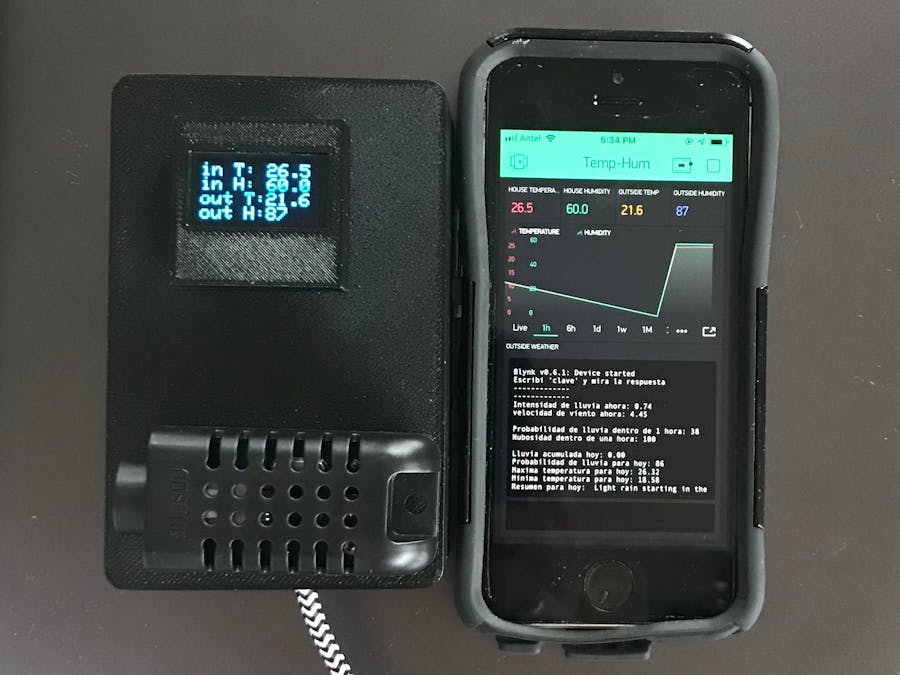
I was looking for a versatile IoT present for my siblings that I could build and that would be useful for them… They do a lot of outdoor activities. This came to my mind:
- When they wake up, they want to know how it is the weather outside and how it will be during the day, to make plans and decide what are they going to wear.
- If they go out to do any outdoor sport, they want to know some specific weather conditions for the next hour or for the rest of the day.
- They would also want to monitor how cold or how worm is their baby’s (dog for now) room (the kitchen).
- And just because… wouldn’t it be useful to have the Wi-Fi password you always forget written somewhere you know? and how strong is your Wi-Fi signal?
....So, this is what this project does:
- Measures Temperature and Humidity of the room.
- Strength of the Wi-Fi signal.
- Battery voltage.
- Gives you outside - real - time weather conditions:
- Temperature and Humidity
- Tells you if it is raining or not, by showing the rain intensity
- Wind velocity
- Gives you the probabilities of rain and cloud cover for the next hour.
- It gives you probabilities for the entire day:
- Accumulated precipitation
- Rain probability
- Maximum and minimum temperature
- Short summary for today’s conditions
You can also check how strong is your Wi-Fi signal around your house. (Where are you going to install your Wi-Fi booster?)
…and also! If you type the word “password” it tells you the Wi-Fi password :) … or any other password that you always have trouble to remember!
and…. Build all this for ±13 dollars!
ComponentsElectronic Components:
- ESP32 board. In this case I’m using a LOLIN D32. You can find it in Amazon, eBay and other places, but the cheapest that I found, and where I bought it is in AliExpress.
- Temperature sensor, DHT21, AM 2301. In this case I already had these sensors in my house and that’s why I used them. But there are much better ones like the SHT31 from Adafruit and similar cheaper versions in eBay or Aliexpress.
- OLED, 0.96 inches, 128x64 (I2C). You can buy any, there are in white, blue or yellow+blue (if you use this one it will highlight in yellow the inside temperature).
Other components:
- 3D printed enclosure for the device and the OLED.
- Breadboard (half size). I already had this, but any other similar version would work, here some examples from ebay, or amazon.
- Cable for soldering.
- Screw terminal blocks, for 2 and 4 poles are the ones that I used. You can find a 6 pole screw terminal block and have all connections together.
- Micro USB charger/cable. Any old phone micro-USB charger would work.
- Stick on, Velcro tape.
- Headers for the board (optional).
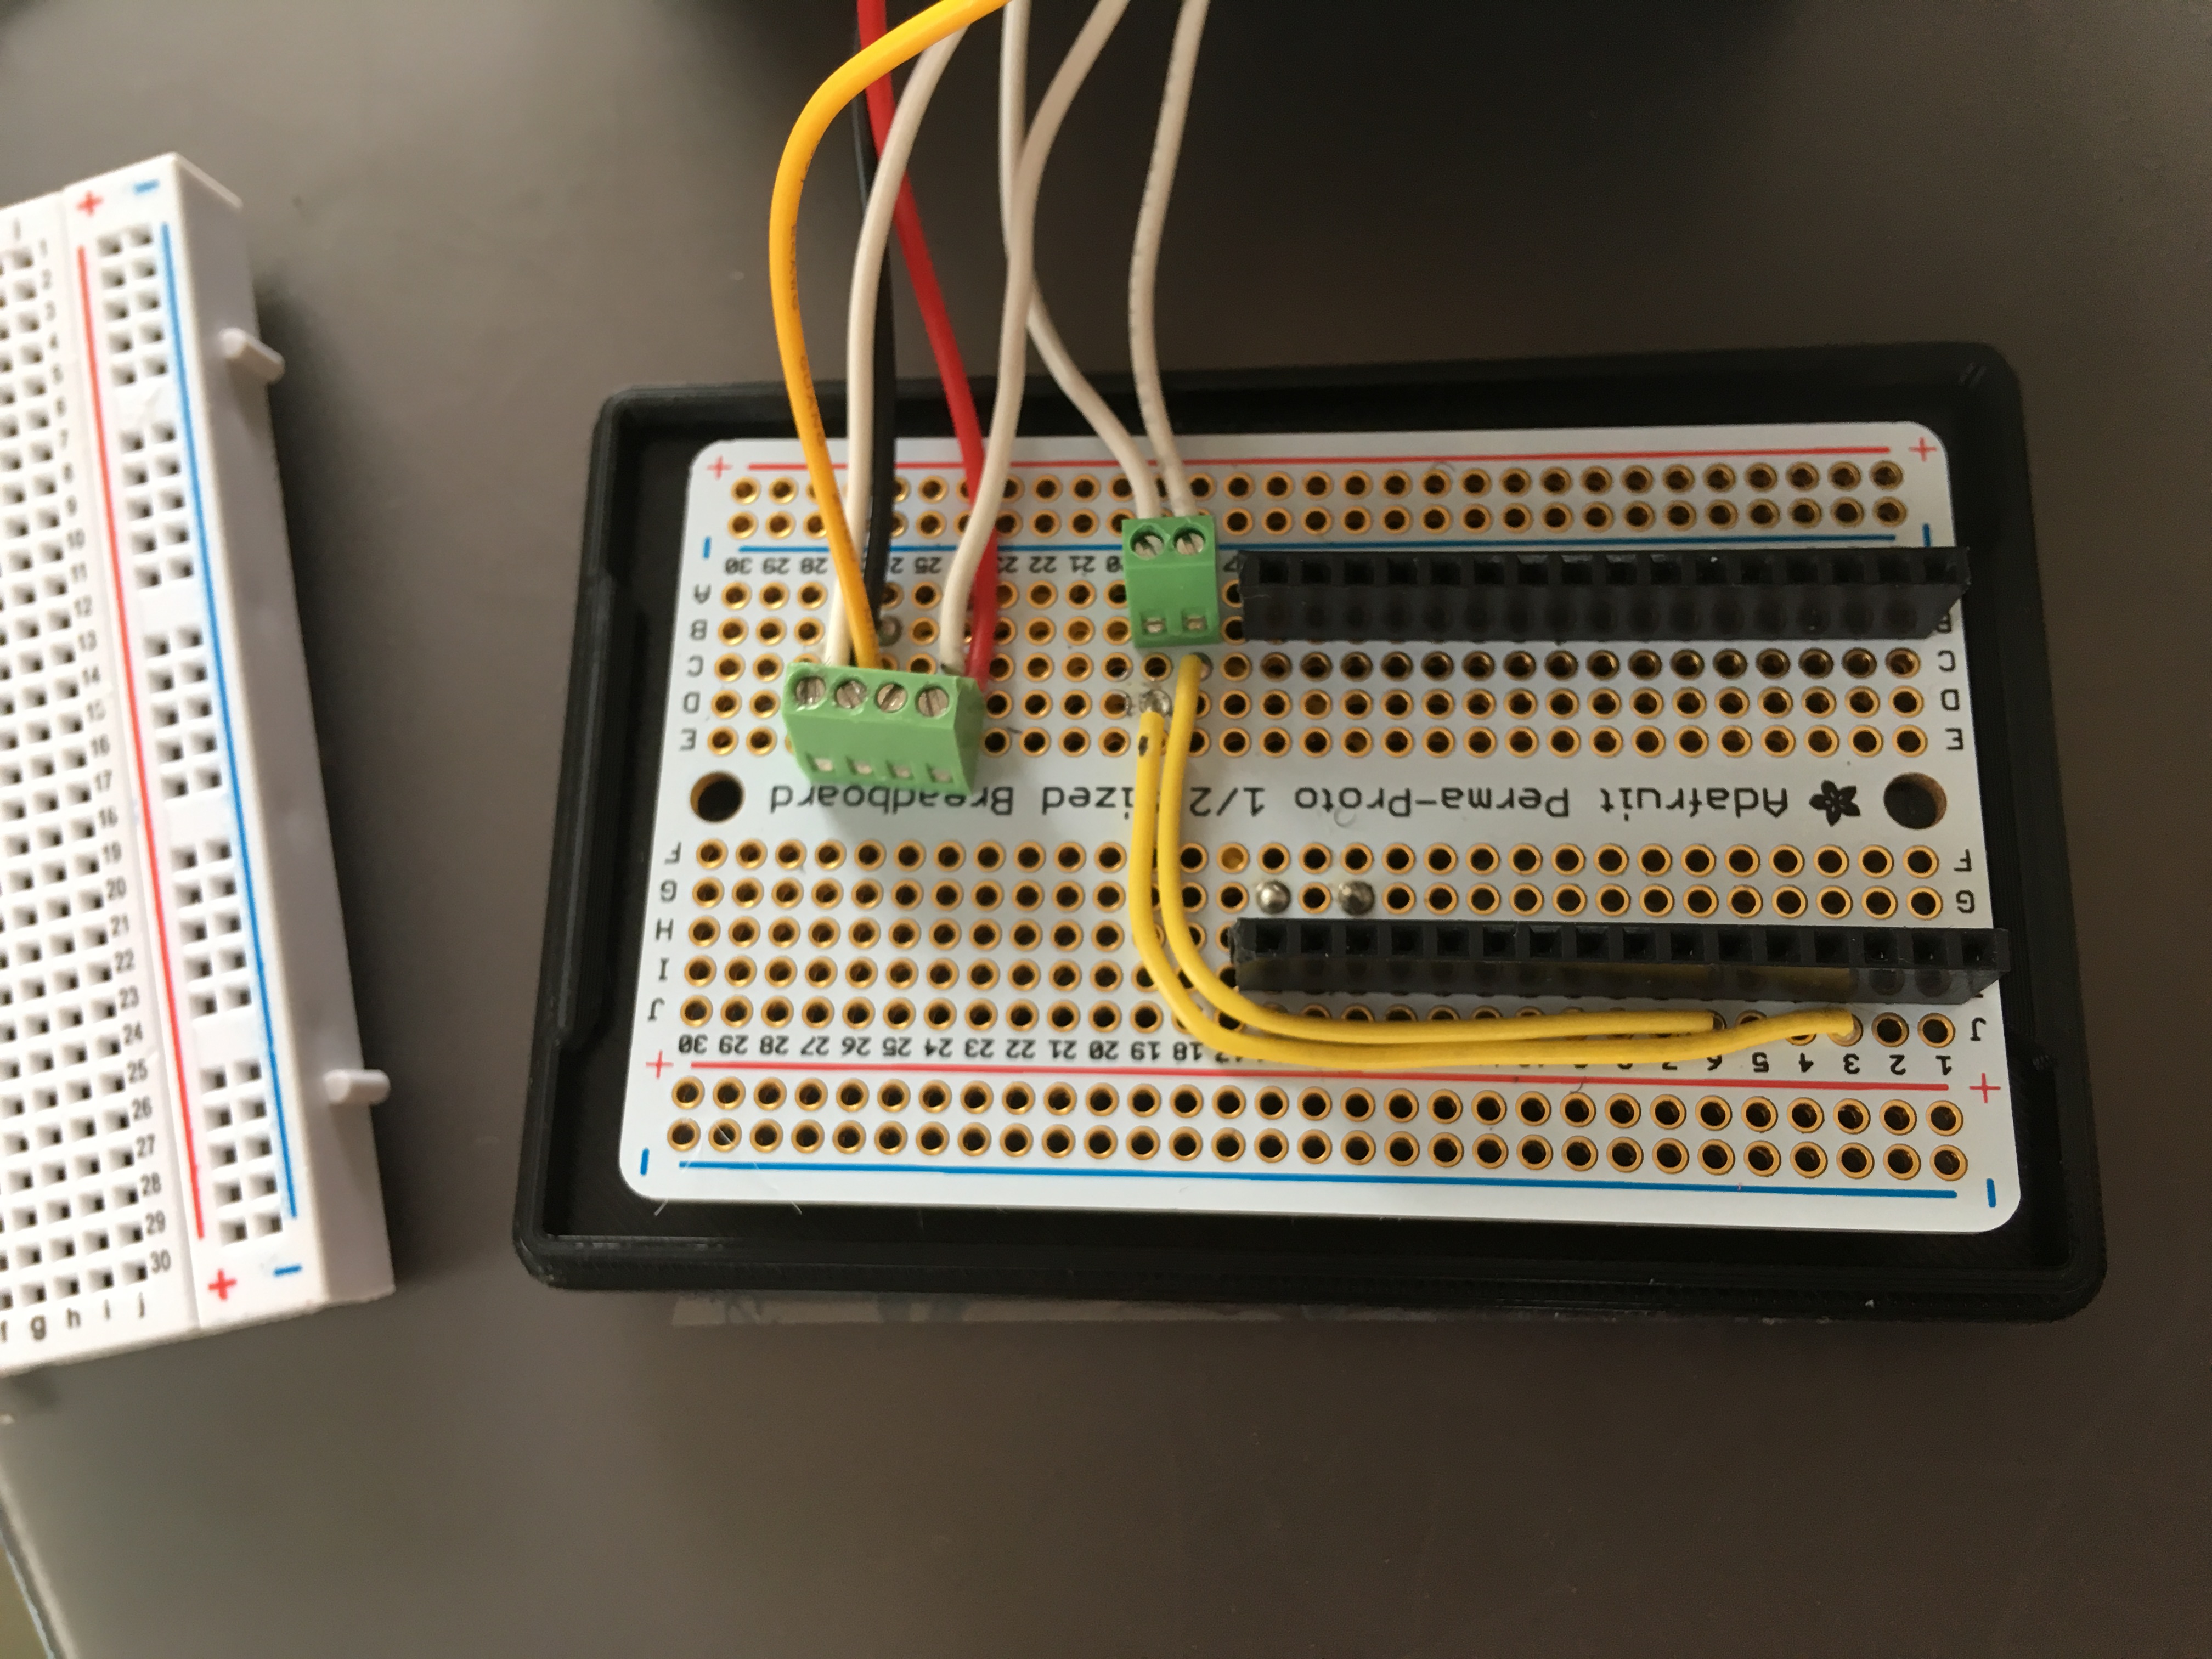
Solder the connections from the board to the screw terminals. Pins to connect: GRD, 3V, 2, SDA (Pin 21) and SCL (is Pin 22).
I solder headers to the protoboard to be able to take the LOLIN D32 out. It is convenient.
To upload the program to the LOLIN, you have to follow these steps: connect the board to the computer, connect the pins GND to 0 with a jumper, upload the program and then disconnect the pins and hit the RESET button. You can do this using a breadboard like this:
Solder cables to the OLED coming from the back of the OLED, so it fits inside the enclosure.
Use the Velcro tape to stick the parts to the enclosure and the enclosure to the wall.
Download the Blynk app into your phone. You will have to create an account for Blynk and for Dark sky. Both are free. You need the Authentication credentials/ API key, from bothto put them in the code.
You need to put your wifi ID and password in the code.
You can modify the interval for the temp and hum. measurements + weather info. by modifying the update_interval # in the code. It is set for 5 minutes.
After you upload the code (remember to disconnect the jumpers and press reset after uploading it), first you will see the OLED not showing the inside temperature:
Just give it 5 minutes. If everything is well connected it will show T and H after 5 minutes.
Blynk:
Create a new Project, select the device esp32 and add:
- 4 value displays for: inside temperature using Virtual Pin1, Inside humidity using virtual Pin3, Outside temperature using virtual pin4 and Outside humidity using virtual pin5.
- SuperChart: for inside temperature and humidity (virtual pins 1 and 3) for resolutions: Live, 1h, 6h, 1d, 1wk, 1Mo, 3Mo.
- Terminal.
In the code you will see just before void setup(), a section that you should modify for the word you have to type in the terminal from blynk and what you want to have as a reply. So, every time you type that word in the terminal, you can see the reply. I used the wifi password because I found that to be useful.
Dark Sky:
In the code you have to type latitude and longitudefor the location that you want Dark Sky to show the weather conditions and predictions. You can also modify the units.
You also have to put your NTP server, for the location where you are. Just google for “ NTP server” for the location that you want and you will find what to put. I left an example written for a specific location in Colorado, US.
3D printing:
All printings were done using a Prusa printer, Prusa slicer and Fusion360 programs. I used generic PETG in black.
Here are two great designs that I found in thingiverse:
- For the OLED: https://www.thingiverse.com/thing:2176764
- For the enclosure: https://www.thingiverse.com/thing:3468464 watch this great tutorial and learn how to make your own custom box! Or just use the file that I used.
…have a great project!


Comments