


Hardware components | ||||||
 |
| × | 1 | |||
 |
| × | 1 | |||
 |
| × | 1 | |||
| × | 6 | ||||
 |
| × | 8 | |||
 |
| × | 10 | |||
 |
| × | 10 | |||
| × | 1 | ||||
Software apps and online services | ||||||
 |
| |||||
 |
| |||||
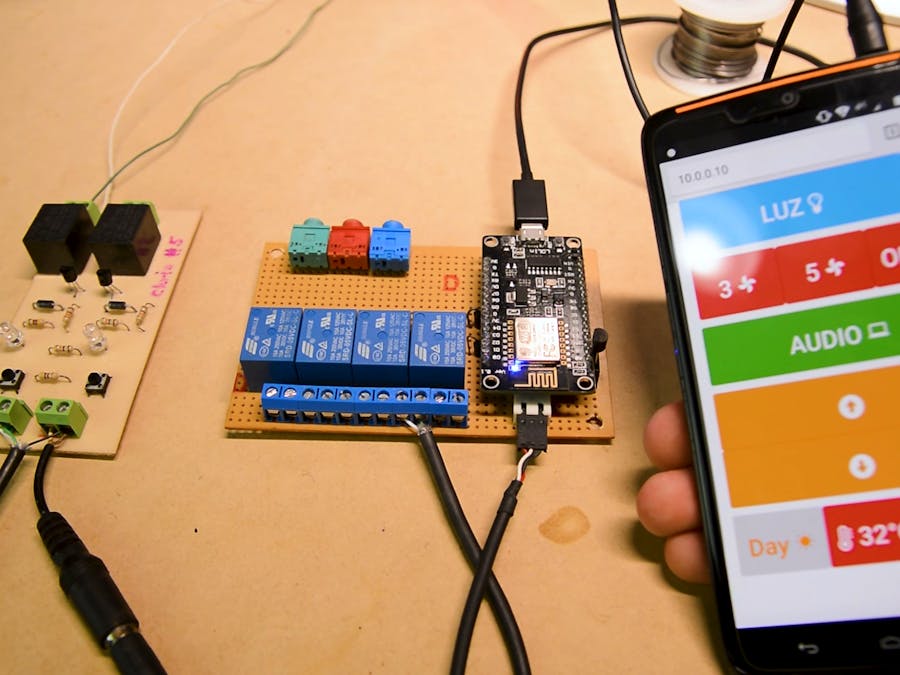
I have been creating a youtube series of "How to automate your room with arduino?" and as a part of this production i bring to you one of my newest upgrades.
I decided to use the ESP8266 nodemcu WiFi module because it could be programmed as an arduino, with the same language and IDE and it is a lot more powerful than the arduino by itself, because it has WiFi, a lot more storage memory, is way faster (80Mhz) and friendly.
I'll show you in few steps how i made it, lending you the schematics, code, materials and a demo video.
Step 1: Demo Video:
Step 2: Materials You Will Need:
1-NodeMCU ESP8266 board
1-PIR sensor
1-LM35 temperature sensor
6- 3904 NPN transistors
4-1n4001 diodes.
8-1k ohm resistors
4-5v relays
2-12v relays (can be replaced by 5v ones).
8-Terminal blocks
Some wiring to connect everything and that's it.
Step 3: Code and Schematic:
Here i give you the code and the schematics designed by me.
Step 4: Voice Control With Google Assistant Setup:
As you can noticed on this video i didn't use the same module, but is the same way to program it and to set the ifttt account with the adafruit one.
Step 5: Assembly:
Be sure that the module is correctly connected, and the AC wiring, as i show you in the schematics.
Step 6: Testing It:
In the arduino serial monitor the module print the IP where it is connected, then write it up to your favorite navigator and enjoy the project.


Comments
Please log in or sign up to comment.