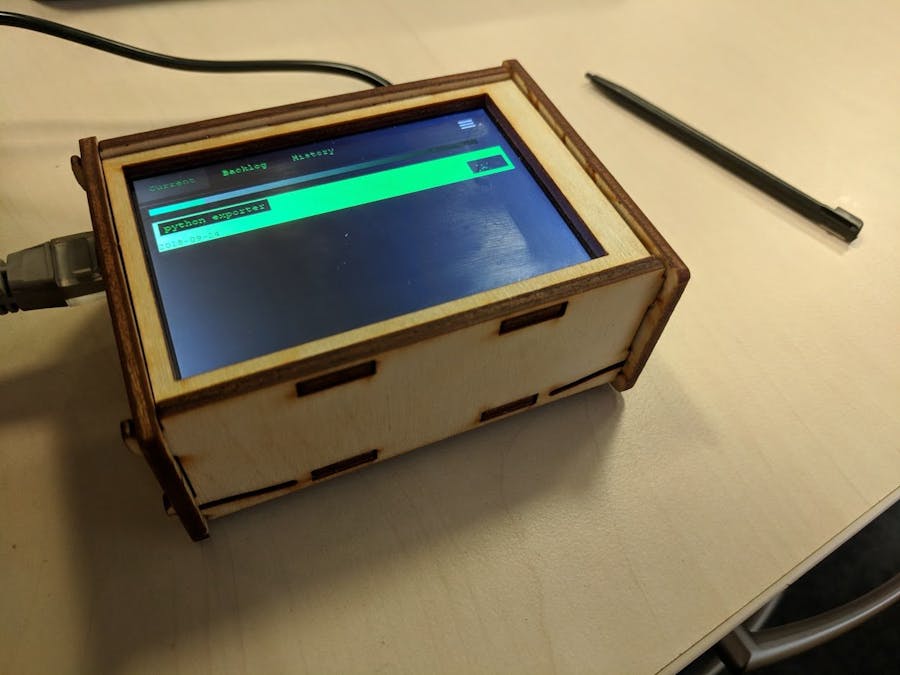
This is yet another web to-do app but designed for 3.5" screen and Raspberry Pi. The idea is for this device to serve as task tracking device, replacing regular notebook and having to write stuff with pen. Editing and tracking tasks on paper is, let's say, not user friendly. As I'm a person who likes to write tasks down physically, I figured this project would suit me perfectly as inputting is done via stylus. I decided to add Google Tasks sync in case I needed access to the tasks when I'm away from my Raspberry Pi.
What's Under the Hood?The stack is pretty straightforward. I created a Flask application consisting of backend and frontend that does all of the heavy lifting. User just interacts with a website, presented in the Chromium browser set to run in full screen and kiosk mode. Both, my Flask app and Chromium browser start right after Raspberry Pi booting is done.
Show It to Me!This section is a step-by-step instruction on how to build your own to-do device.
Hardware
The software is designed for Raspberry pi 3 and 320x480 3.5" touch screen (I'm using one from Waveshare, with stylus but any screen will do). That's it from the hardware point of view- once screen is installed and working, hardware setup part is done.
Installing drivers for this screen was very easy: https://www.waveshare.com/wiki/3.5inch_RPi_LCD_(A)#Getting_Started
Software
I'm working on Raspbian OS. In order to start you need an internet connection and ensure that you have installed:
- Git
- Python 2
Once you have that, go to your terminal either directly on your Raspberry Pi or via SSH and clone the repository into path of your choosing by doing:
git clone https://github.com/msporna/TODO-terminal.git
After it's done cloning, install all dependencies:
pip install -r requirements
Now you need to install Chromium browser by running:
sudo apt-get update -y
sudo apt-get upgrade -y
sudo apt-get install -y chromium-browser ttf-mscorefonts-installer unclutter x11-xserver-utils
Next step is to verify that the to-do app starts up without problems before we set the Raspberry pi to automatically boot to Chromium, so go to your repository path and run views.py Python script:
Python views.py
This will start Flask application. Go back to the desktop mode and start Chromium browser. Navigate to http://localhost:8787 - it's a default address of the to-do app. Make sure the page loads and login screen is shown:
Red numbers on the above screenshot show which buttons, and in what order, must be tapped in order to login. It's a default sequence that can be changed later.
Anyway, if you see that, then the server is running fine and kiosk mode can be enabled. Go ahead and set this address as a startup page of Chromium, just in case. Then, go back to your terminal and add views.py script to the list of things that should be executed on Pi's startup:
crontab -e
add new entry to the file:
@reboot python [PATH_TO_YOUR_REPO]/views.py
save and exit. If you need to run your script as 'sudo' then simply do:
@reboot sudo python [PATH_TO_YOUR_REPO]/views.py
Now if you reboot your Pi, this script should be started and to-do app served at localhost:8787. It's time to setup Chromium to boot to a kiosk mode. Run:
sudo vim .config/lxsession/LXDE-pi/autostart
Find this line:
@xscreensaver -no-splash
and comment it out by putting '#' in front of it like this:
#@xscreensaver -no-splash
to turn the screen saver off.
Then paste this below:
@/usr/bin/chromium-browser --incognito --start-maximized --kiosk http://localhost:8787
@unclutter
@xset s off
@xset s noblank
@xset -dpms
Save and exit.
Last thing is to set auto login so type in 'raspi-config' in your terminal, go to Boot options and select desktop-autologin.
That's it, the setup is done!
Reboot your device and after desktop shows up for a few seconds Chromium should be started in the fullscreen mode and to-do app's login screen loaded.
UsageThere is a detailed instruction on how to use the software in the readme file that can be found in project's GitHub repository. Just go here!


Comments
Please log in or sign up to comment.