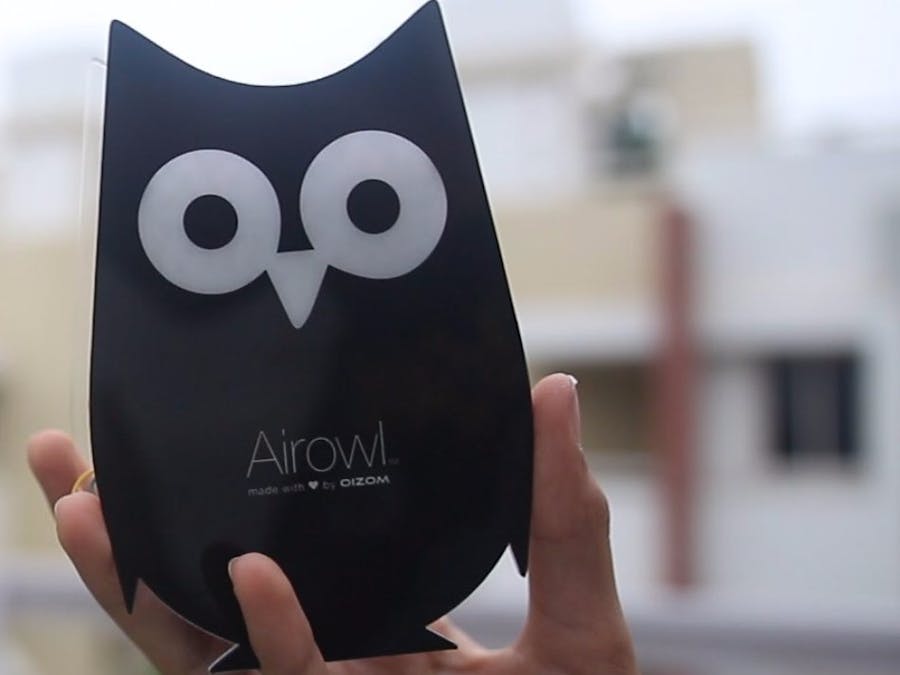
AirOwl is the real time air quality monitoring device. It is used to monitor air quality and fetches data from the sensor and gives output on Blynk app using BLE of Arduino/Genuino 101. A project that can help us know What we Breath!
Human activities are effecting the Environment. So we decided to make a device that helps to know surrounding environment and take steps according to it.
The below image is the image of the AirOwl running on arduino 101.
Air quality can be know through 3 factors:-
1) Blynk app(BLE)
2) Color of the eyes of Airowl
If eyes color is Green, you are in safer environment.
if eyes color is Blue, need to take care.
if eyes color is Red, there is danger.
3) Serial Monitor
For the schematics and design of the Airowl please visit:-
https://github.com/anithp/AirOwl_Genuino101
After going through the schematics connect circuit.
A basic diagram for the project is shown below.
Datasheet of the dust sensor is given below for further information on sensor:
Now lets start making thing:-
After making connections from schematics, upload the code.(Assuming you have installed required libraries.)
For further information refer:- http://docs.blynk.cc/
Now lets setup blynk:
First intall blynk from playstore/appstore
Playstore - https://play.google.com/store/apps/details?id=cc.blynk&hl=en
Appstore - https://itunes.apple.com/us/app/blynk-iot-for-arduino-rpi-particle-esp8266/id808760481?mt=8
After installing, make a account.
First Create New Project in Blynk
Then Select Board and give project name
After selecting board, click on create.
After you select create, it will send authentication key to your registered account. And you can also resend email from setting.
Now a window will open where we will see a blank work space.
Click on add button and add BLE, and 3 Guage.
After selecting gauge, on work space click on guage and select pin as V1, V2, V3 for all guages respectively.
After setting this final work space will look like
Now keep the arduino 101 connected to power supply and then select Bluetooth icon on work space to set bluetooth (PS- Keep bluetooth of mobile ON).
And then go to the main work space and start simulating the project.
Data will be shown in the blynk window.
For the one who wants to prototype this using breadboard, the following schematic is for you, hope it can make your experience with Airowl awesome.
Data can also be seen on serial monitor.
Schematic of the PCB is shown below.
Board file is shown below.
3D image of pcb looks like.
All the files of this images can found on github link mentioned below.
https://github.com/anithp/AirOwl_Genuino101
Now you can use the Airowl and know what you breath, hope it helps.
Thanks :)


_baVEVgguW1.jpg?auto=compress%2Cformat&w=48&h=48&fit=fill&bg=ffffff)


Comments
Please log in or sign up to comment.