

In this post I'm going to present you how to setup the code to run the final product.As you can see on my Github Page the entire project is divided into three main topics:
- Virtual Sensors
- Web Application
- RIOT-Sensors
The first two points were covered in the previous blog post, so take a look there to better undertand what is this project about. You may be also interested in checking the class Assignment specifications.
Here I'm going describe how to simulate data exchange from a RIOT fake sensor to Thingsboard.
We're now interested in the RIOT-Sensors/ folder.
RequirementsBefore starting you need to collect some useful tools we'll use later:
Clone the proper repositories from GitHub and then take the RIOT-Sensors/ folder from my github page.Copy the file TBCLIENT.py in the mosquitto.rsmb/rsmb/src/MQTTSClient/Python folder.Then copy the file main.c in the RIOT/examples/emcute_mqttsn folder.
Here is my directory tree after this pre-starting process:
In a bottom-up approach, the architecture of the developed system it is possible to say that we have four main components:
- The Things, simulated in a RIOT-OS environment
- The Gateway, running with python in the local machine
- The Cloud, Thingsboard
- The Service, the dedicated simple Web Application
Because we have previously given a watch to the last two points, we will now focus on the Things and on the Gateway.
Differently from a simpler configuration in which the communication between the fake environmental stations directly communicate with the cloud, now the situation is different.
The simulated devices in RIOT share informations via MQTT-SN, a more lightweight protocol than MQTT - and that's how real devices do - and so the system needs a bridge to send the informations on the cloud that only accepts MQTT protocol.
How it worksIn the following implementation gateway and bridge are fused together in the TBCLIENT.py: here data arrive in two pre-fixed topics choosen by me, "devices/dev_c" and "devices/dev_d", from the environmental stations simulated by the main.c fileand then they are forwarded to Thingsboard via MQTT.
The message passing between the two agents is possible due to the presence of the Mosquitto RSMB - a "Really Small Message Broker".
Once collected all the necessary tools and knowledge, let's takeoff and make this airplane fly - of course in a simulated environment.
Don't worry if you'll need to use four terminals: they're free.
Enable TAP interfacesTap interfaces let the system to communicate. In our case we are particularly interested in the tapbr0: save somewhere the ipv6 address from the field inet6.This will be user later to start the connection of our fake devices.
Open the first terminal and in RIOT/ folder run:
sudo ./dist/tools/tapsetup/tapsetup -c 2Check if the taps are running:
ifconfig | grep tapYou should see something like this:
Open the second terminal in mosquitto.rsmb/rsmb/src folder and run:
./broker_mqtts config.confInspecting our gateway/bridge we notice that this is almost the same as the previous one, exception made for the fact that, before publishing, now we receive the payload of the environmental stations on the "devices/dev_c" and "devices/dev_d" topics: once received data from both stations, the client forwards them to thingsboard in two separate and distinct channels.
With the third terminal in mosquitto.rsmb/rsmb/src/MQTTSClient/Python folder run:
python TBCLIENT.pyPsst! Remind to set the variables ACCESS_TOKEN_C and ACCESS_TOKEN_D in the TBCLIENT.py file to your Thingsboard's devices tokens!
Run the RIOT DevicesThe file main.c contains inside the simulation of the two environmental stations.Data are randomly generated and transmitted on the two specified topics to reach the gateway/bridge as a JSON string.
Note that the single main.c file simulates both the stations by generating two random payloads per time and sending them in two different channels.
On the fourth terminal in RIOT/examples/emcute_mqttsn folder run the device:
make all termOnce the device is running, connect it to the broker:
con <ipv6_address> <port>
// Example : con fe90::2567:49ff:fe8e:7f9a 1885
And then start the transmission:
start "devices/dev_c" "devices/dev_d"The output should be familiar to this:
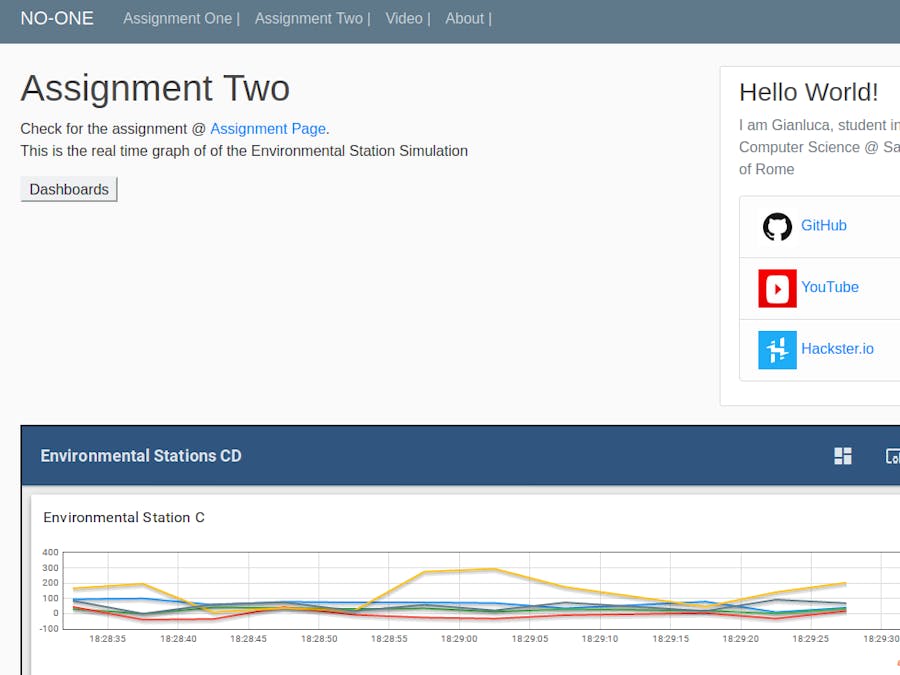
Open your web application - or your Thingsboard - and look at that data flow incoming in your dashboards!


Comments
Please log in or sign up to comment.