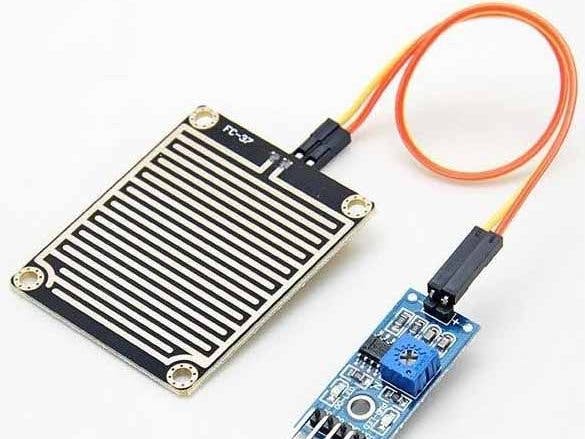
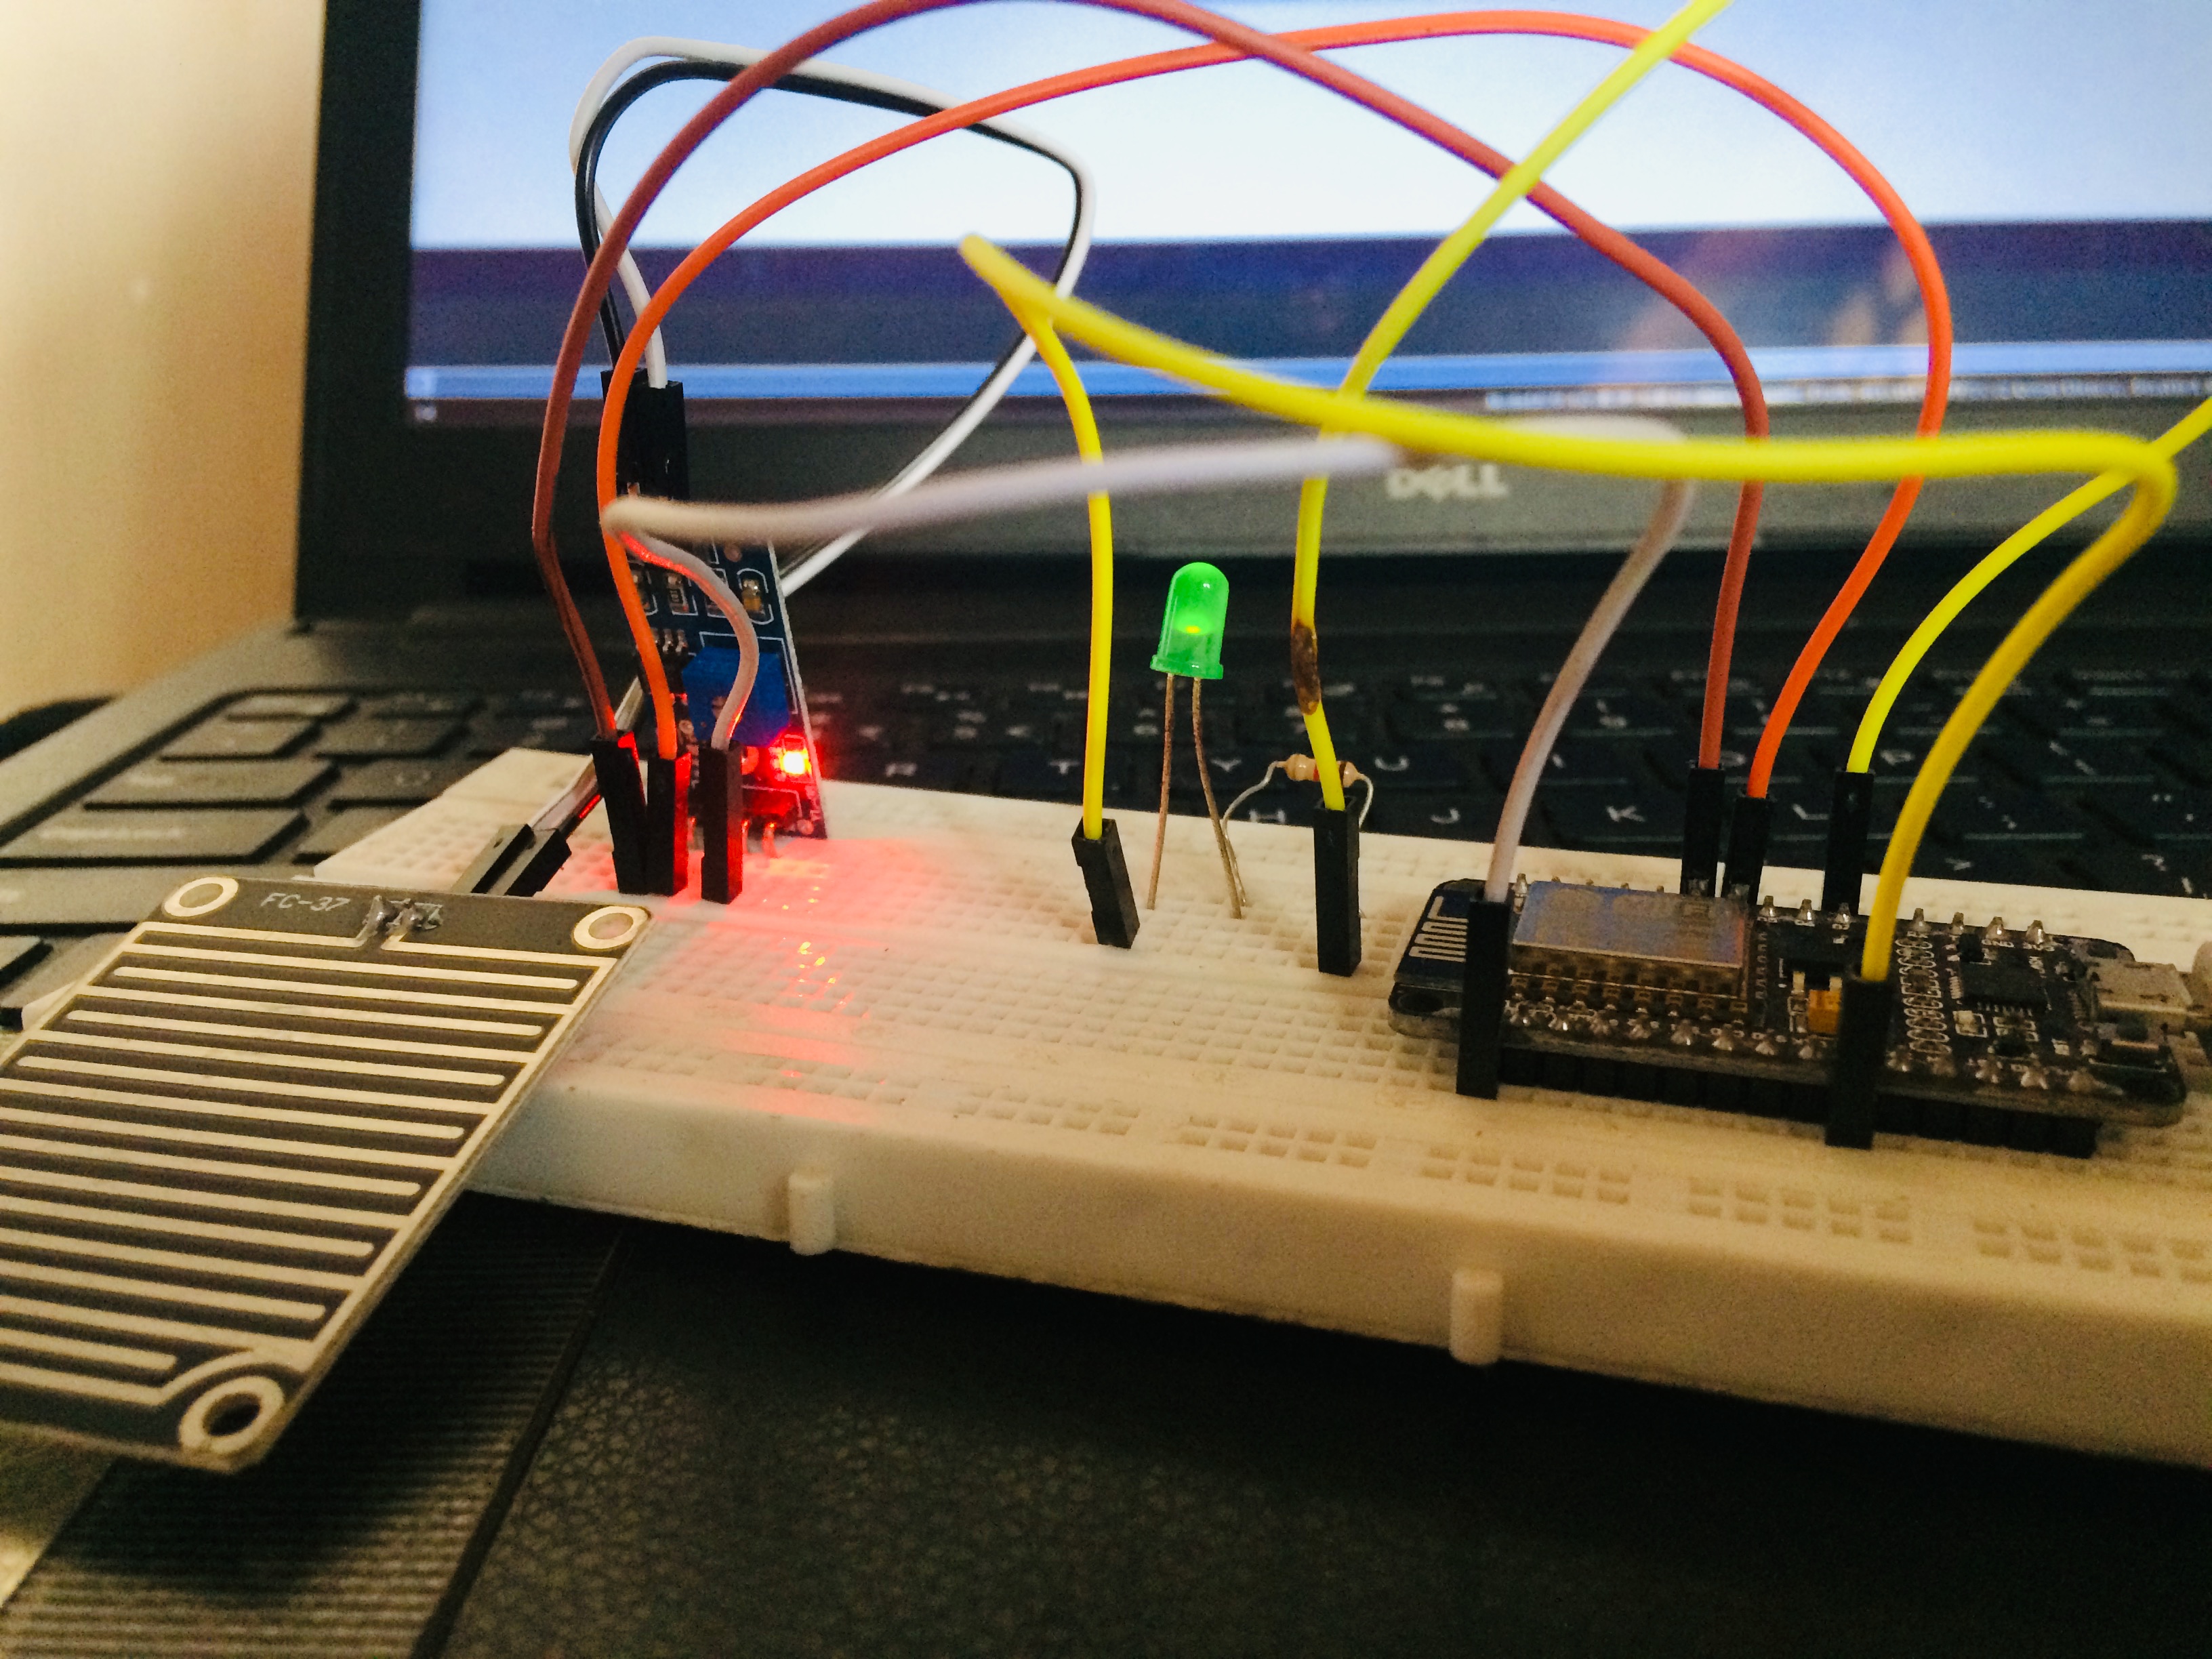
In this tutorial we'll see how to Interface raindrop sensor to NodeMcu and get alarm whenever the rain intensity crosses some threshold.It can be used as a switch when raindrop falls through the raining board and also for measuring rainfall intensity. The module features, a rain board and the control board that is separate for more convenience, power indicator LED and an adjustable sensitivity though a potentiometer.
Raindrop sensor is basically a board on which nickel is coated in the form of lines. It works on the principal of resistance. When there is no rain drop on board. Resistance is high so we gets high voltage according to V=IR. When rain drop present it reduces the resistance because water is conductor of electricity and presence of water connects nickel lines in parallel so reduced resistance and reduced voltage drop across it.
NodeMCU_______Sensor
3.3V____________ +__________
GND____________-__________
A0______________S__________
D7______________led
we can use buzzer also instead of led to get alarm.
After making your connections, go to thingsio.ai cloud platform, for those who don't know about this platform can follow the following steps to register and create new project and visualize the data.
Setting UpCloud Account on ThingsIO.AI
ThingsIO.AI is a IoT platform for developers. As a developer we understood the pain of not having a seamless place to connect, analyze and process device data. Many pure analytics platforms does not offer device management, which is core for the iot. That is the reason for ThingsIO.AI.
- Register the account in http://thingsai.io/
- You will get the notification for sign up.
- Go in your email address and verify your account.
- After that, sign in your account with your email address and password
- Now, you will be on the project dashboard. Click on the new project option.
- Click on the add a new device option. you will get device ID.
- Enter the device name and click on the create and configure device.
- You will be on your device dashboard.
Some Basic Points(1-5) for Analysing Data on ThingsIO.AI.
1. Track your device’s special parameters here. This can be set in device configuration(default to null).
2. You can see your real time and special parameter’s graph.
3. You can see your all data points.
4. You can see here your last 5 data points.
5. You can see here all the list of created graphs.
- Go in sample device code options and click on the NodeMCU.
- You will get the sample code from there copy and paste into your Arduino IDE.
Click on the “Send trial data” to send a trial data to the server:
Charting and Visualizations on ThingsIO.AIGo to your ThingsIO.AI account and go to your device.
Click on the configuration device option:
- You can set the special parameters (this is tracked on the device dashboard) & transform it accordingly and add new parameters (Parameters are updated automatically as you send them from your device).
- Click on the update device option:
- To create a graph for your device click on the “create graph option."
- Put the parameter that you want in your graph.
- And you will be having the graph of your data.
After making the proper connections, dump your program to nodemcu adn then see if you are getting the correct output I your serial monitor or on Thingsio.ai. complete illustration of the same you can see in below video.
Any questions or suggestions, please let me know!


_wWOrJJ7y67.JPG?auto=compress%2Cformat&w=40&h=40&fit=min&dpr=2)


_rvaeOXW4NY.jpg)
_wWOrJJ7y67.JPG?auto=compress%2Cformat&w=60&h=60&fit=min&dpr=2)


Comments
Please log in or sign up to comment.