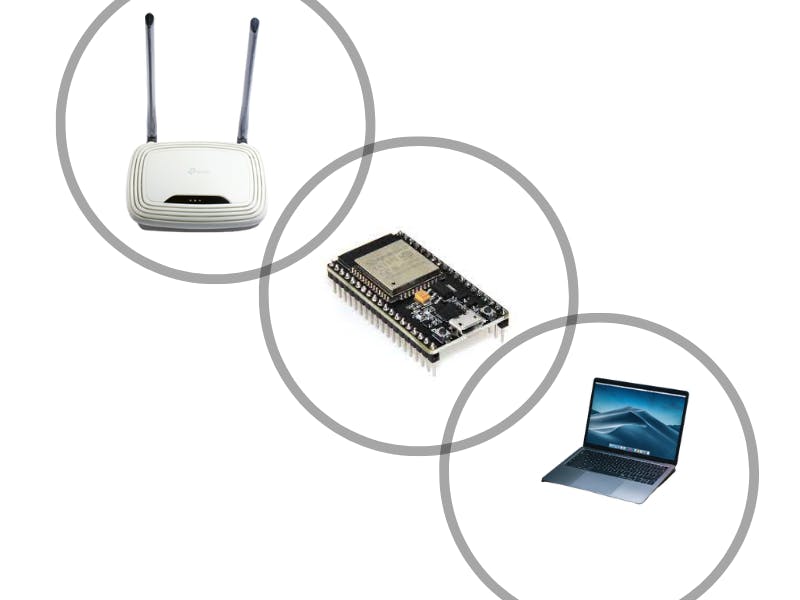
My mum has a portable WiFi device which is most time in her room, so the WiFi doesn't get to the living room and that's a problem but I love to solve problems so I did some googling and I found a GitHub repository for an ESP8266 repeater by martin-ger, the repo had a binary file for the repeater so I just flashed it into my esp8266 using esptool and it worked like magic. Click here to access the repository; however, there were some problems I had with this repeater(extender):
- The web UI interface can't scan for WiFi networks so I don't know when I am in the range of the router unless I use the serial interface.
- The web UI interface can't scan for WiFi networks so I don't know when I am in the range of the router unless I use the serial interface.
Debugging can be carried out by noting the rate at which the led is blinking, but there is a catch, the led state when it is connected to the router and when my phone connects to it as an access point is the same, so I get confused because I can't tell if is connected to the router or if my phone is connected to it.
- Debugging can be carried out by noting the rate at which the led is blinking, but there is a catch, the led state when it is connected to the router and when my phone connects to it as an access point is the same, so I get confused because I can't tell if is connected to the router or if my phone is connected to it.
Due to this, I decided to build mine and fortunately, Arduino had an example for a WiFi range extender, so I Just added a WiFi manager and viola you have a WiFi range extender. Here is some features of my WiFi range extender:
- Scan for networks
WiFi manger via web ui
- WiFi manger via web ui
led indicator for debugging
- led indicator for debugging
Reset button to return to factory setting
- Reset button to return to factory setting
Yup! that's all there is to it. I built this extender to meet my own need and I hope it is able to meet your needs for this reason I can't say my WiFi extender is better than martin-ger esp-repeater which is packed with features such as auto mesh, MQTT, web config interface, CLI, WPA2 Enterprise Config, TCP/IP Config etc.
Enough about martin-ger esp-repeater let's come back to my WiFi extender😥️.
Uploading the codeYou can get the code from my GitHub repository. You can either flash your esp8266 with the bin file or you can edit the.ino file as you please ( I will be sure to look up any pull requests) and upload to your board.
flashing with esptoolfirst install esptoolpip3 install esptool
Erase flashesptool.py --port /dev/ttyUSB0 erase_flashif you are using windows change /dev/ttyUSB0 to the COM port your esp8266 is connected to.
Upload bin filerun this on the terminalesptool.py --port /dev/ttyUSB0 write_flash -fs 4MB -fm dout 0x0 [bin file location]Do not include the bracket in the terminal.
Before we go into the nitty-gritty of this article, look at the speed test.There is roughly an 80% speed drop 😥️😥️😥️. Yes that's a lot
Here is my router speed
Here is the extender speed
I repeated this test twice which gave me roughly 80% speed drop. The good thing is that there is no speed drop when you add more extenders.
Debugging with blinking rateLed blinking every second - config file does not exist and web portal is active.
- Led blinking every second - config file does not exist and web portal is active.
Led blinking every 200ms - connection is successful and repeater is ready to run.
- Led blinking every 200ms - connection is successful and repeater is ready to run.
Led stays off - there is a problem with the repeater.
- Led stays off - there is a problem with the repeater.
Led stays on(no blinking) - trying to connect to router.
- Led stays on(no blinking) - trying to connect to router.
The default IP address for the device is 192.168.4.1 (you can always check the IP address on the serial monitor), during the first run of the device the config file( a file containing the details of the router to connect to) does not exist, so it starts the web server ( the led blinks every one second to indicate this), the default name for the device is Pius_Electronics_extender0001 connect to the WiFi network and type in the IP address in your browser the web page will greet you.
Click on the scan button to scan for the network select the network(router) you want to connect to input the password(router's password) and type in the name you wish the extender to have in the text box labelled AP name and click submit. The extender will have the same password as the connected router. If the led starts blinking at a fast rate (200ms) this means the connection is successful, you can now connect to the extender and use it..
Auto-meshThe extender does not support auto mesh, but a workaround will be to connect consecutive extenders to each other i.e connect extender2 to extender1, extender3 to extender2, extender4 to extender3 and so on depending on how many extenders you need. If you have a better method you came to make a pull request to my GitHub repository.
So if you are okay with an 80% speed drop, you can try out this extender. Thank you so much for reading.


Comments
Please log in or sign up to comment.