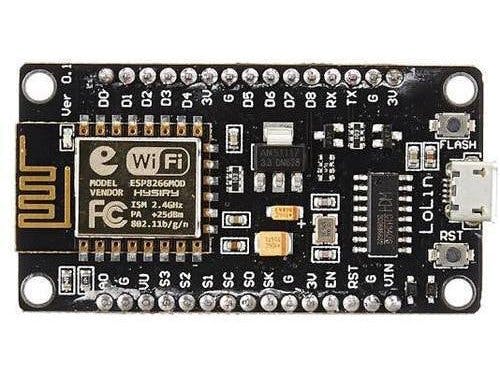
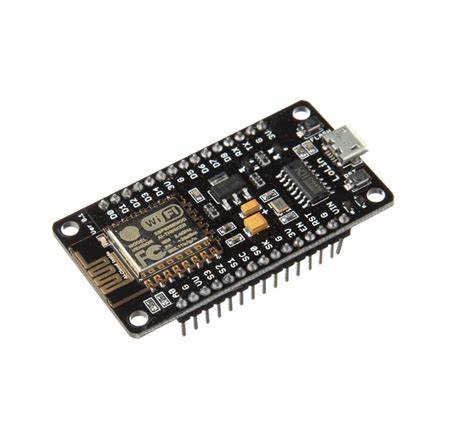
In this project we are going to access a database ( created through MySQL on a local server) using NodeMCU. You can implement this small concept in your IoT projects and make them more interesting!!!
So lets begin...
SOFTWARE USED:- Arduino IDE: This Integrated Development Environment is used to write and upload the code on Arduino compatible boards but can also be used to program a NodeMCU after installing a driver and NodeMCU board in the IDE.
- XAMPP: XAMPP is a free and open source platform web server solution stack package developed by Apache Friends. XAMPP will help us to create a local server and a database.
- STEP 1:
Open up the XAMPP. Under the Action column click on the first 'start ' button and wait for 'Apache' to turn green. Next, click on the second 'start' button and wait for 'MySQL' to turn green. After it had turned green click on the second 'Admin' button (under admin column) and a local host page will open on your default browser.
- STEP 2:
Click on 'New' and give a name to your database. Next, give a name to your table and select the number of columns. In my case I named my database and table 'test2' and 'class' respectively, having 4 columns.
- STEP 3:
Give name to the attributes, like S.NO, ROLL NUMBER, RANK, NAME and check A.I(auto increment) box. After finishing up click on 'Save'.
Your table has been created. Now we need to enter data in it.
- STEP 4:
Click on 'SQL' and write the commands to insert data into the table. Click on 'Go'.
The username of the database by default is 'root' and password is "", didn't set them up.
Our database is ready and local server has been setup . All that remains is writing a PHP code and a code for NODEMCU. Both of these are in CODE section.
SAVEING THE PHP CODE IN 'htdocs' FOLDERThe PHP code must be saved with extension.php in htdocs folder (C->xampp->htdocs).


Comments
Please log in or sign up to comment.