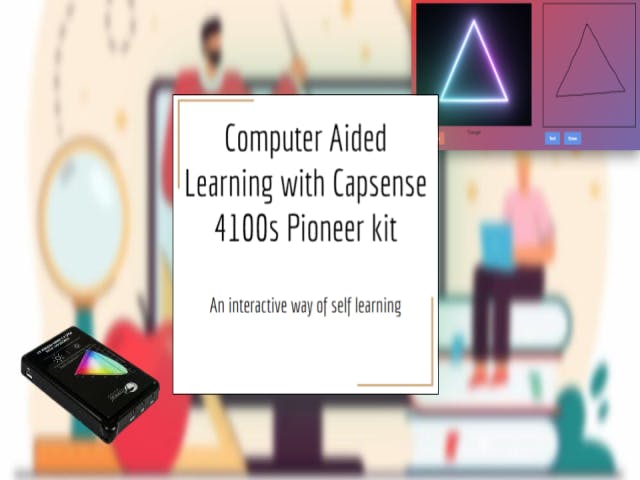
Computer Aided Learning is an integrative technology, which describes an educational environment where a computer program is used to assist the user in learning a particular subject. It is also known as Computer Assisted Learning. It refers to an overall integrated approach of instructional methods. Computer aided learning is a device/learning strategy to make learning more interesting, joyful and sustainable. This concept is the most revolutionary Human Machine Interface(HMI) for the betterment of modern society.
Why It is Important
- To make learning a joyful experience for students.
- To develop interest in learning concepts.
- To enhance students’ achievement level through Computer Aided Learning.
Learning becomes easy and enjoyable when it becomes interactive. That's why aim of the project is to capture the concept of Computer Assisted Learning and implement it in real life. The platform uses both software and embedded technology to build Human-Machine-Interface(HMI), where students can learn to draw shapes without help from their teacher. Instead, a web console will allow them to draw the shapes in a dedicated canvas. Also, it will guide them for incorrect drawing. Here, the tool, we will be using to capture drawing co-ordinates is the Infenion PSoC4 4100s Pioneer Kit.
When learner draws correct shape, a pop up will guide him/her to the next shape. There's a total of 5 shapes on the program. On the other hand, he/she won't be elevated to next level if unable to draw the correct shape each time. In fact, what the user has to draw will be prompt right next to his/her drawing canvas. Name of the shape will be displaying there as well.
Considering the strategy, purpose of this project will satisfy the learner in terms of concentrating, make better judgement of what he/she is drawing, learning from mistakes and ease the difficult process of teaching from the teachers end also.
FeaturesThe project features the following attributes:
1. HMI Device: Capsense PSoC4 4100s Pioneer Kit - Core of the project is driven by this kit. It is connected to the display device via USB port. Thus, it interacts with the device.
2. Smart Trackpad - The kit also features a trackpad, which is responsible for sending co-ordinates to the kit. From there, the co-ordinates is sent to device.
3. User Interactive Web Console - The web app interacts with user, where a dedicated drawing canvas is present. Again, there is a slot that shows which shape to draw. When the drawing is completed, drawn image is sent to backend with a click. After processing and recognizing the shape, the backend sends match results. And user can see his/her progress.
4. OpenCV for Recognizing Gestures - On the backend, server is waiting to capture the shape what user has drawn. A web socket works as a transporter between frontend and backend. OpenCV is on the backend to recognize the shape and return the probable result via web socket.
All in all, the project features a game of drawing 5 shapes. With each correct shape, user gets 20 marks progress. Thus finally, a sum of 100 marks indicates a successful accomplishment and game end!
How to ActivateFinding a Good Display Device
The project is not limited only to a laptop/pc. The web console supports a wide variety of devices (Must have a picture dimension of 1366 x 768 and above). Any display device having a good resolution, HTML5 compatible browser and internet connectivity can be used. To mock up, I have used a smart tv which has a resolution of 1600 x 900 pixels.
Launch the Website
Currently the project is made on local host. So, we have to pull the repository of web app from the attachment section. And save it to a local drive. As the app is built on Flask server, there are some prerequisites for successful operation. Requirements to run the app (Supposing the user is totally new to the platform):
After successful installation, go to the directory where the web app repo is saved. From there, turn on the python terminal. And write the following command:
python main.pyThe command will turn on the Flask server.
After that, open the browser and go to this link: http://127.0.0.1:5000/home
Burning theFirmware to Capsense PSoC4 4100S Pioneer Kit
Next, we have to do is get the "Computer-Aided-Learning-PSoC-File" repository from provided link of attachment section. Clone the repository to a local drive. Load the program to PSoC Creator 4. Then, burn the program to the kit. Some useful links are provided below to get familiar with PSoC Creator 4. Also, links about solving a few hurdles that I had to overcome during that time.
- How to install PSoC Creator 4.
- How to get started with Capsense PSoC4 Pioneer Kit and PSoC Creator 4.
- Updating old components of a project.
- Updating firmware of the board.
Once firmware is uploaded, the kit will start working just like a tracking pad. Where the left button and right button will serve as left click and right click. And the mid section will move the cursor according to our wish.
When the link opens, we will land to the following page.
There we will see a button to Get Started. After clicking the button, we will be redirected to the next page. While the page loads, a dialog appears suggesting what to do.
After closing the dialog, we can start drawing the shape. Before that, there are some drawing instructions to follow once our cursor is right on the canvas:
- Clicking the left button once in the pioneer kit, will activate the pen tool.
- Use the trackpad to draw on the canvas. See how it works!
- Again, clicking the left button will release the pen tool.
After weare done drawing the shape, clicking Test button will send the canvas drawing to backend, where OpenCV will test and verify if the shape is drawn correctly.
If the drawing is incorrect, following prompt will show up.
Also, incorrect drawing can be erased by clicking on the Erase button, thus we can try again. But before that, a dialog appears for confirmation.
After confirming on the dialog, the drawing canvas gets cleared.
Working DemoSome Final WordsRight now, the web console is hosted on local. So, we have to fetch from git to test. The link is available on the attachment section. Hope to launch it in the server soon. That way, it will be easier for user.
The PSoC Creator file is available on the attachment section as well.
Lastly, the display device must have a browser console and a working internet connection to load the website.
Happy Making!!


Comments