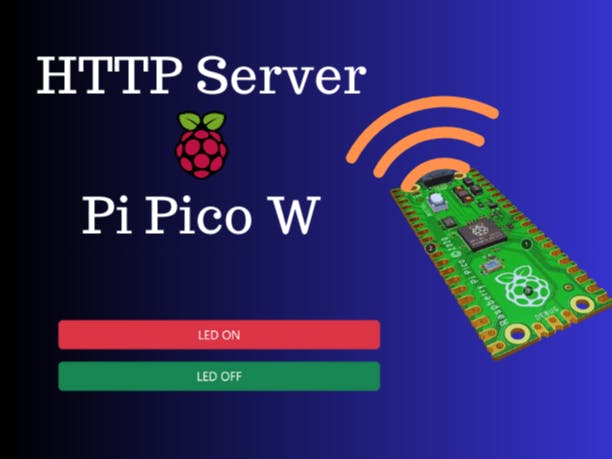
In this step-by-step guide, I’ll walk you through the process of setting up a web server on a Raspberry Pi Pico W using Phew, making this seemingly daunting task straightforward and achievable.
Step 1: Setting Up Your Raspberry Pi Pico WFirst, you need to ensure that your Raspberry Pi Pico W has been flashed with the latest MicroPython firmware and is ready to be programmed, You can follow How To Get Started with Raspberry Pi Pico in 2024 step by step guide.
Step 2: Installing and Setting Up Phew- Open Thonny IDE and Go to Tools ->Manage Packages
- In the search box type “micropython-phew” and click on Search Micropython-lib and PyPI
- Select and Click on Install to start installing the Phew library to your Raspberry Pi Pico W
- Once installed you can notice lib folder would be created on Thonny IDE -> Raspberry Pi Pico W Files
To create a functional and interactive webpage that your Raspberry Pi Pico W can serve, you’ll need to write some HTML code. This webpage will allow you to control the LED through your web browser by simply clicking links or buttons.
Download the index.html file from attachments.
Now, let’s get to the exciting part—creating your own Web Server on Raspberry Pi Pico W:
You can download the server.py file from the attachment.
If I have provided a real value for you, consider buying me a coffee☕
That's all, you now just need to run server.py from Thonny, checkout the above blog and video if you stuck at any point.


Comments
Please log in or sign up to comment.