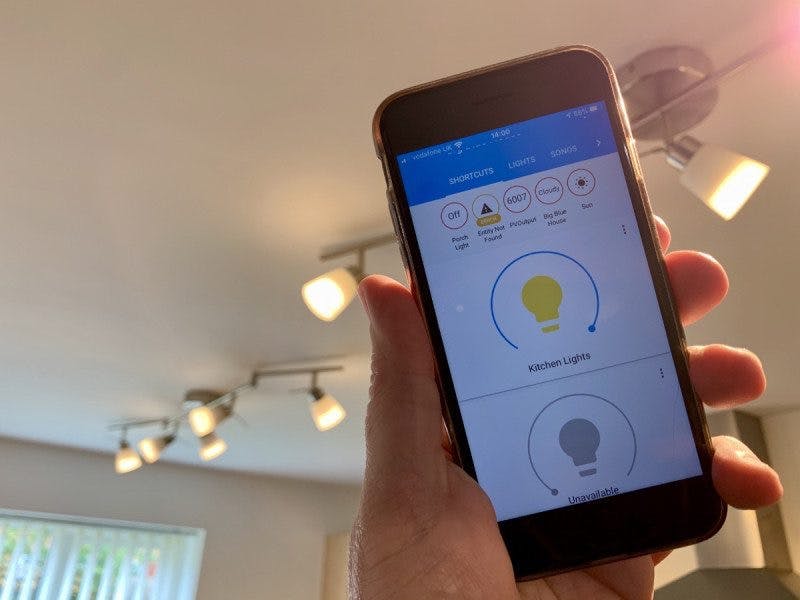
Home Assistant is the most powerful home automation software that allows you to control your smart devices. It connects with everything from smart switches, and smart sensors to smart garage door openers, and allows you to customize automation. But the best part about it - is “It gives you control over your devices.” Not any random IoT company. I don’t want to manage my devices over the cloud of any random company, that can hack my data in minutes. But the home assistant manages everything locally, inside your house with local connections. I am not gonna say it is easy to install, but if you are just a little technology centric then you can do it easily. Because that’s what RoboCircuits is for? To make hard things easy for you. If you haven’t subscribed to RoboCircuits yet, then go and subscribe. RoboCircuits brings you awesome tutorials like these on various topics like the Internet of things, robotics, and drones.
This article is sponsored by the most advanced industrial-level electronic design automation software package for printed circuit boards. Altium Designer. With allium designer comes Octopart, A powerful search enginethat makes it easy to compare millions of components, find important technical information, quickly make component selection decisions, and purchase parts from distributors. Octopart combines seamlessly with Altium designer to make your design journey smooth. And there is a piece of good news.
Get a free trial of Altium Designer with 365 and 25% off your purchase:
https://www.altium.com/yt/robocircuits
So let's see what we need, to start building a great smart home.
Home assistant can be installed in your computers, Naz storage devices, and a lot of devices but the best and most affordable way is to use a raspberry pi. It is preferable because of its small form factor and ability to save electricity.
But which raspberry pi is good enough???
I would recommend using a Raspberry Pi 4 with a minimum of 4GB of RAM. Raspberry Pi 3 will work but Pi 4 is better. Currently, I am going to use this Raspberry Pi 4B 8GB version.
To install home assistants use an SSD instead of a memory card. Because Home Assistant can burn your memory card like marvel movies burn DC fans. To use SSD with raspberry pi you will need an SSD to USB case like this. Then it can be plugged in easily.
But with this much power, the Pi will get hot pretty fast. So we need proper cooling. For this, I went with this aluminum case. It has 2 DC fans on top of it to keep it cooling.
To install it, first put the thermal pads on top of the chips and then put the upper and lower case and screw it. Then screw the DC fans on top of it. Connect the DC fans on 5v and the GND pin on the pi.
Now for this much potential, we need a suitable power supply. A minimum of 5v 3A power supply like this is perfect for this setup.
Then we need an ethernet cable and now the final thing we need is an SD card. But why??? We already have the SSD.
First of all, we need to burn home assistants onto our SSD. For this let's go to our computer screen and check what we need to do.
- Firstly we need to install the raspberry pi imager. Once downloaded, open it
- Choose OS, from here we can install any OS into our raspberry pi, but for home assistant, we need to go to - Other specific-purpose OS
- Now choose home assistant
- Now choose home assistant for raspberry pi 4
- And choose to plug your SSD into the USB port of your laptop and click choose storage. Now choose the SSD from the menu.
- Then click write.
Now we need to wait for a little while. Okay so the burning of the home assistant onto SSD is done.
But raspberry pi is configured to boot from an SD card only. How can we boot it from SSD? Here comes the part of the SD card.
- Open Raspberry Imager once again.
- Now in the operating system, we need to select Misc utility images.
- Now select boot loader
- And finally, select USB boot
- Now plug in your sd card using an sd card reader into your computer and select your sd card from the storage menu.
- Now click write.
Once it is done, insert the SD card in Pi and Run it. Then remove the card and insert SSD in USB. and wait for a while.
- connect your Pi to your router with an ethernet cable.
- Now open your browser and go to this URL - homeassistant.local:8123
- follow the steps and it's done.


Comments
Please log in or sign up to comment.