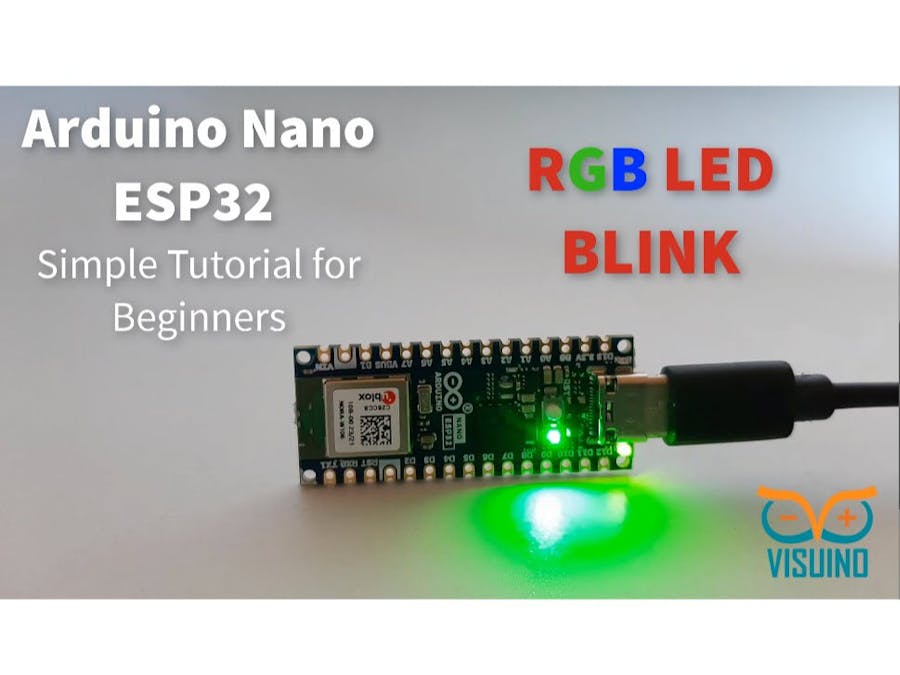
You will learn how to switch the color with every blink.
Watch the Video!
Step 1: What You Will Need- Arduino Nano ESP32
- Visuino program: Download Visuino
Start Visuino as shown in the first picture Click on the "Tools" button on the Arduino component (Picture 1) in Visuino When the dialog appears, select "Arduino Nano ESP32" as shown on Picture 2
Step 3: In Visuino Add Components- Add "Pulse Generator" component
- Add "Digital Multi Source" component
- Add "Counter" component
- Add "Digital Demux(Multiple Output channel Switch)" component
- Select "Counter1" and in the properties window set "Max" > "Value" to 2 and "Min" > "Value" to 0
- Select "DigitalDemux1" and in the properties window set "Output Pins" to 3
- If you want to increase the speed of the blinking select "PulseGenerator1" and in the properties window change the "Frequency" value
- Connect "PulseGenerator1" pin [Out] to "DigitalMultiSource1" pin [In]
- Connect "DigitalMultiSource1" pin [0] to "Counter1" pin [In]
- Connect "DigitalMultiSource1" pin [1] to "DigitalDemux1" pin [In]
- Connect "Counter1" pin [Out] to "DigitalDemux1" pin [Select]
- Connect "DigitalDemux1" pin [0] to Arduino Nano ESP32 > RGB > Red pin [Digital]
- Connect "DigitalDemux1" pin [1] to Arduino Nano ESP32 > RGB > Green pin [Digital]
- Connect "DigitalDemux1" pin [2] to Arduino Nano ESP32 > RGB > Blue pin [Digital]
- In Visuino, at the bottom click on the "Build" Tab, make sure the correct port is selected, then click on the "Compile/Build and Upload" button.
After uploading the project to the Arduino Nano ESP32 the internal RGB LED will blink.
Congratulations! You have completed your LED project with Visuino. Also attached is the Visuino project, that I created for this Tutorial. You can download and open it in Visuino: https://www.visuino.com


Comments
Please log in or sign up to comment.