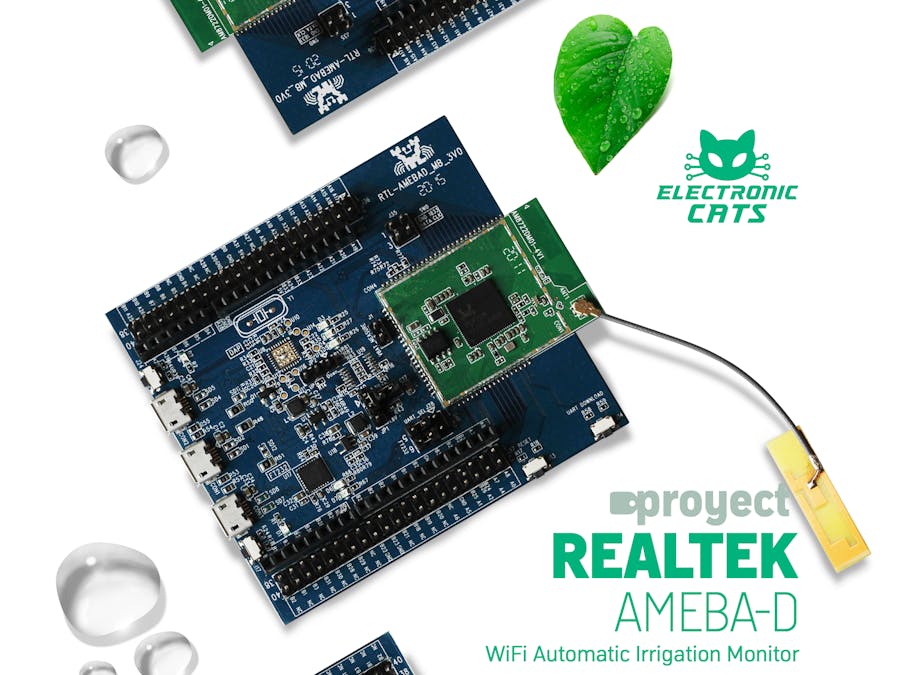
In this practice a solenoid valve is controlled while the temperature and humidity of a plant are sensed to have an irrigation control, originally it was thought to use an I2C sensor (DHT20), due to problems with this protocol on the board it was decided to use an analog temperature sensor (TMP36).
Materials descriptionTo carry out the connection of our circuit it is necessary to know our components.
Temperature SensorThe TMP36 electric diagram it's very simple, next we see the pinout:
VCC: Input voltage. From 2.7V - 5.5V.
GND: It is the GND pin.
VOUT: The analog signal provided by the sensor. The sensor gives us 10mV/ºC
The water level sensor also has a simple connection, it will be put to use to detect the level of water in the plant.
VCC: Input voltage. From 3V to 5V
GND: It is the GND pin.
S: It is the analog signal provided by the sensor. It has a resolution of 10 bits, from 0 to 1023.
The solenoid valve has two connection wires and operates with a voltage at 12v in this practice we implement a control system with BC337 transistor and diode 1N4007.
One of the wires of the valve will be connected directly to our supply voltage which in turn is connected to the cathode of a diode anti return; the other terminal of our valve will be connected to the collector of our transistor which in turn is connected to the anode of the diode. The base of our transistor must go to the digital pin that will activate our controller, letting pass the 12v of our external source (for our practice we chose the digital pin number 2). The emitter of the transistor will be connected to GND.
*The RTL8722DM integrated symbol is representative, it does not show the real footprint of this component.
Add AMEBA board to Arduino IDEFirst of all we must add the AMEBA board to be able to program it from Arduino IDE. For this it is necessary to enter Arduino IDE, open the file menu and click on preferences.
When you open the window, look for the "additional Boards manager URLs".
In the text box you must insert the link where the RTL8722 card package is located.
https://github.com/ambiot/ambd_arduino/raw/master/Arduino_package/package_realtek.com_amebad_index.json
Once the URL has been added in the text box.You should open the menu Tools> Board> Boards manager.
A window will open where you insert the name of the package (Realtek Ameba Boards) where the card is located and click on install.
Once this action has been performed, our IDE recognizes our card.
When we install the board, the libraries needed to manipulate our Ameba will install. If this does not happen you can visit the following link to consult the libraries:
https://github.com/ambiot/ambd_arduino/tree/master/Arduino_package
To generate the irrigation control code we need an analog reading program and as we need to consult the data, we will use our Ameba as a Web server, this way we will be able to consult our data with the IP address, for this we must connect it to our Wi-Fi network.
Programming boardOnce the program is generated we will proceed to upload it to our board. Before uploading our program Arduino IDE must compile it, when compiling it will show a message. Once it appears the board must enter in "boot mode".
In order for our board to enter boot mode we must hold down the "UART DOWNLOAD" button and press the "RESET" button once.
Once our card has been programmed correctly, this message should appear. To visualize the operation, click on the reset button.
Once it starts working, the serial monitor must be opened, where a series of data including an IP address will be displayed.
That IP address must be copied and pasted into the browser in order to view the data captured by our sensors.
AmebaD RTL8722 is a great option for control and monitoring projects, because its wireless connections make it an extremely practical card when making systems of complexity and nature of connectivity, plus the management of so many pins and the availability of microcontrollers make it perfect for developing a complex system.
When trying to use the I2C protocol there was a problem because it could not be enabled, when entering the board, no declaration of the pins that theoretically belonged to this protocol was found.


Comments
Please log in or sign up to comment.