

Hardware components | ||||||
 |
| × | 1 | |||
 |
| × | 1 | |||
 |
| × | 1 | |||
 |
| × | 1 | |||
Software apps and online services | ||||||
| ||||||
 |
| |||||
| ||||||
| ||||||
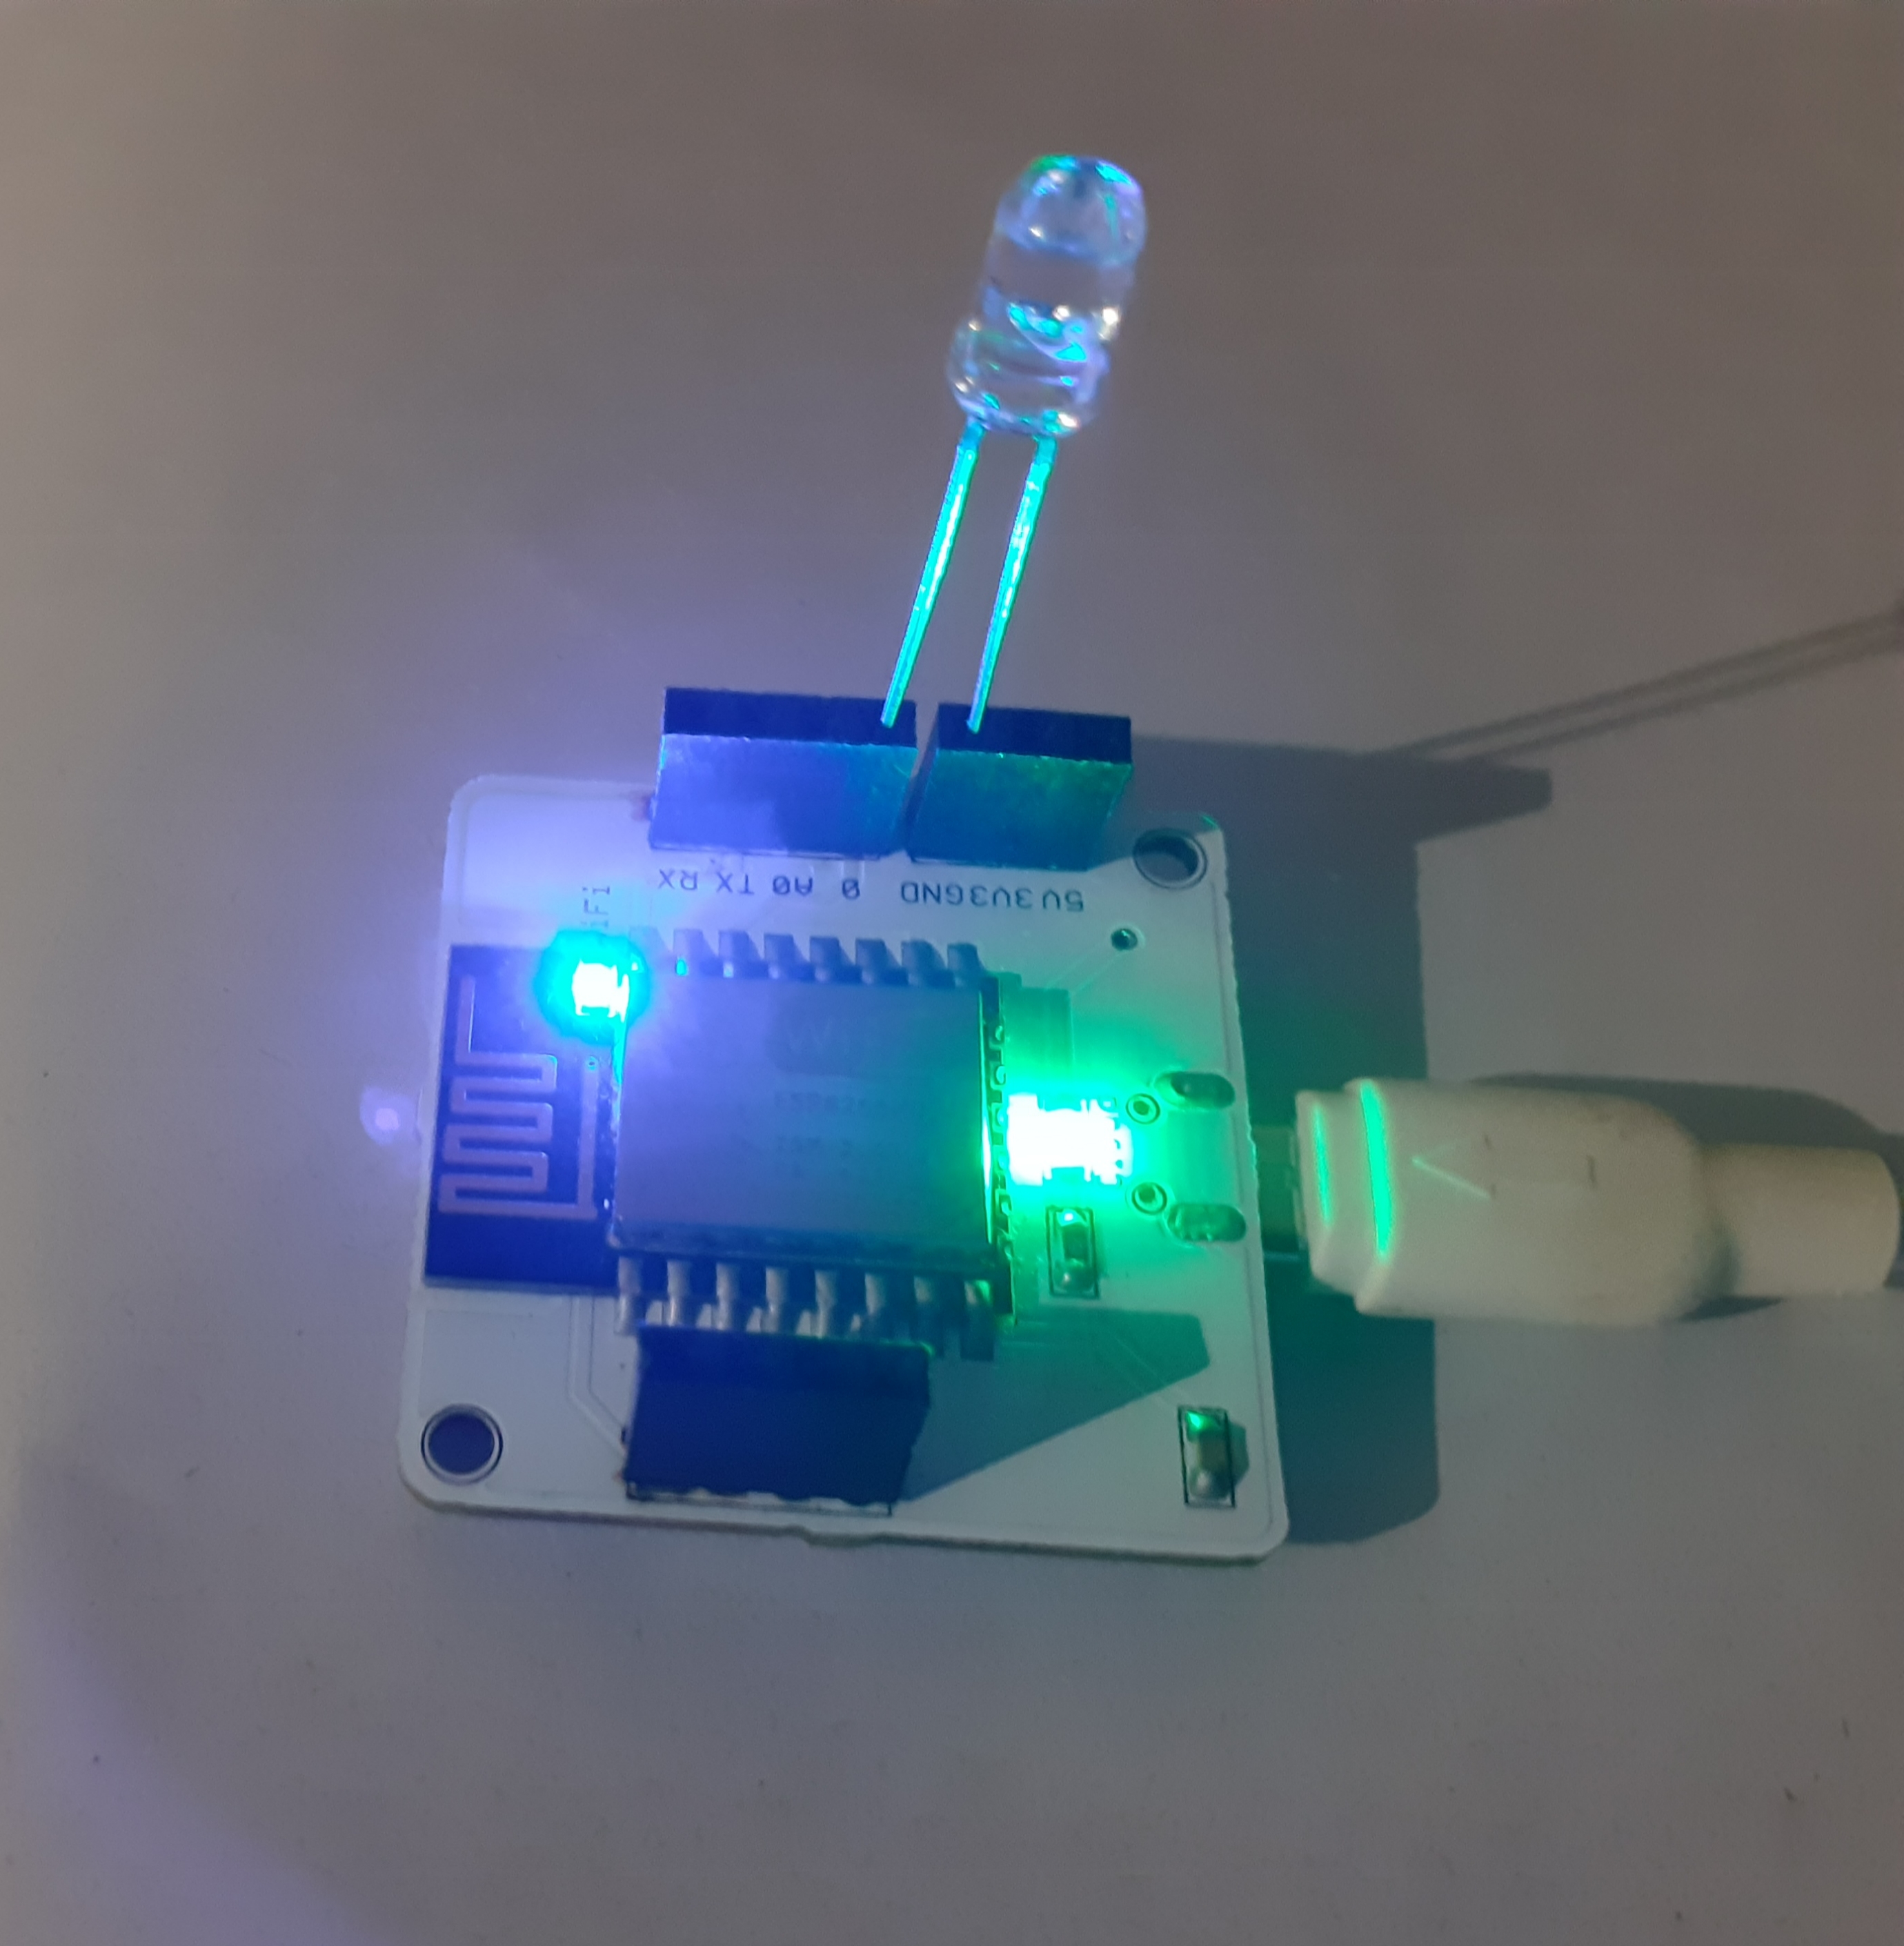
Let us assume a situation in which we are late to office/college and rushes to without switching off lights and fans.Don't worry we can save electricity by just a click. Just speak to Google Assistant..it will take care of it. Simplest method ever!Here I have build a miniature version of what I explained above.Using Google Assistant here I controlled light of an LED. We can use an extended version of it for Home Automation. Thus, just through one voice note Google Assistant can control whole devices in our home. With the help of Bolt WiFi module here I build an LED light controlling system using Google Assistant.
Step 1:HardwareSetup
Connect the shorter end of LED (-ve) into ground pin(GND) of Bolt Wifi Module and the longer end of LED(+ve) into pin 0 of Bolt Wifi Module.It is not necessary to connect it to pin 0. We can connect it to any of the GPIO pin.
Step 2:Accessing the Bolt API Key and Device ID
Visit cloud.boltiot.com and login to our account.
By clicking on API tab on left side it will take us to the page where API Key is present. Click on enable and copy your API Key.
Clicking on device tab, device name/ID can be shown. It will be like BOLTxxxxxxx. Note it down
Step 3 :Generating the GPIO control command
Since, LED is an output device we will need to get a DigitalWrite command that can be sent to Bolt over the internet to turn on and off the LED. Go to Bolt cloud, visit API->API Documentations->GPIO Commands API->Write digital output. From there you will be able to study about digitalwrite command. Now you can create a hyperlink as shown there and replace API Key and Device ID with yours.Also, set up 'pin' and 'state'.Pin can be set as the GPIO pin which you chosen for connecting the LED.State can be set as either HIGH (turn on)or LOW(turn off).
Structure of the command will be like:
https://cloud.boltiot.com/remote/API_KEY/digitalWrite?pin=0&state=LOW&deviceName=BOLTXXXXXXX
Eg:https://cloud.boltiot.com/remote/API KEY/digitalWrite?pin=0&state=LOW&deviceName=DEVICE ID
According to the above provided command state is set as LOW which means, to turn the LED off.
Step 4 : Integration of IFTTT with Google Assistant and Webhooks
Go to IFTTT and create a new applet by clicking here. Sign in to IFTTT using the same gmail account that was signed in with google assistant.
click on create and create a new applet
Click on ' if + this then that'. Then it will redirect to a page as shown below.From there choose a service as 'Google Assistant'.
Select a trigger...Say a simple phrase
Fill up the details as shown below.
click on create trigger and finish.
Again choose 'create applet' and choose the service 'webhooks'.
Click on webhooks and make a request.
Set up the URL as the one we generated using gpio digitalwrite command and other fields as shown above.Click on create and then finish.
On the above steps I had created for turning off the LED
Similar steps can be used to build the steps for turning on the LED.
Turning on the LED:The only change that has to made for turning on is to change the state to 'HIGH'. All other steps are similar as stated above.
Finally..We are done!Now, let us speak to our google assistant to wake your phone up. Let us say 'OK Google', Yes it's time to speak up the phrase that we have set during trigger creation.Now, it will respond to you in the way that you have set response while creating the trigger.Also, we can see the change in LED as it turns on and off.Wow!!...We have successfully completed our project.


Comments