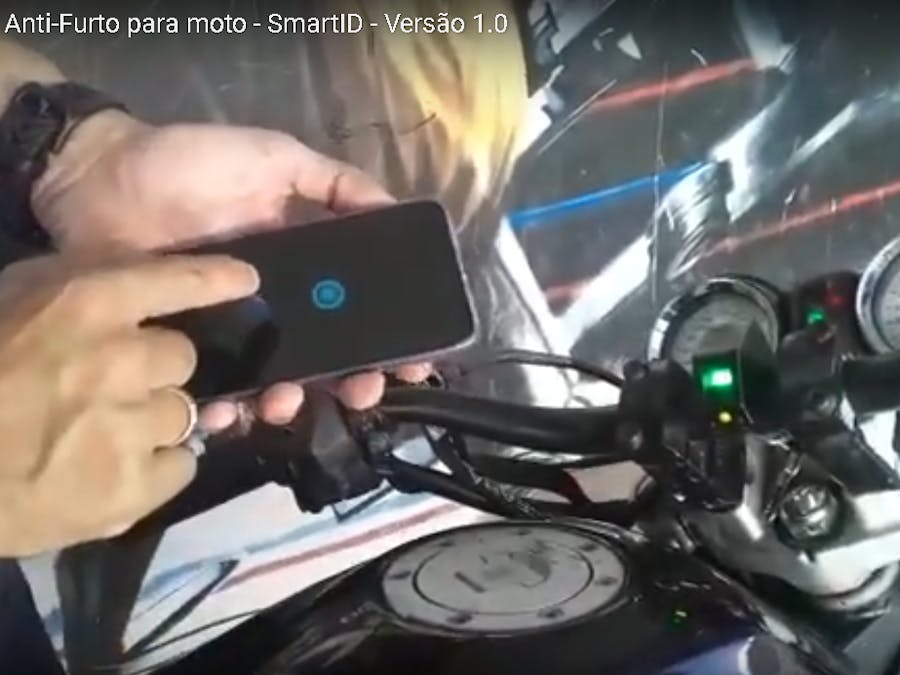
This project is a new version of the previous project already published on the Arduino Project Hub:
In the previous version we taught how to make an anti-theft system for your bike using the biometric sensor, we posted the diagram, the code and the components used, we made a step by step so that you can make yours.
The purpose of this post is to show the power of using the Arduino board, which we can use it for home automation, vehicular, disabled assistance projects, all prototype or even final design as in the case of this bike we made.
We use an Arduino UNO as the brain of the project.
Arduino Uno is a microcontroller board based on the ATmega328P (datasheet). It has 14 digital input/output pins (of which 6 can be used as PWM outputs), 6 analog inputs, a 16 MHz quartz crystal, a USB connection, a power jack, an ICSP header and a reset button. It contains everything needed to support the microcontroller; simply connect it to a computer with a USB cable or power it with a AC-to-DC adapter or battery to get started.. You can tinker with your UNO without worring too much about doing something wrong, worst case scenario you can replace the chip for a few dollars and start over again.
"Uno" means one in Italian and was chosen to mark the release of Arduino Software (IDE) 1.0. The Uno board and version 1.0 of Arduino Software (IDE) were the reference versions of Arduino, now evolved to newer releases. The Uno board is the first in a series of USB Arduino boards, and the reference model for the Arduino platform; for an extensive list of current, past or outdated boards see the Arduino index of boards.
The microcontroller of this Arduino is Atmega168P, its pinout follows in the image below:
We connected two sensors in the Arduino, a biometric sensor that we had already done a previous design of this same bike using it, and a Bluetooth module to receive the commands of the cellphone.
#SmartID #Hornet #SensorBiométrico #bluetooth #Servomotor #Arduino #arduinobr #Arduinobrasil #arduinoofficial #arduinooficial #Arduinouno #ArduinoMicro #Robotic #Robotica #CPNatal2 #CPNatal2019 #CPNatal #CPBrasil #MakerFaireRome #ChallangeArduino #SandroMesquita #Roboticamente


_ztBMuBhMHo.jpg?auto=compress%2Cformat&w=48&h=48&fit=fill&bg=ffffff)


Comments
Please log in or sign up to comment.