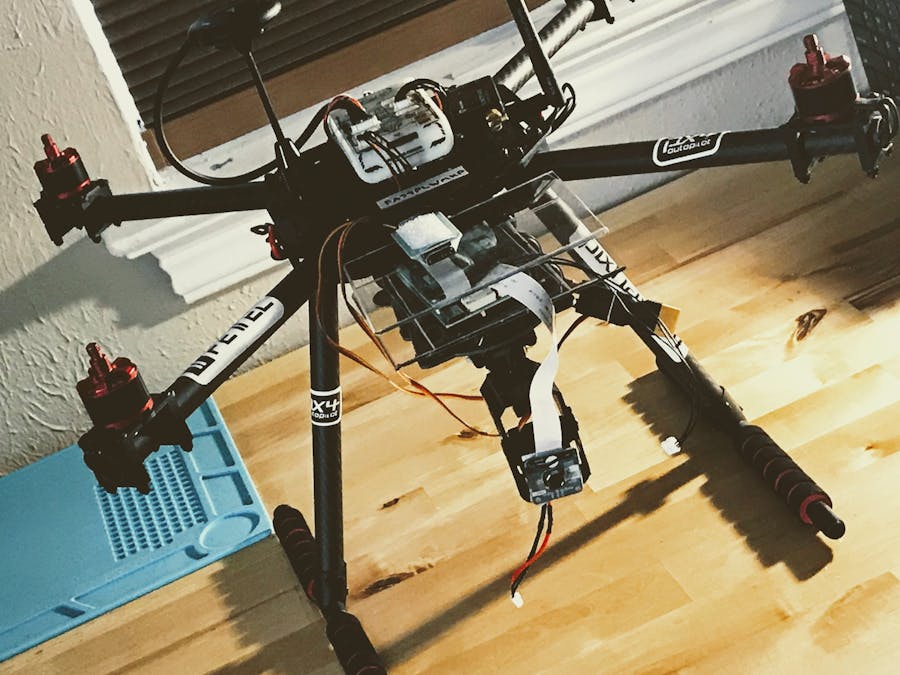
I received the NavQ kit from Emcraft first, around the middle of August 2020, the NXP hovergames drone kit arrived right at the beginning of September 2020, and I began building shortly after.
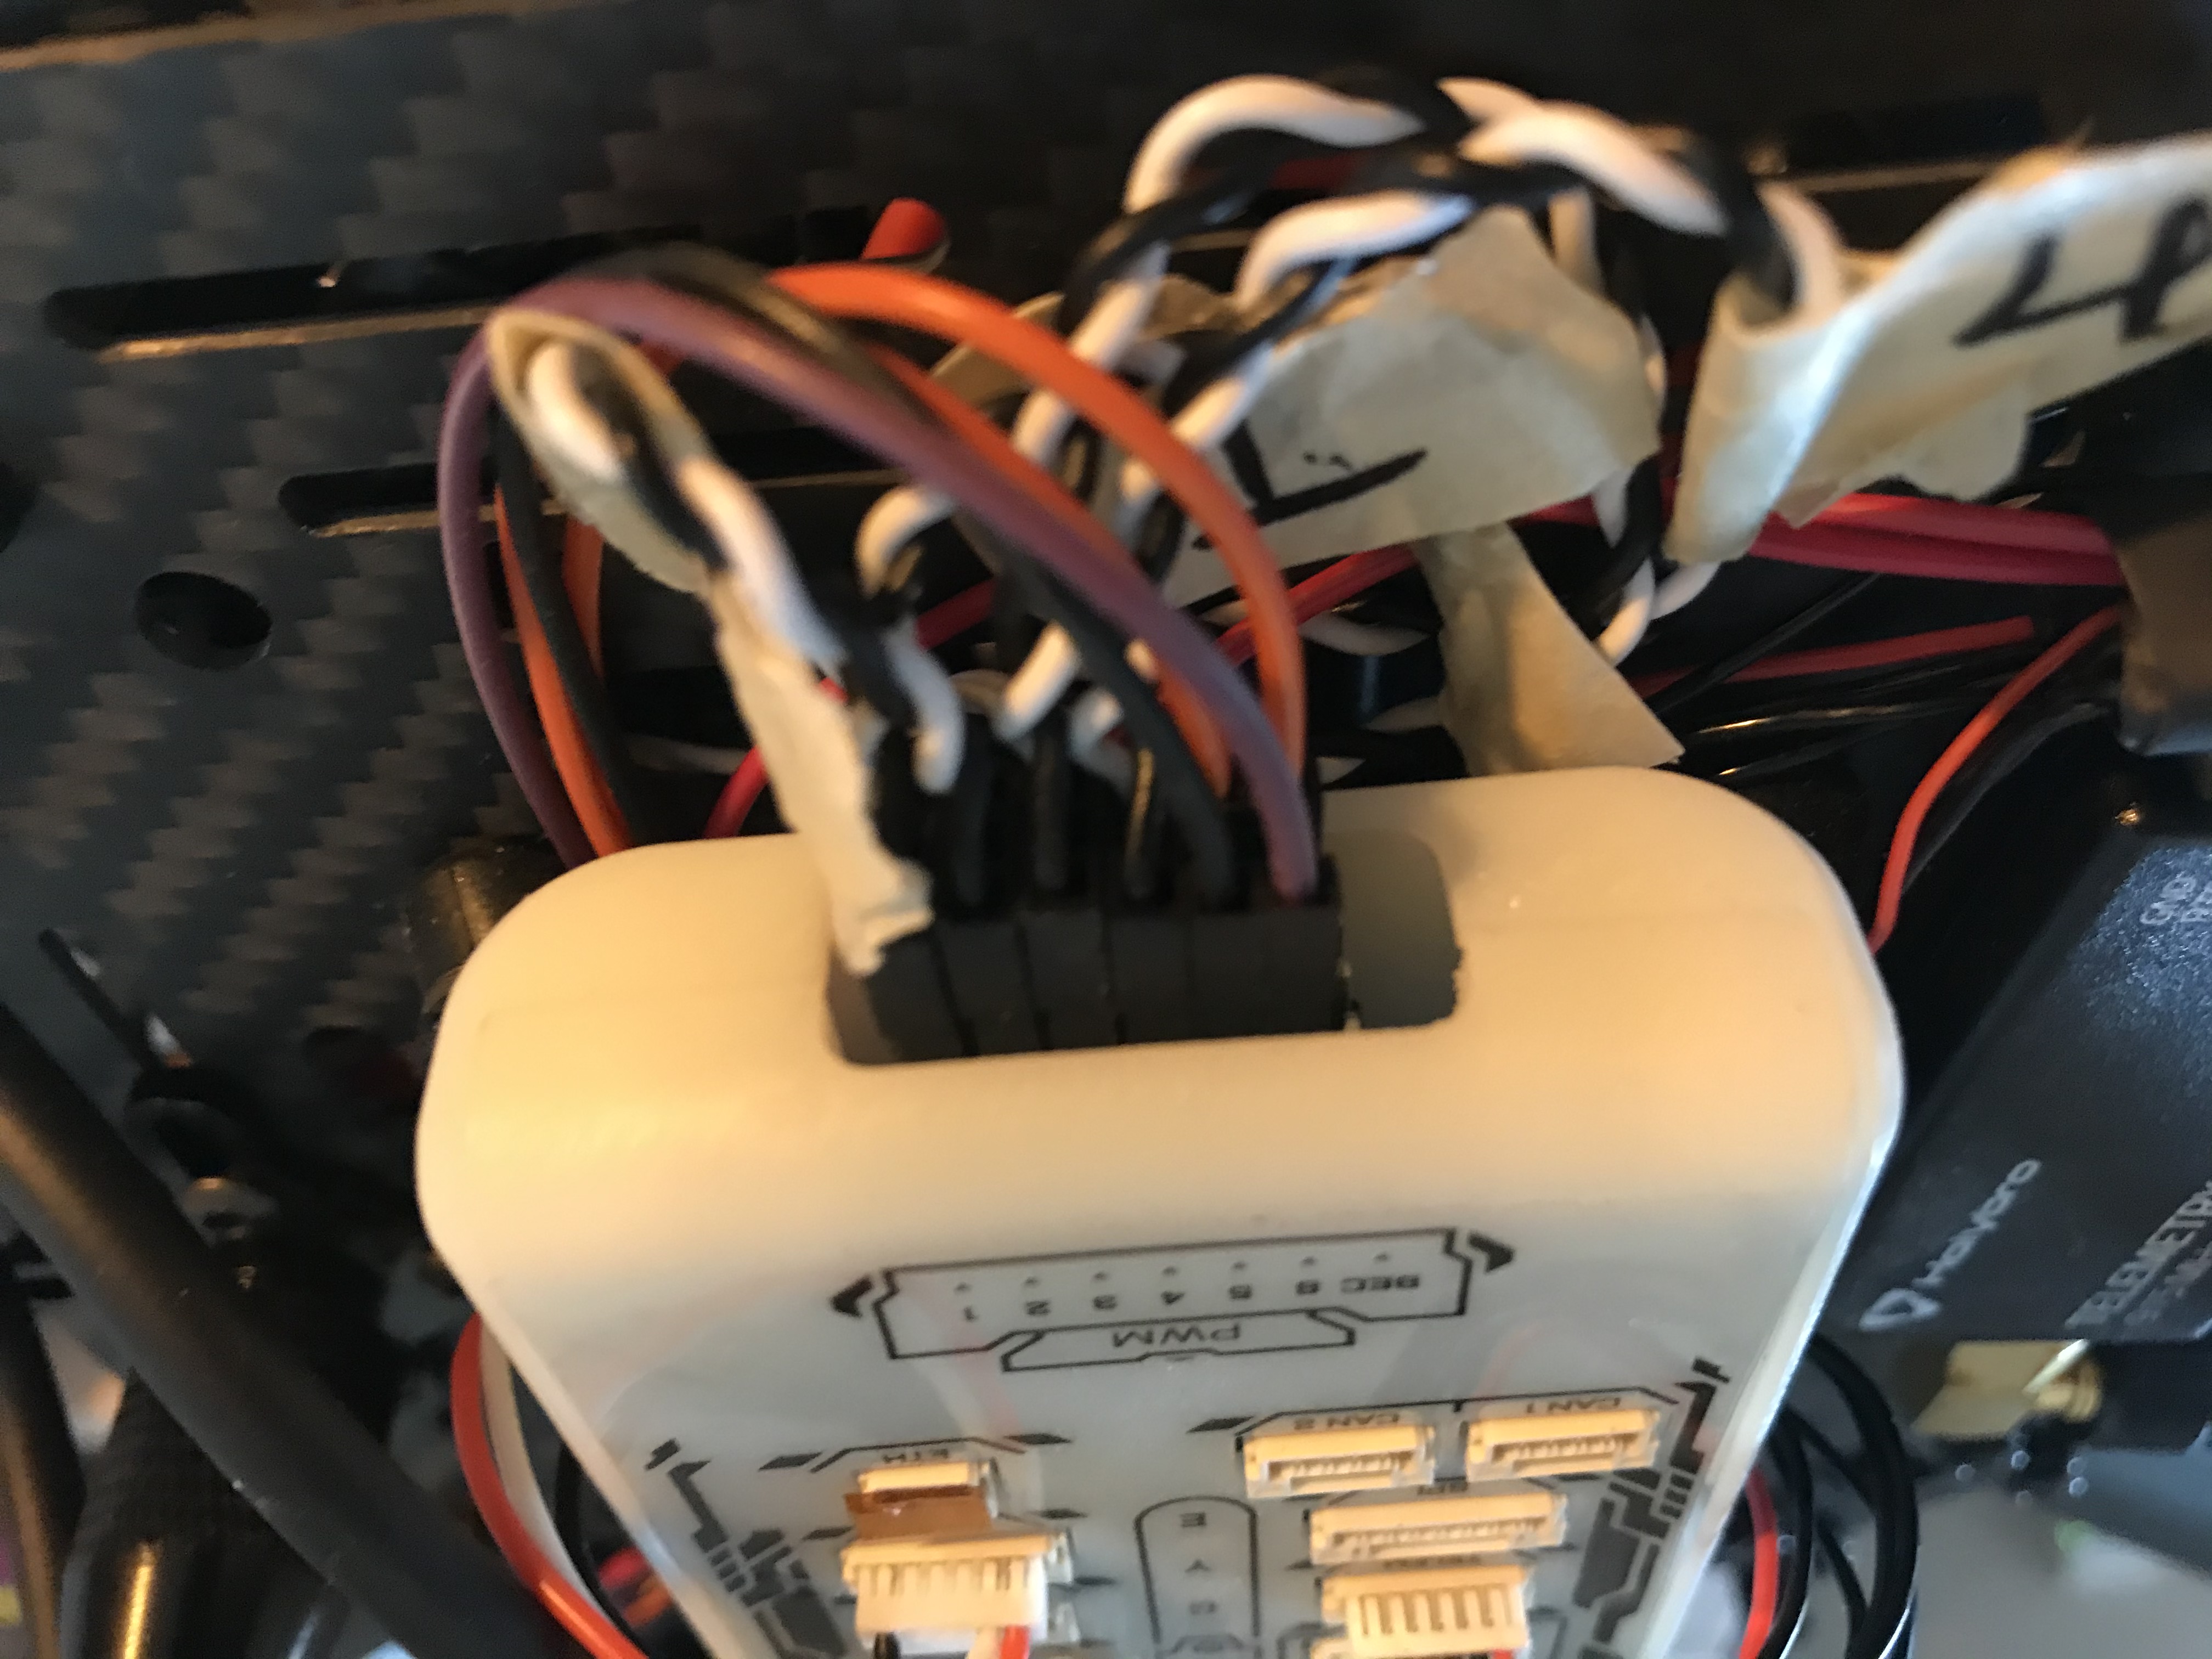
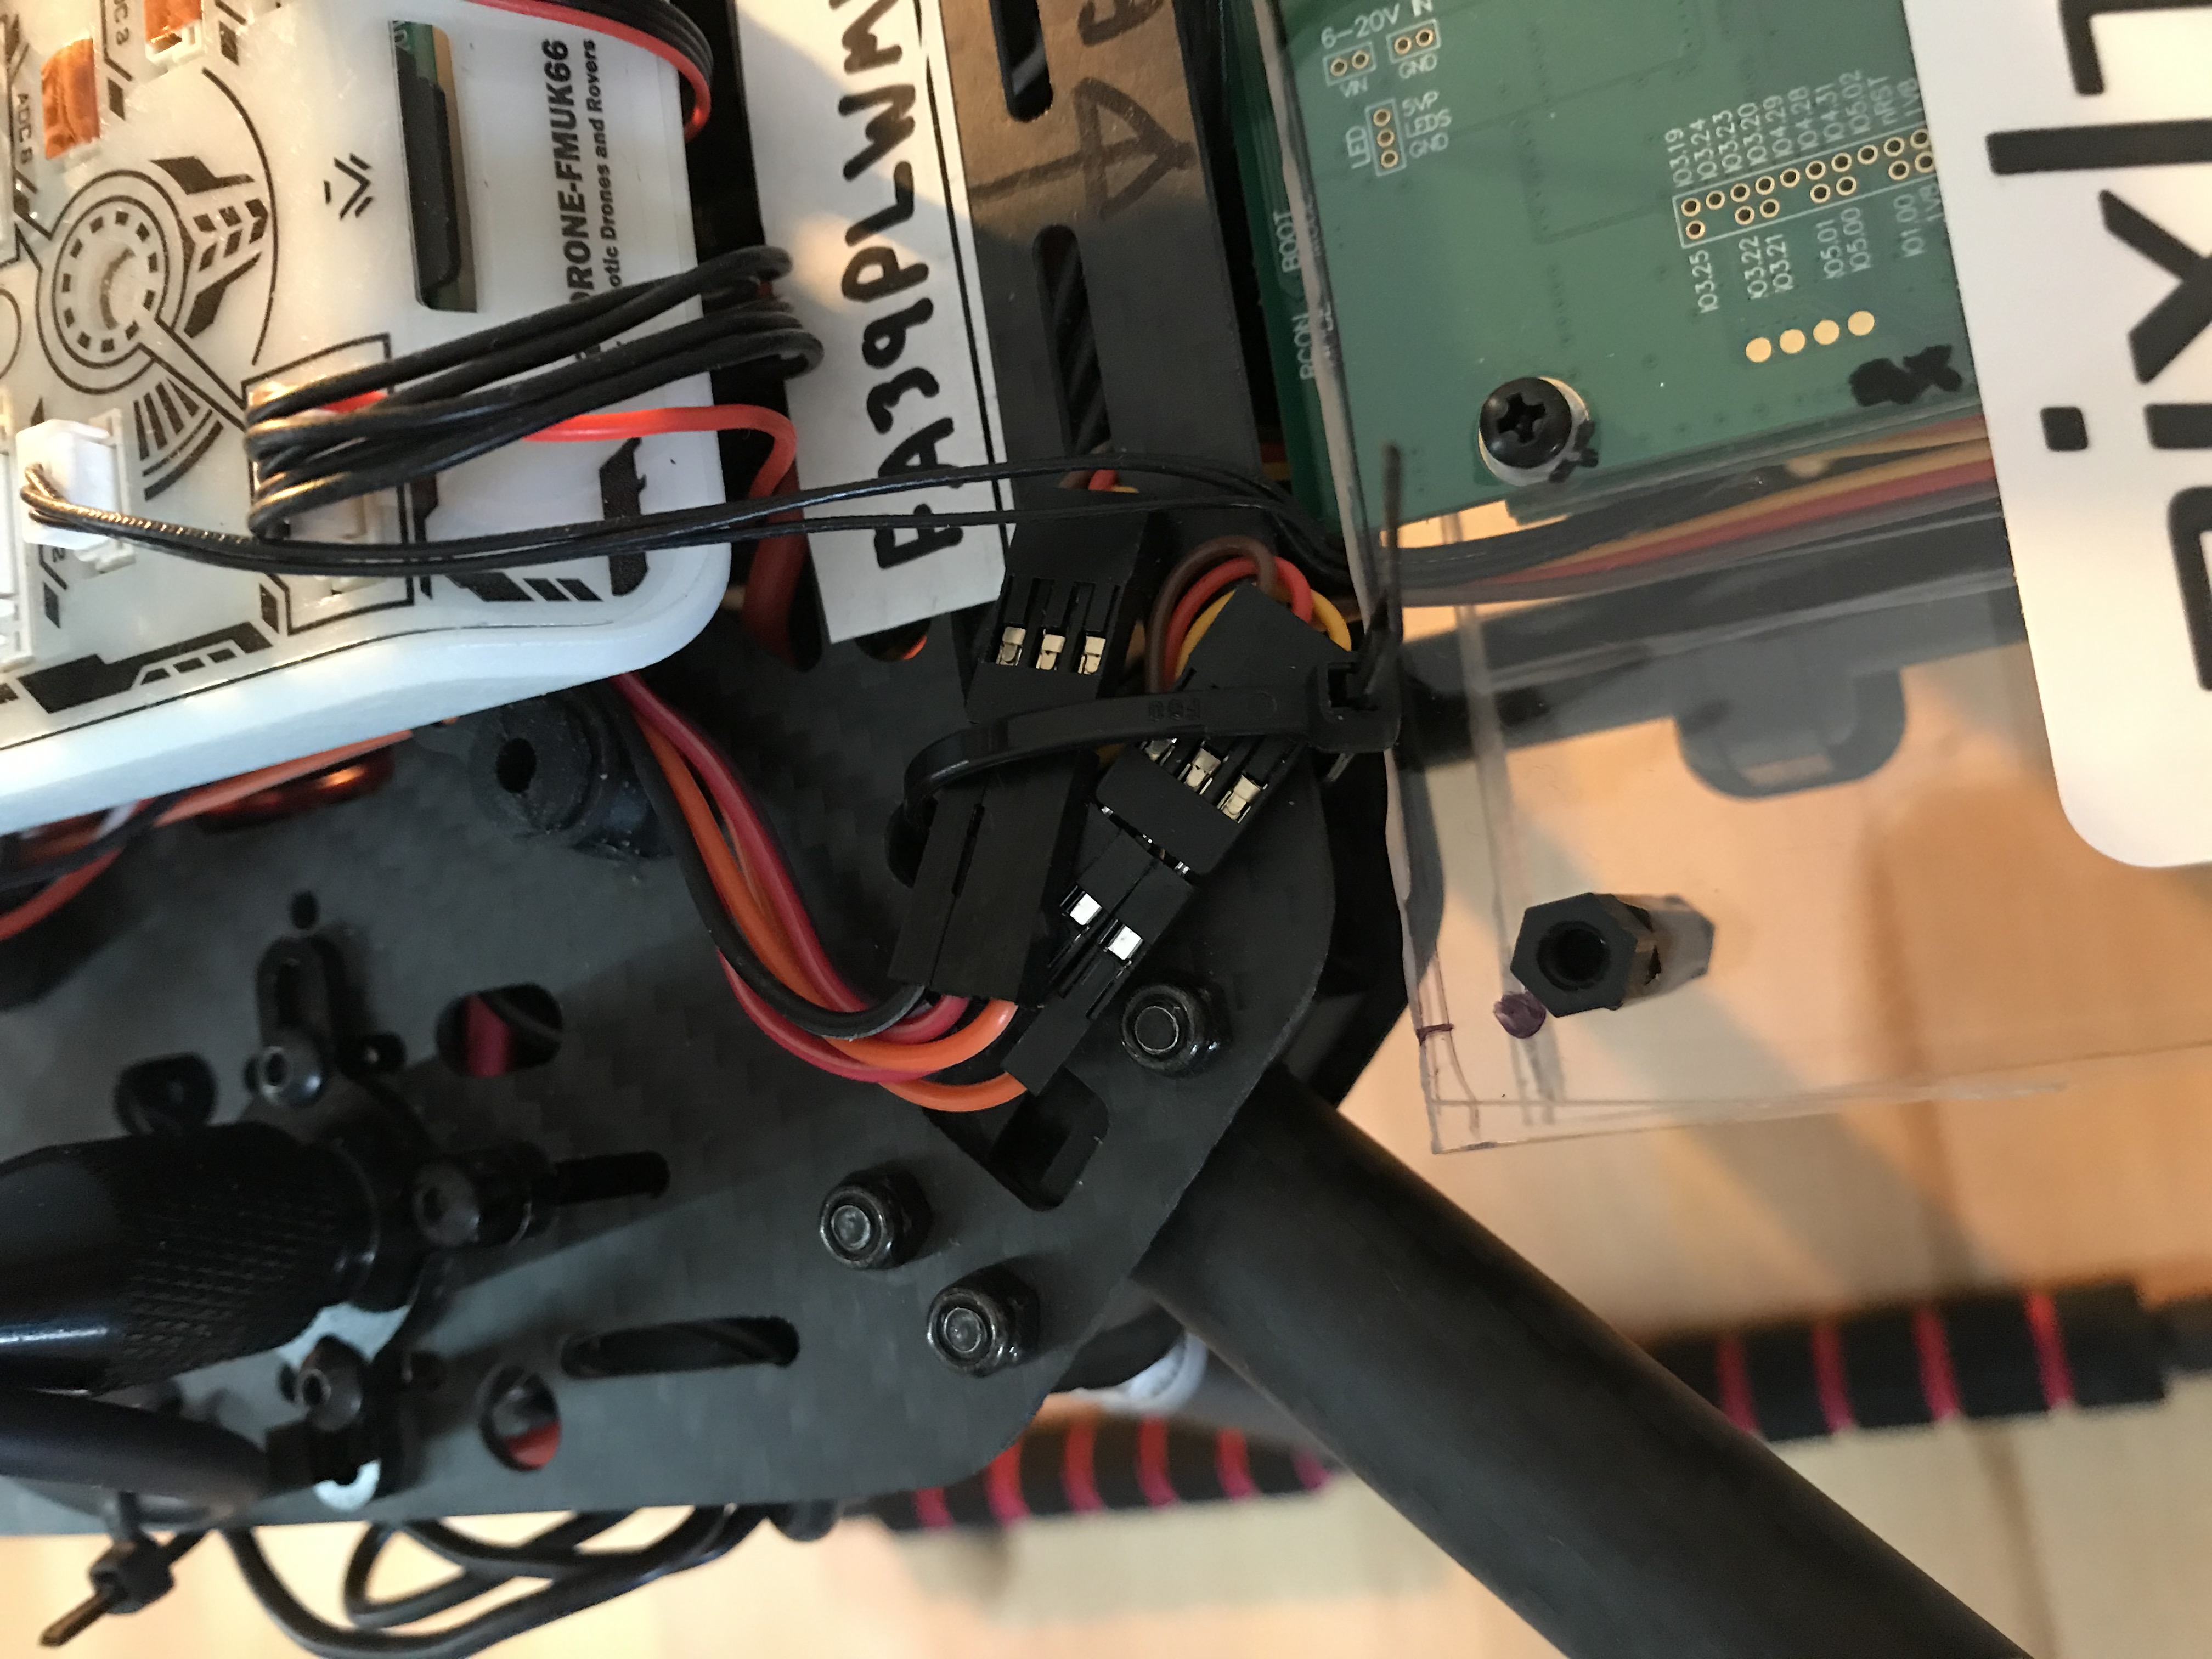
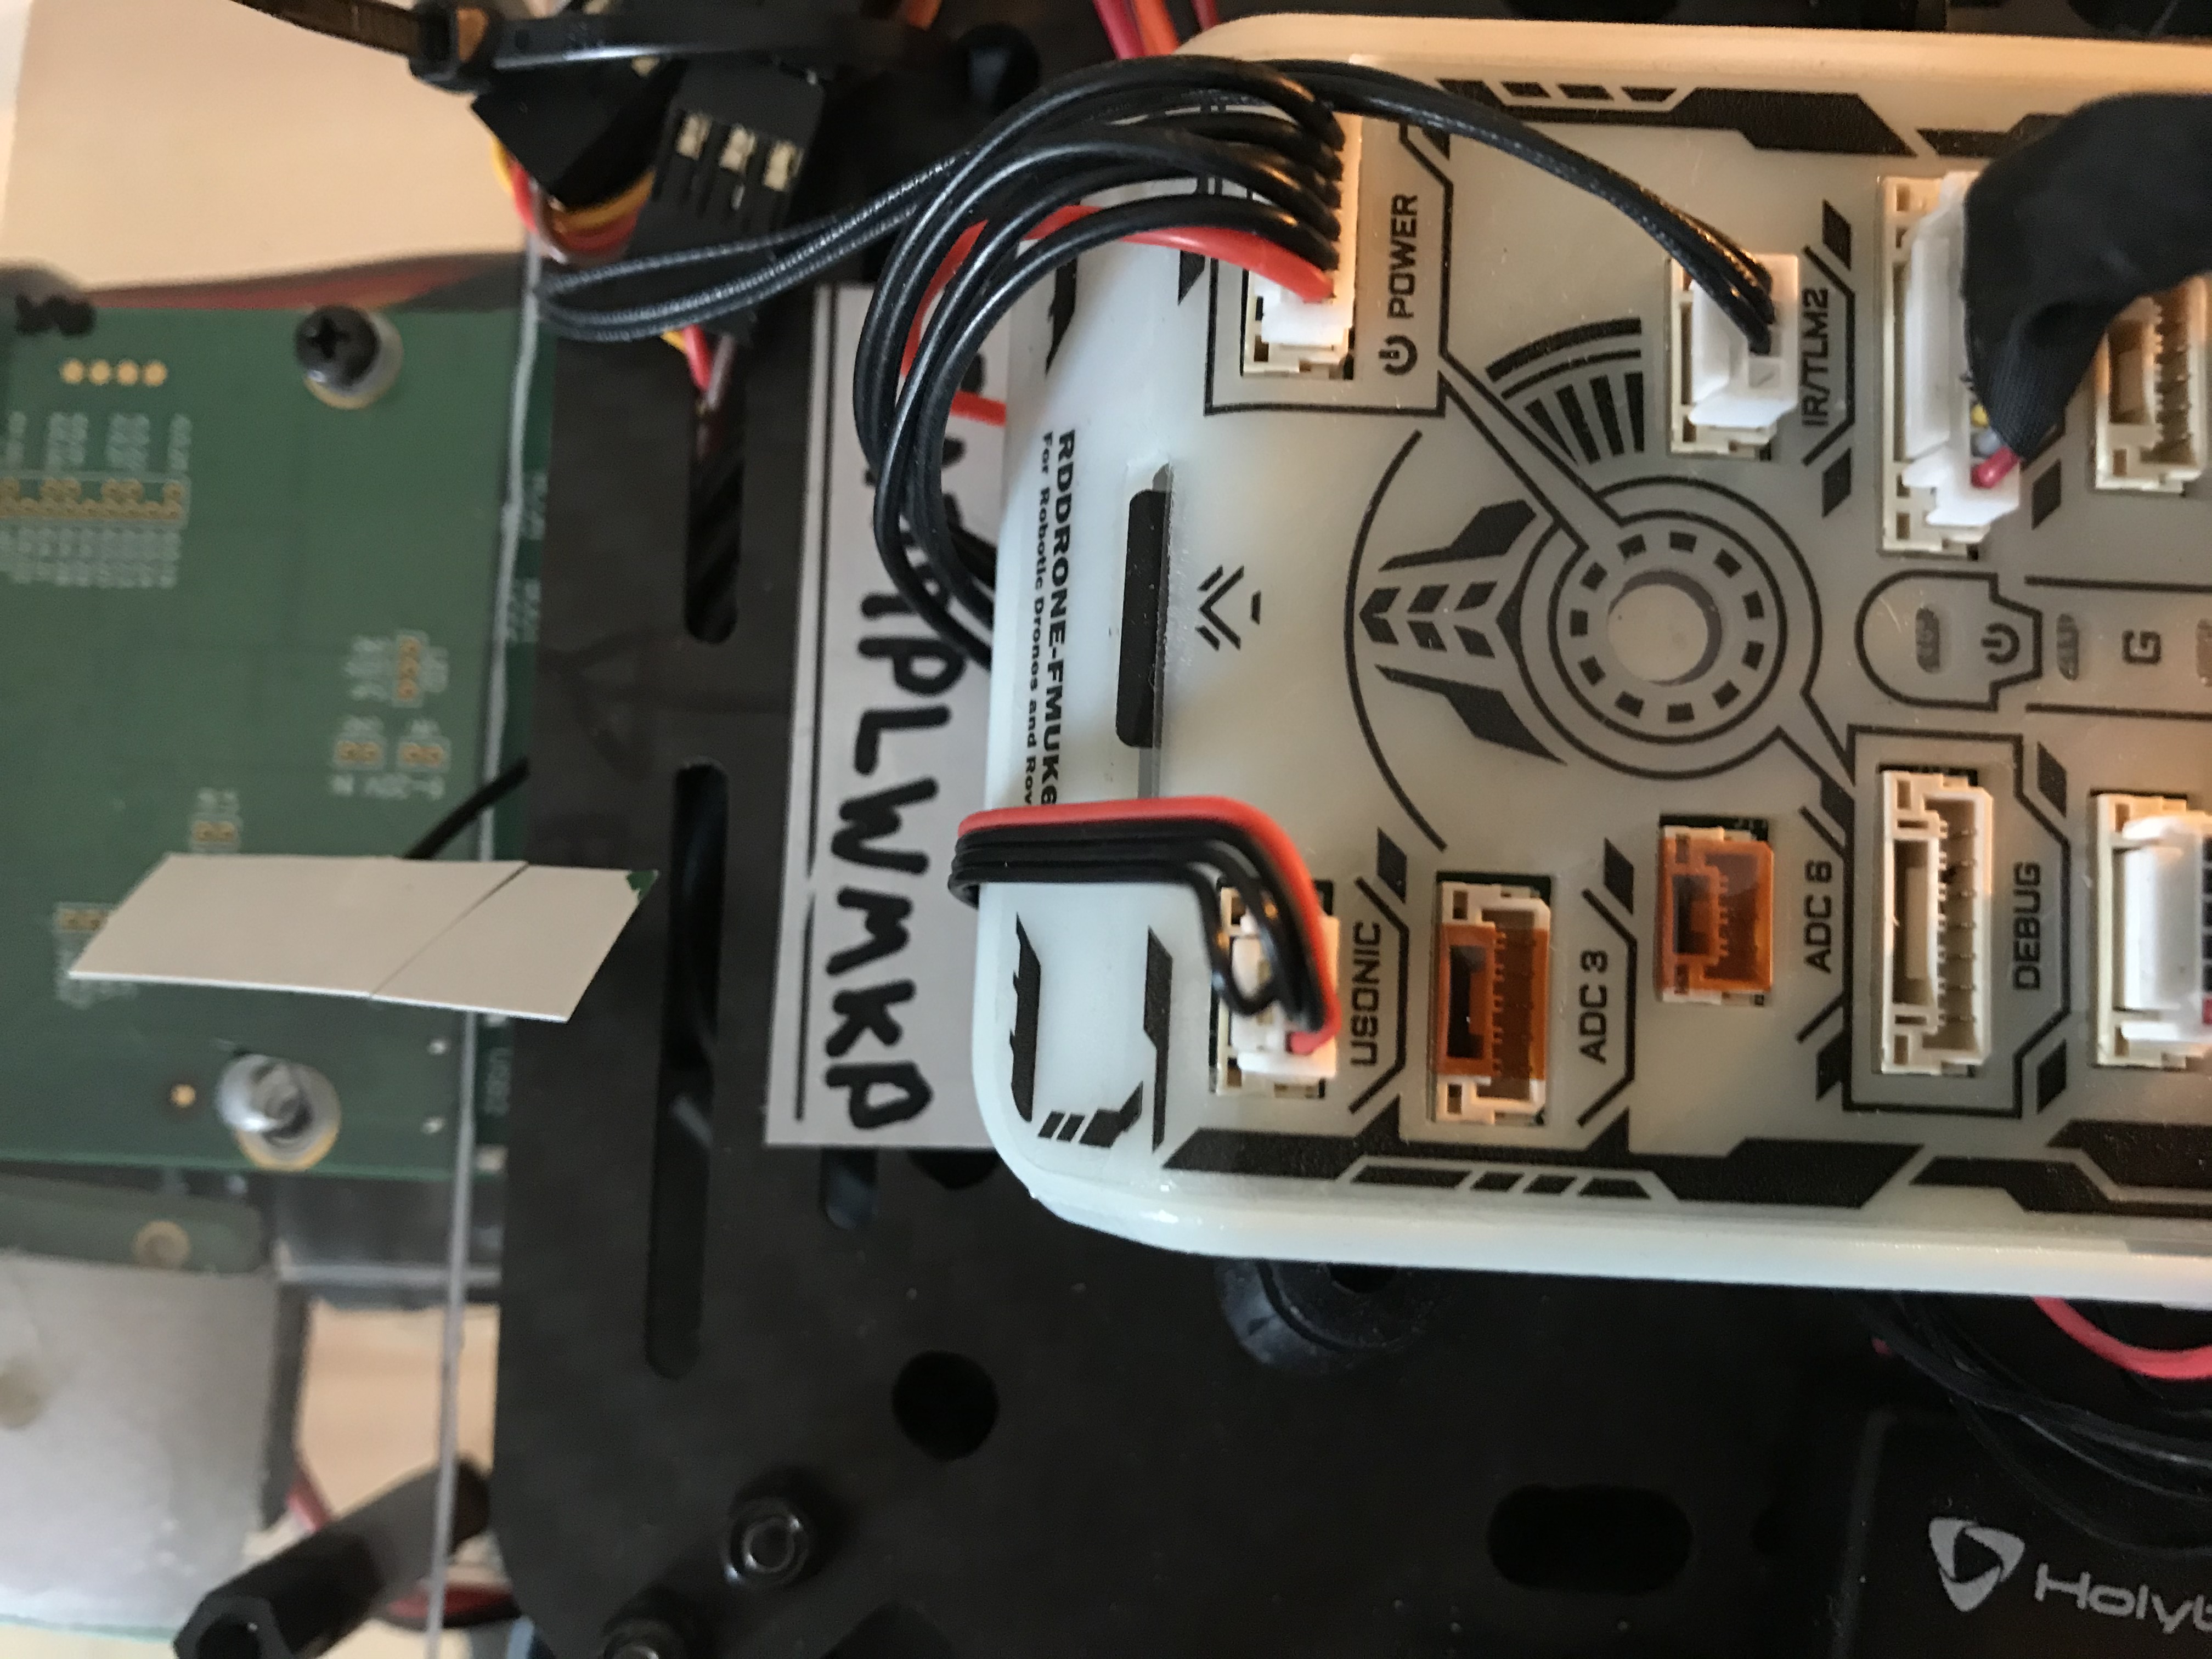
I emphasized a neat and orderly build to minimize wiring getting in the way
Finishing my build, I could then move on to the NavQ
I began this project hoping to prototype quickly, however I was unfamiliar with the Yocto Project Linux so I spent quite a few hours experimenting with the Yocto image and opted to bitbake the hovergames-BSP on my Ubuntu 18.04 laptop
I was able to get the minimal image (no desktop) to build, so I flashed the board with the image using a script that called the UUU tool to flash the image (*.wic.bz2) to the target on to my TeamGroup 32GB micro sd (I did not use the eMMC storage)
I had ROS melodic, Python 2, OpenCV, Gstreamer on the image. I was able to configure wifi (although this took a while, since I had a hard time with making the wifi settings and default gateway permanent).
To configure wireless settings, I had to use the serial cable (USB-C to UART converter included in hovergames kit) to connect to the NavQ via my windows desktop PC (using PuTTY serial login). Instructions here:
https://nxp.gitbook.io/8mmnavq/getting-started/quickstart/serial-root-console
In the end I just disabled connman and created connection settings in "/etc/wpa_supplicant/" and "/etc/resolv.conf"; enabling persistent data in these configuration files. I also created a wpa supplicant daemon service at boot with my wifi IP address that pointed to the same wpa_supplicant conf file in "/etc/wpa_supplicant". Adding the wifi interface was as simple as "ifconfig wlan0 <IP> netmask 255.255.255.0" The next step was to get my wifi connection login using wpa_passphrase in conjunction with my wifi network name, then storing the password/psk in "/etc/wpa_supplicant/wpa_supplicant-wlan0.conf"
Now that I had wifi, I updated the debian mirrors list in "/etc/apt/sources.list" and did a $ apt update to have the latest packages
Next step was to $ apt install e2fsprogs so I can utilize the resize2fs utility to expand my storage and root file system space: this is covered in the NavQ Gitbook here: https://nxp.gitbook.io/8mmnavq/getting-started/quickstart/expand-space-on-sd-card
After this important step, I was able to take full advantage of the 32GB on my microSD card
The next step was to mount the NavQ in a custom acrylic enclosure and the Google Coral Cam in a servo turret. For the servo turret, I had to enable settings in QGroundControl, here is a link to my exact configuration to get yaw and pitch on the servo turret (works for gimbals too!):
On to developing my QR decoder app, I used the python pip tool to install pyzbar: https://pypi.org/project/pyzbar/
Developing a simple QR decode app was pretty simple, I have a git repo that has my code used in the final test of this project: https://github.com/dirksavage88/hovergames_2020
I was able to read small qr codes, like the one included on the Navq card at about 8-10cm or 3-4 inches with the NavQ:
Larger QR codes, like that on a phone can be detected at about 34cm/13inches in good lighting
Once I had the code working well at a distance I could read on the drone, I created a qr decode service that started automatically when the NavQ booted (when power is applied from connecting the LiPO). The service was placed in "/lib/systemd/system" and enabled at boot with $ systemctl enable qrdecode.service
Now whenver the drone is powered, the QR decode service is active and detecting QR codes.
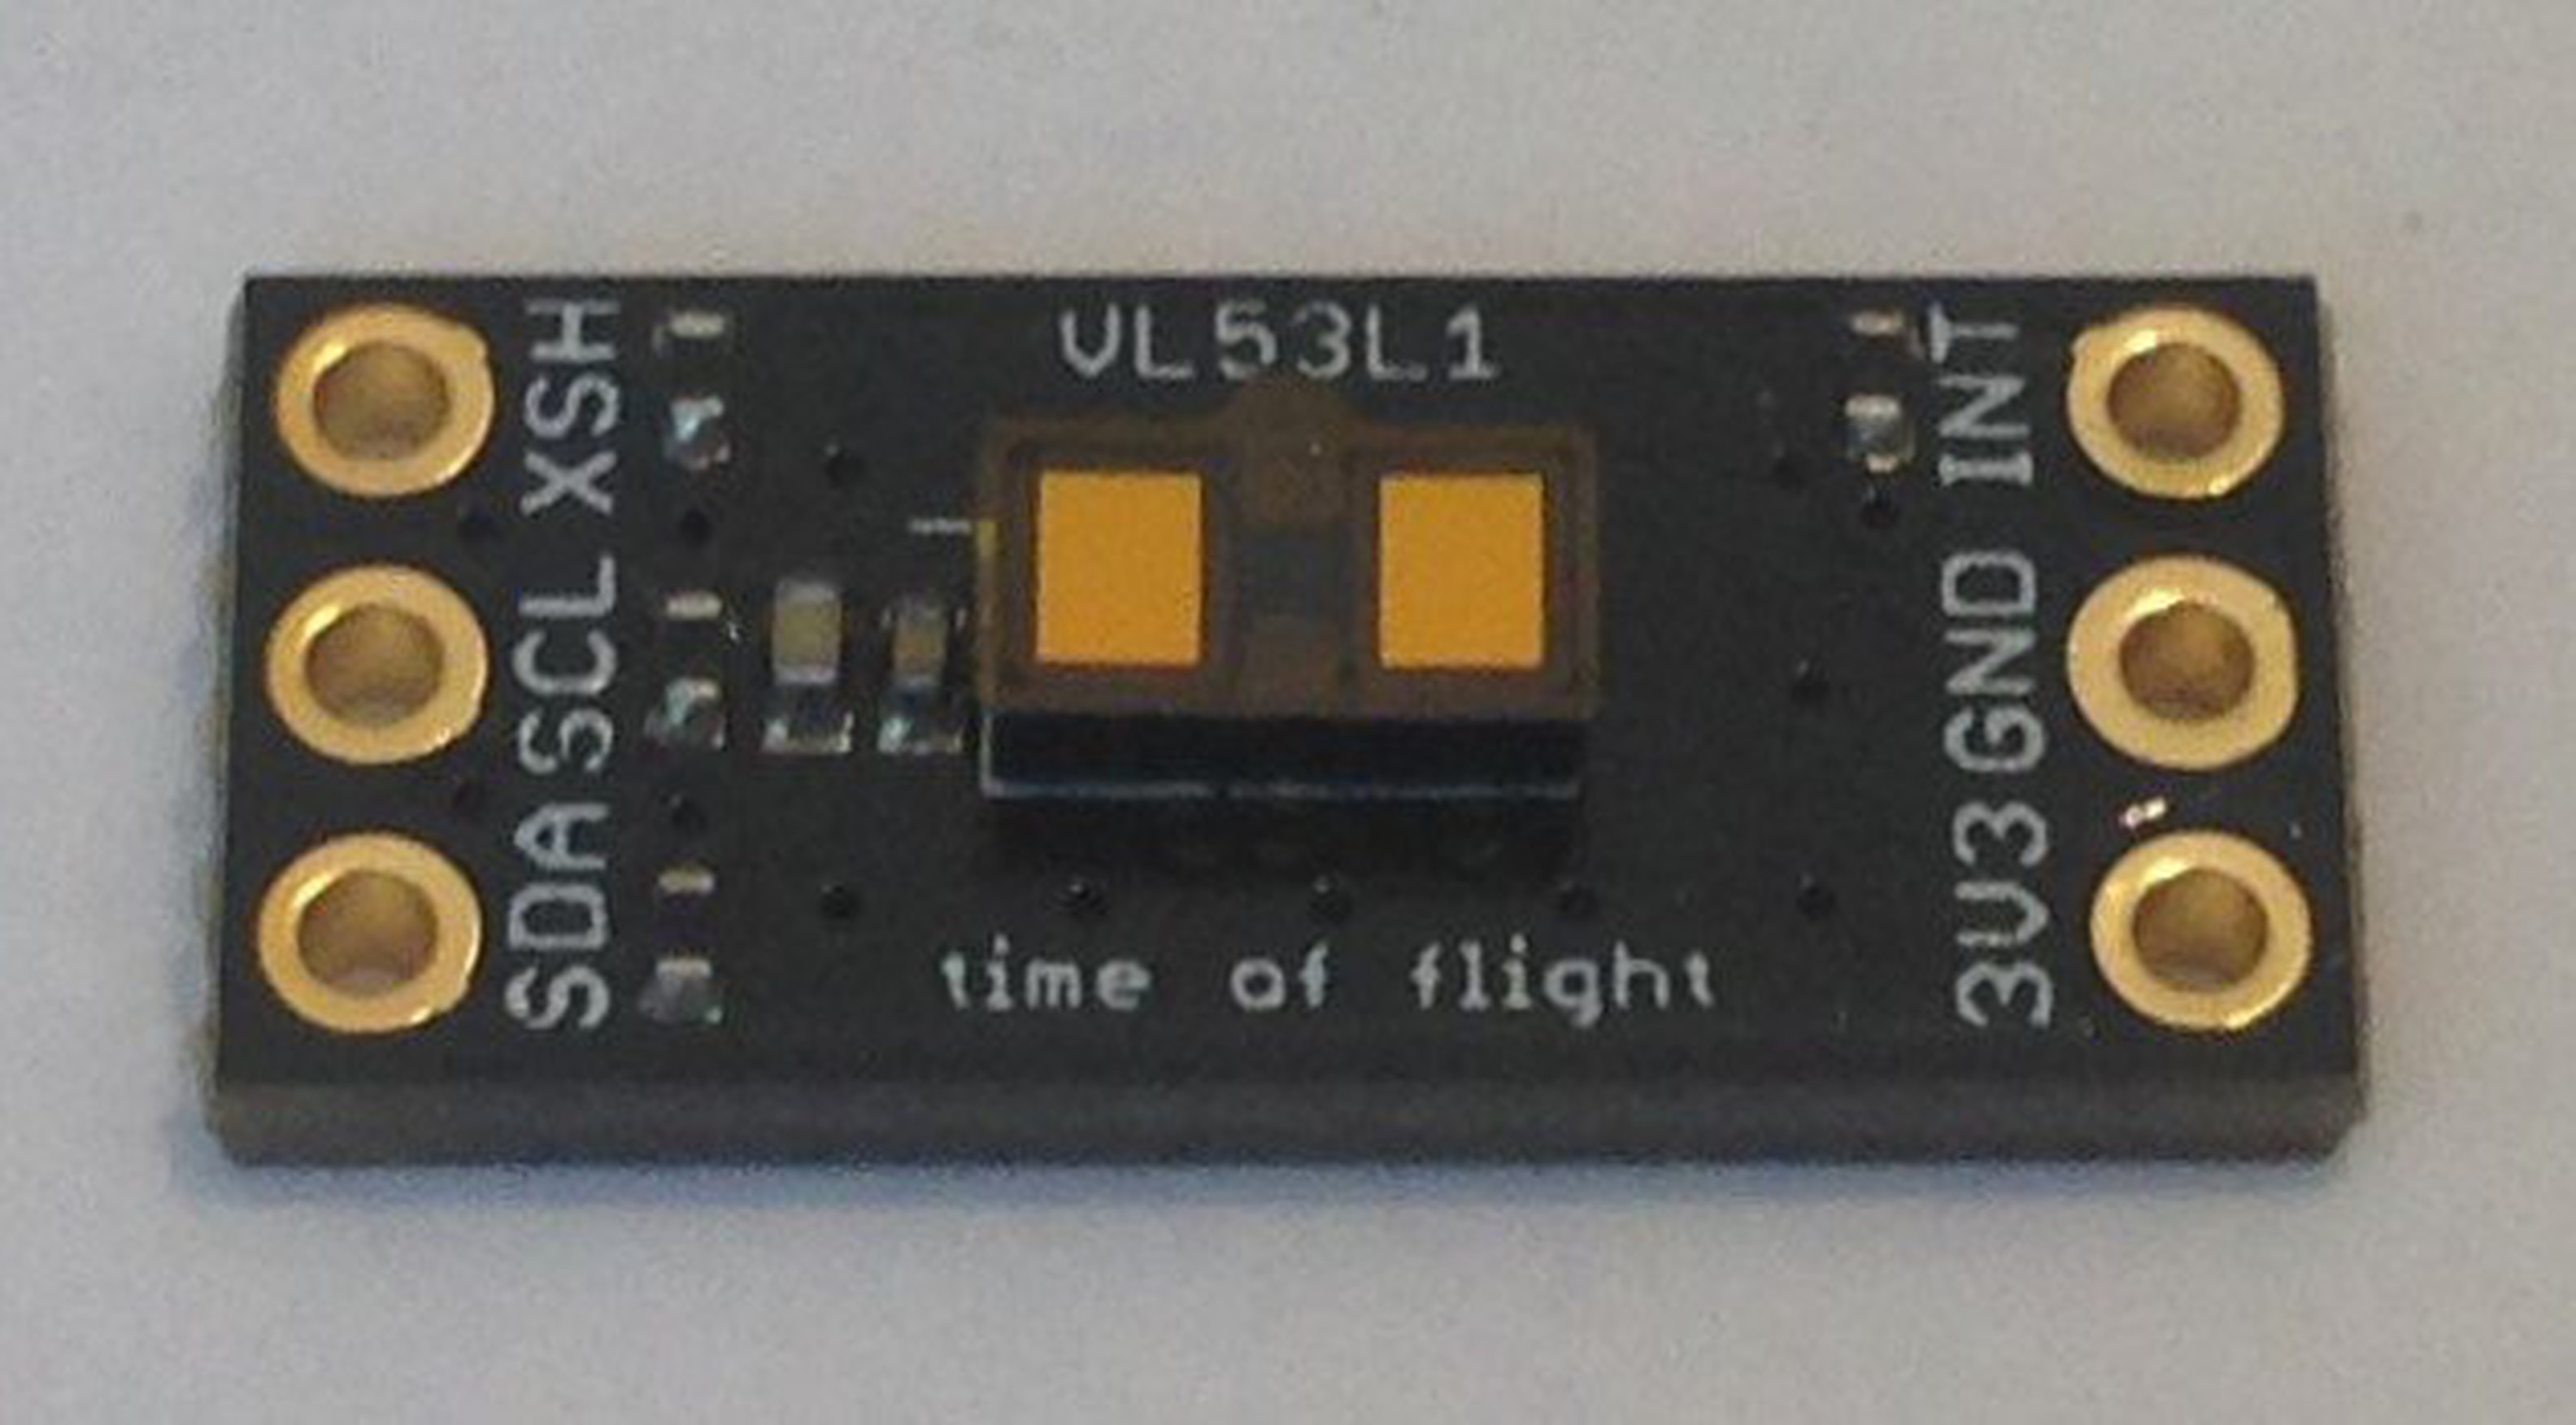
I integrated a distance sensor, a time of flight rangefinder VL53L1X made by Pesky Products on to my drone in hopes of making detection distances easier to read:
Unfortunately, I had to bitbake another Yocto build with ROS2 (foxy) installed to communicate between the distance sensor and the FMUK66 via fastRTPS/microRTPS service. For this, I used the full build and not the minimal so that I would have build tools (gcc, cmake, etc).
UPDATE 2022: Now that the original NavQ has had a series of patches added to the board files (and the DTS modified to accommodate the OV5645 camera sensor) to address various issues with the build, I simply modified the setup-hovergames file under 'tools' and changed the ROS distro to Foxy, instead of melodic. The other change was adding a line that echo'd the "ROS_OE_RELEASE_SERIES = \"zeus\"" to the 'tools/setup-hovergames' file.
Then I removed 'python-opencv' from the 'recipes-hovergames/images/imx-image-hovergames.bb' list.
The last changes were made to the conf/bblayer.conf. I removed meta-clang & the meta nxp demo from the list. Make sure all the ros references are to ROS2 and ROS2 Foxy as well.
I attempted to use the uuu tool to flash the navq, but this resulted in a failed output, instead I downloaded and installed balencia etcher and chose the *.wic.bz2 file in my build directory as the source in "/build/tmp/deploy/images/<machine>/" and the destination the sd card. The process took about 15 minutes in total.
Once logged into the Navq via the serial root console, I sourced the ros2 environment setup.bash file. The ros2 middlware was then tested with the with the command "rostopic echo /counter" and see the data counter incrementing in the terminal. The next step would be to incorporate the PX4 ROS com repository in it's own layer and build the image to allow the px4 micrortps functionality to communicate with the PX4 via the ethernet interface or over serial if possible.
UPDATE 2022: The Micro XRCE-DDS (replaces micrortps bridge in the latest PX4 master) setup to facilitate communications between Nav-Q (non-plus) and FMUK66-v3 is documented in my Hovergames 3 project.
For PX4 development, I created a fork with some added functionality to this distance sensor driver and created a pull request to the official PX4 Firmware here: https://github.com/PX4/PX4-Autopilot/pull/16695#pullrequestreview-580937616
These added functions pave the way for 2d lidar using multiple region of interest scalable across multiple sensors running simultaneously. Future considerations include rangefinder + video fusion to create depth maps of surroundings.
I took the drone outside to test a real world scenario and was able to get QR code detection while the drone was in a position hold mode. I had to battle a lot of wind at first, but eventually the drone was stable enough to detect a QR code. Keep in mind this is an old Iphone SE, a really small phone compared to the average cell phone and part of a much older generation of phones that do not have anti-glare/reflection properties.
In my python QR decode program, I created a logfile that stores the position of the QR code as well as a unique code ID# and url the code stored:
This logfile can be modified to store the client's transaction ID# and timestamp of the client receiving the item, be it mail, medicine, food, etc via contact delivery confirmation. For now it just points to a wikipedia URL. Further evaluation of this design could incorporate digital signage outside of client's property/place of business, mounted to a wall. The digital signage can display the vendor's QR code (the vendor does a push to the client, the client sends code to the digital sign). This ensures the client is not put at risk with the drone. The camera will have an easier time of decoding a larger QR code on a digital sign as opposed to a client's smart phone.
Final test video:
Collaboration -5 Ways I've helped HoverGames Participants:
1) Servo configuration tutorial: https://www.hackster.io/contests/hovergames2/discussion/posts/7958#challengeNav
2) Recommended youtube drone video channel: https://www.hackster.io/contests/hovergames2/discussion/posts/7916#comment-151584
3) Wrote blog/tutorial on timing using GPS PPS part 2: https://www.hackster.io/contests/hovergames2/discussion/posts/7717#challengeNav
4) Wrote blog/tutorial on timing using GPS part 1: https://www.hackster.io/contests/hovergames2/discussion/posts/7463#challengeNav
5) Helped fellow participant troubleshoot issue: https://www.hackster.io/contests/hovergames2/discussion/posts/7567#comment-143990
bonus: Distance sensor integration youtube video: https://www.hackster.io/contests/hovergames2/discussion/posts/7994#challengeNav






Comments
Please log in or sign up to comment.