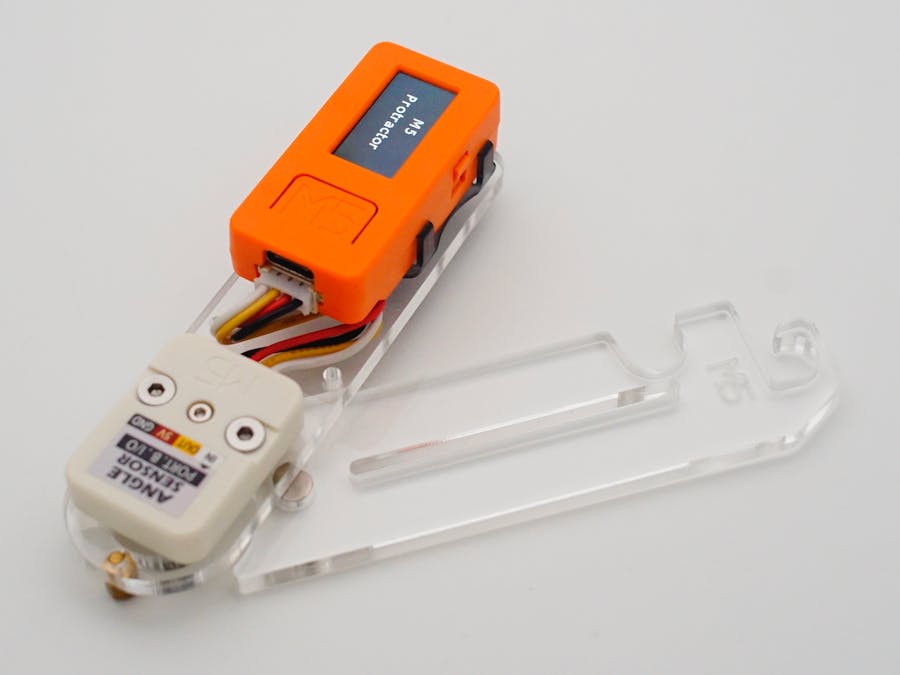
I would like to introduce a new-coming product of M5Stack, and utilize UIFlow (the graphic IDE developed by M5Stack tech team) to implement a doable demo which realizes a functionality of a protractor.
In comparison, the M5 Protractor can be used as a ready-to-go tool which empowers users an application-level-approach product than the regular products of M5. However, It has inherited the concise style of the development devices of M5Stack. Although, packaging with a concrete concept of applications based on the M5StickC, it doesn't affect offering huge potential for software development. This can be developed on UIFlow, Arduino and MicroPython platform. I will demonstrate UIFlow 'blockly' programming in this article.
Refer to link: https://docs.m5stack.com/#/en/quick_start/m5stickc/m5stickc_quick_start_with_uiflow
2 Make a ProtractorOur goal is to detect the opened angle between the two pieces of rulers that connect one side(to the left side in the picture below) with each other. The two arms are buckled up via a mating hole on the bottom that fits the Angle unit on the top arm. The angle rotatIon degree will reflect the open and close movement of the arms. We can capture the Angle unit through ADC, subsequently obtain the movement of two arms.
2-1. Calibration
Our Angle unit has an absolute rotation range, so it will reach to the limits in both direction. So, in order to reach to 180 degrees, before we buckled the bottom piece, the Angle unit has to stay in a safe range. After testing the safe range is 950-1000 (AD value-UIFlow). In the coding, I use a button click to do the calibration.
2-2. Mechanism
After attaching two parts together, we will need to make sure the Angle unit is on 950-1000 (AD value-UIFlow).
The range of open-angle will reflected by the AD value. In this case, bigger open-angel, will have smaller AD value, and we can idealize it to be a linear variation. See chart below:
Next, we need to display the variation onto the screen of M5Stick:
1) In the code, just used a little basic math tricks, I extract the range to 0-1800 degree for better precision.
2) Label5 (Pink) shows the AD value get from angle.
3) Button A is programmed to do the calibration and return-to-zero.
Source code: https://github.com/m5stack/M5-ProductExampleCodes/tree/master/Core/M5StickC/UIFlow
3. Final DemonstrationThis demo still has a lot of flaws. You are encouraged to do the optimization or rebuild the code, the structural file of this project is open-sourced. Feel free to contact us by all means if you have anything to say about this project.


Comments
Please log in or sign up to comment.