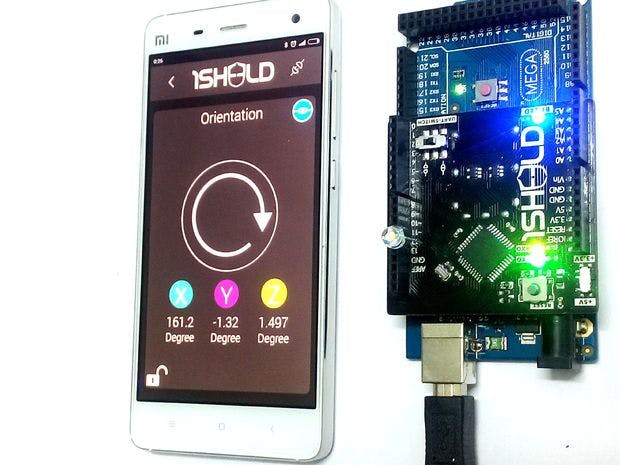
This project will take you to through the fun when power of RF, android smartphone and arduino are combined.
To adjust the brightness of your table lamp/lights in studio if you are a photographer, speed of ceiling fan, adjust the volume of your home theater, or to control the speed of motor, you have to adjust the potentiometer/dimmer or slide something, but can you do those things with any smartphone/tablet?
Well, the answer may be yes, nowadays home automation via internet/bluetooth/WiFi are very popular all you need to do is turn on your PC or phone and send some values or adjust any slider, but the way you are going to see in this instructable is much more simpler than that.
You just need to slide your android smartphone/tablet, no need to unlock it no need to adjust any slider just keep your phone on the table and rotate it.
Lets Get Started
Step 1: Materials Requiredwww.utsource.net is an online platform for technicians, Makers, Enthusiasts, Kids to buy electronic components
1.) 1sheeld
2.) Arduino
3.) USB for Arduino
4.) Android smartphone with orientation capability
5.) An LED
6.) Resistor any will work < 1K
7.) Arduino IDE installed in your PC
You can jump to step 5 if you know about 1sheeld and already installed its library
Step 2: About 1SHEELDHere introduction to 1sheeld becomes important if you do not know about it, as it runs the complete project.
If you know about the Arduino and its shields like GSM and WIFI, and also buying each of them for use is expensive. To replace them all with just one, the Egyptian inventors made a wonderful single shield which connects to your android smartphone via Bluetooth and uses all the sensors and connectivity of it. You can also use more than one shield at a time like GSM, WIFI, Accelerometer, Gyroscope etc.
1sheeld - http://www.1sheeld.com/
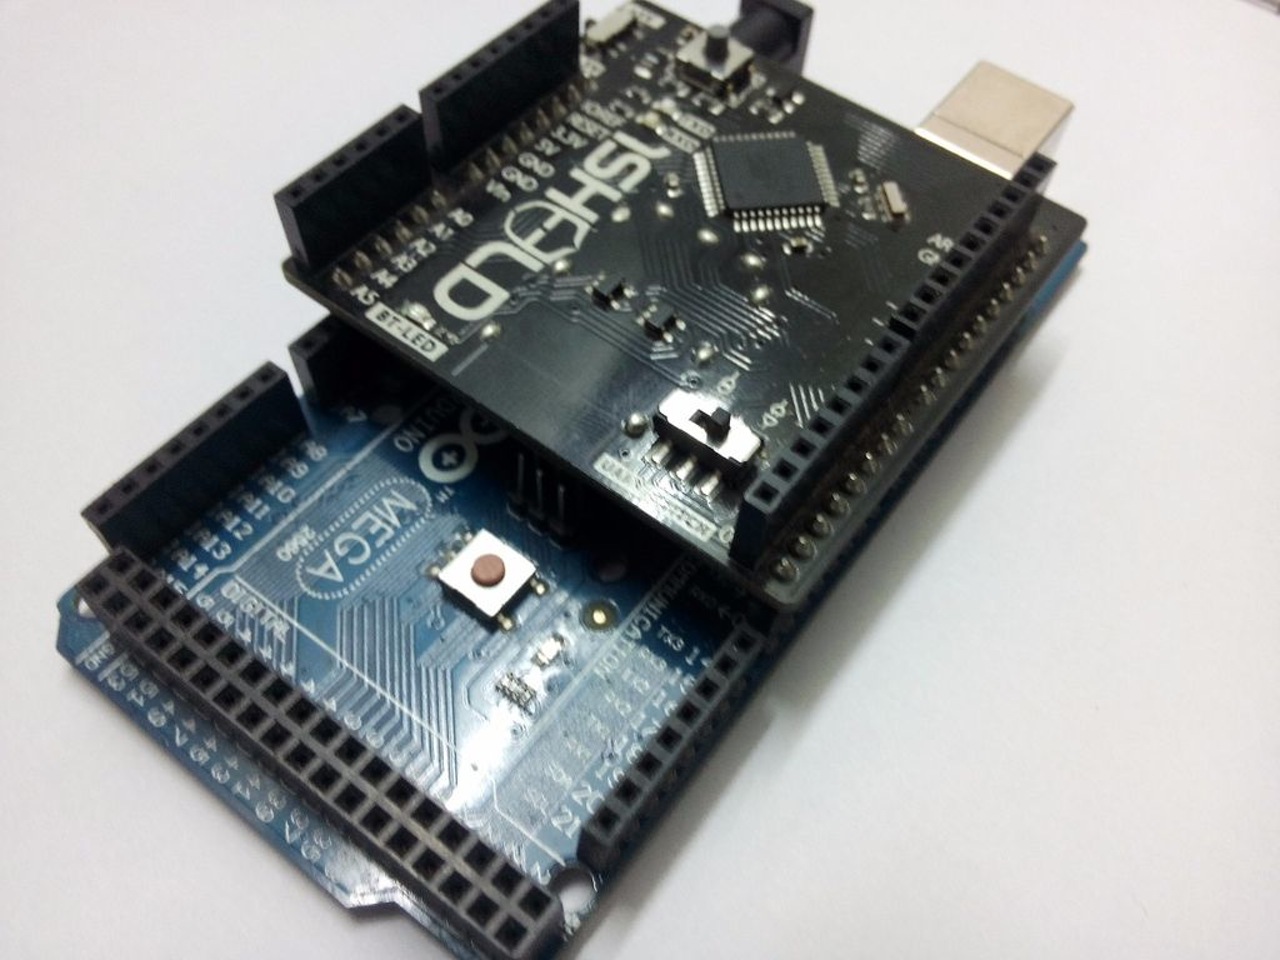
Step 3: Place your 1sheeld correctlyYou need to place your 1sheeld correctly, confusion can arise while using with Arduino Mega.
Step 4: Download 1sheeld libraryYou need to download and place 1sheeld library from here- https://github.com/Integreight/1Sheeld-Arduino-Lib...
And then extract it to the location in libraries of arduino.
Open arduino IDE then copy and paste this code.
The code is based on 10 simple analogWrite commands.
I'm not a good programmer at all, I'm still in 11th grade and have to concentrate on my academics/school so I cant spend much time learning coding, there may be lot of mistakes in the program and I will highly appreciate the suggestions for improvement. The code just below is the perfect working, do not use the older one.
Code--
#include <OneSheeld.h>
int ledPin1 = 11;
float xOrientation;
void setup() {
/* Start communication. */
OneSheeld.begin();
pinMode(ledPin1,OUTPUT);
}
void loop() {
// Check X-axis orientation.
xOrientation = OrientationSensor.getX();
// Map orientation to brightness
if(xOrientation < 102) analogWrite(ledPin1,xOrientation * 2.5);
// Or turn off the LED if the orientation is > 125 degrees
else analogWrite(ledPin1, 0);
}
Open arduino IDE then copy, paste this code and then upload.
Download it from Playstore, open it, turn the Bluetooth on, connect to the 1sheeld and then select the Orientation Shield.
Solder the resistor to led and then attach the led to arduino to pin no. 11. ( you can change the pin number in the code)
Step 9: Further UsesYou can see the real time working in the video
Now its up to you what you want to control, for example if you want to turn the lights on and of you can use relays, if you want to adjust the brightness of the lamp you can make a dimmer with MOSFET as shown in this instructable so with that you will be able to control the speed of ceiling fan, high power halogen or heater.
Be careful while connecting any inductive load on the circuit, do not forget to use a Flyback diode while doing so.
Thank you
Tanishq Jaiswal


_wzec989qrF.jpg?auto=compress%2Cformat&w=48&h=48&fit=fill&bg=ffffff)


Comments