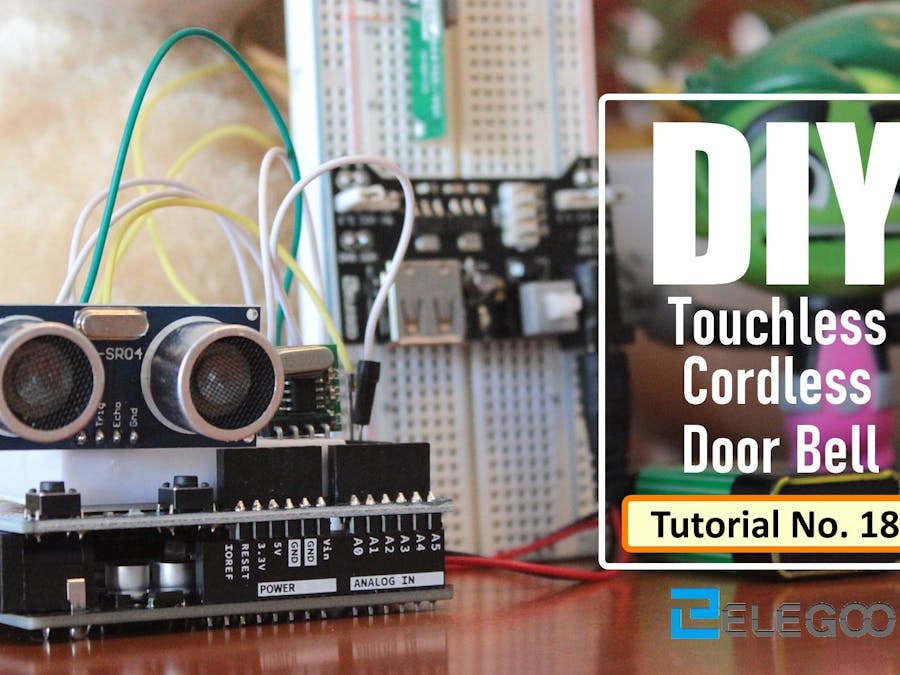
Year 2020, has taught us many new things. Our lifestyle has changed and we have adopted to many new and safe ways of livelihood. From social distancing to working from home, our main aim these days is to stay safe and avoid touching unnecessary objects.
This project is an attempt to make a simple touchless cordless bell, without spending a lot from your pocket.
Components Used
For this project we need:
- 1 x Elegoo UNO R3
- 1 x Ultrasonic Sensor
- 1 x IR Module
- 1 x Battery
- 1 x 434 MHz RF Transmitter Module
- 1 x 434 MHz RF Receiver Module (RX470C-V01)
- 2 x Antennas
- 1 x LED
- 1 x 200Ω Resistor
- 1 x 100μF Capacitor
- 1 x Buzzer
- 1 x Relay Module
Schema
I am going to show you guys, few different ways of making the touchless cordless bell using the Elegoo UNO R3 Kit
Transmitter
---------------
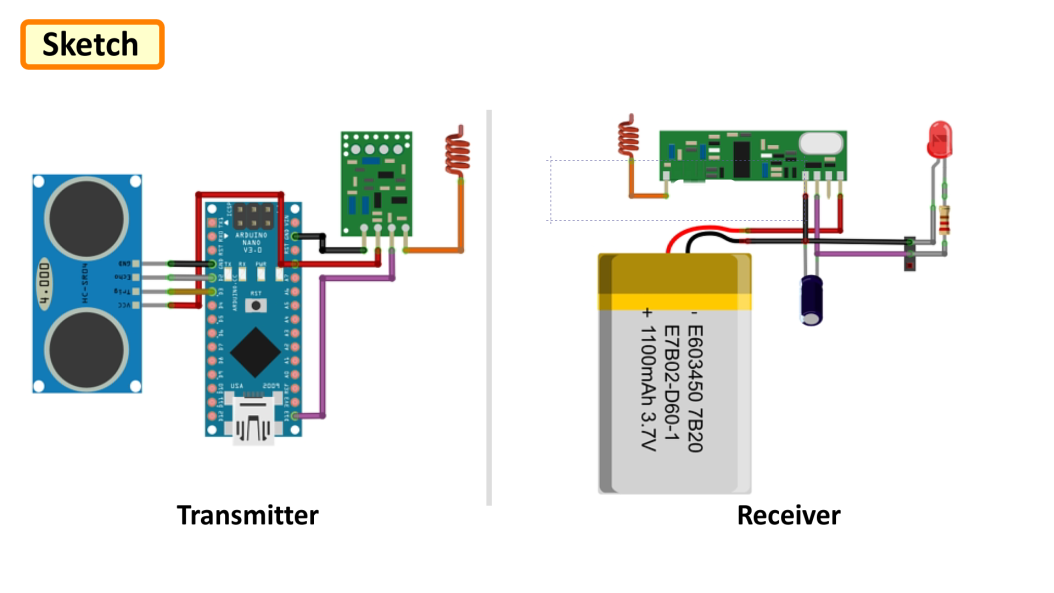
1. First lets put together the transmitter side using an Ultrasonic Sensor.
Connect the Echo pin to D2, Trig pin to D3, Ground to GND and VCC of the Ultrasonic Sensor to +5v pin of the Arduino.
Then connect the Data pin to D13, -ve to GND and +ve pin of the RF transmitter to +5v pin of the Arduino. Finally connect the ANT pin to the antenna.
2. The exact same setup can be used for an IR module. However, IR sensor may not function properly on a hot sunny day.
You may hear phantom bell rings due to hot temperature interfering with the IR module. Plus, Ultrasonic sensor has a longer range than IR sensors.
So, I am going to use the Ultrasonic Sensor based setup for this project.
Receiver
-----------
Now for the receiver bit, connect the antenna to the ANT pin of the RF receiver. Then connect -ve to -ve, and +ve to +5v of the Battery.
Then, you can use either one of the Data pins for this project. Place the 100μF Capacitor between the data and the -ve pin of the receiver. Now, we can either attach a LED, a Buzzer, a homemade DIY relay module or an off-the-shelf Relay Module to the -ve and Data pin of the RF Receiver. For this demonstration, I am just going to use the LED.
If you want to know more about relays and how to make the DIY relay please check out my tutorial number 4. "Driving a Relay with an Arduino" link is in the description below.
Assembly
Now lets put together all the components as per the schematic.
Transmitter Operating Voltage: +5V only. Transmitter Operating current: 9mA to 40mA. Operating frequency: 433 MHz. Transmission Distance: 3 meters (without antenna) to 100 meters (maximum)
The range of the RF module can be further increased by increasing the transmission power of the antennas.
For full details please refer to the product specific datasheets.
The Code
Start the code by defining the variables and pin names that will be used throughout the code.
Then in the setup section define the pin modes.
Now, in the loop section calculate the "Distance" in inches by reading the values received by the Ultrasonic Sensor.
If the distance is less than 20 then transmit a signal to the RF Receiver.
Demo
Now, if you replace the LED with a relay module you can turn your wired door bell to a wireless touchless door bell and make your neighbors jealous for not having one.
In the final version, my plan is to add a solar charging panel to charge a 18650 battery for the transmitter circuit. If you want to know how to create a solar charger, please checkout my Tutorial Number 2: "DIY - Solar Battery Charger".
Thanks
Thanks again for checking my post. I hope it helps you.
If you want to support me subscribe to my YouTube Channel: https://www.youtube.com/user/tarantula3
Thanks, ca again in my next tutorial.
------------------------------------------------------
# RF Transmitter 433Mhz ASK Features:
# Frequency Range: 433.92 MHZ.
# Supply Voltage: 3~12V.
# Output Power : 4~16dBm
# Circuit Shape: Saw
# Temperature Range: - 40 degree C ~ + 80 degree C
# RF Receiver 433Mhz ASK (PLL) Features:
# The circuit shape of is PLL.
# On-Chip VCO with integrated PLL using crystal oscillator reference.
# Integrated IF and data filters.
# Receiver Frequency: 433.92 MHZ
# Typical sensitivity: -105dBm
# Supply Current: 2.5mA
# IF Frequency: 500KHz
# Low power consumption.
# Operation voltage: 5 Volts.


Comments
Please log in or sign up to comment.