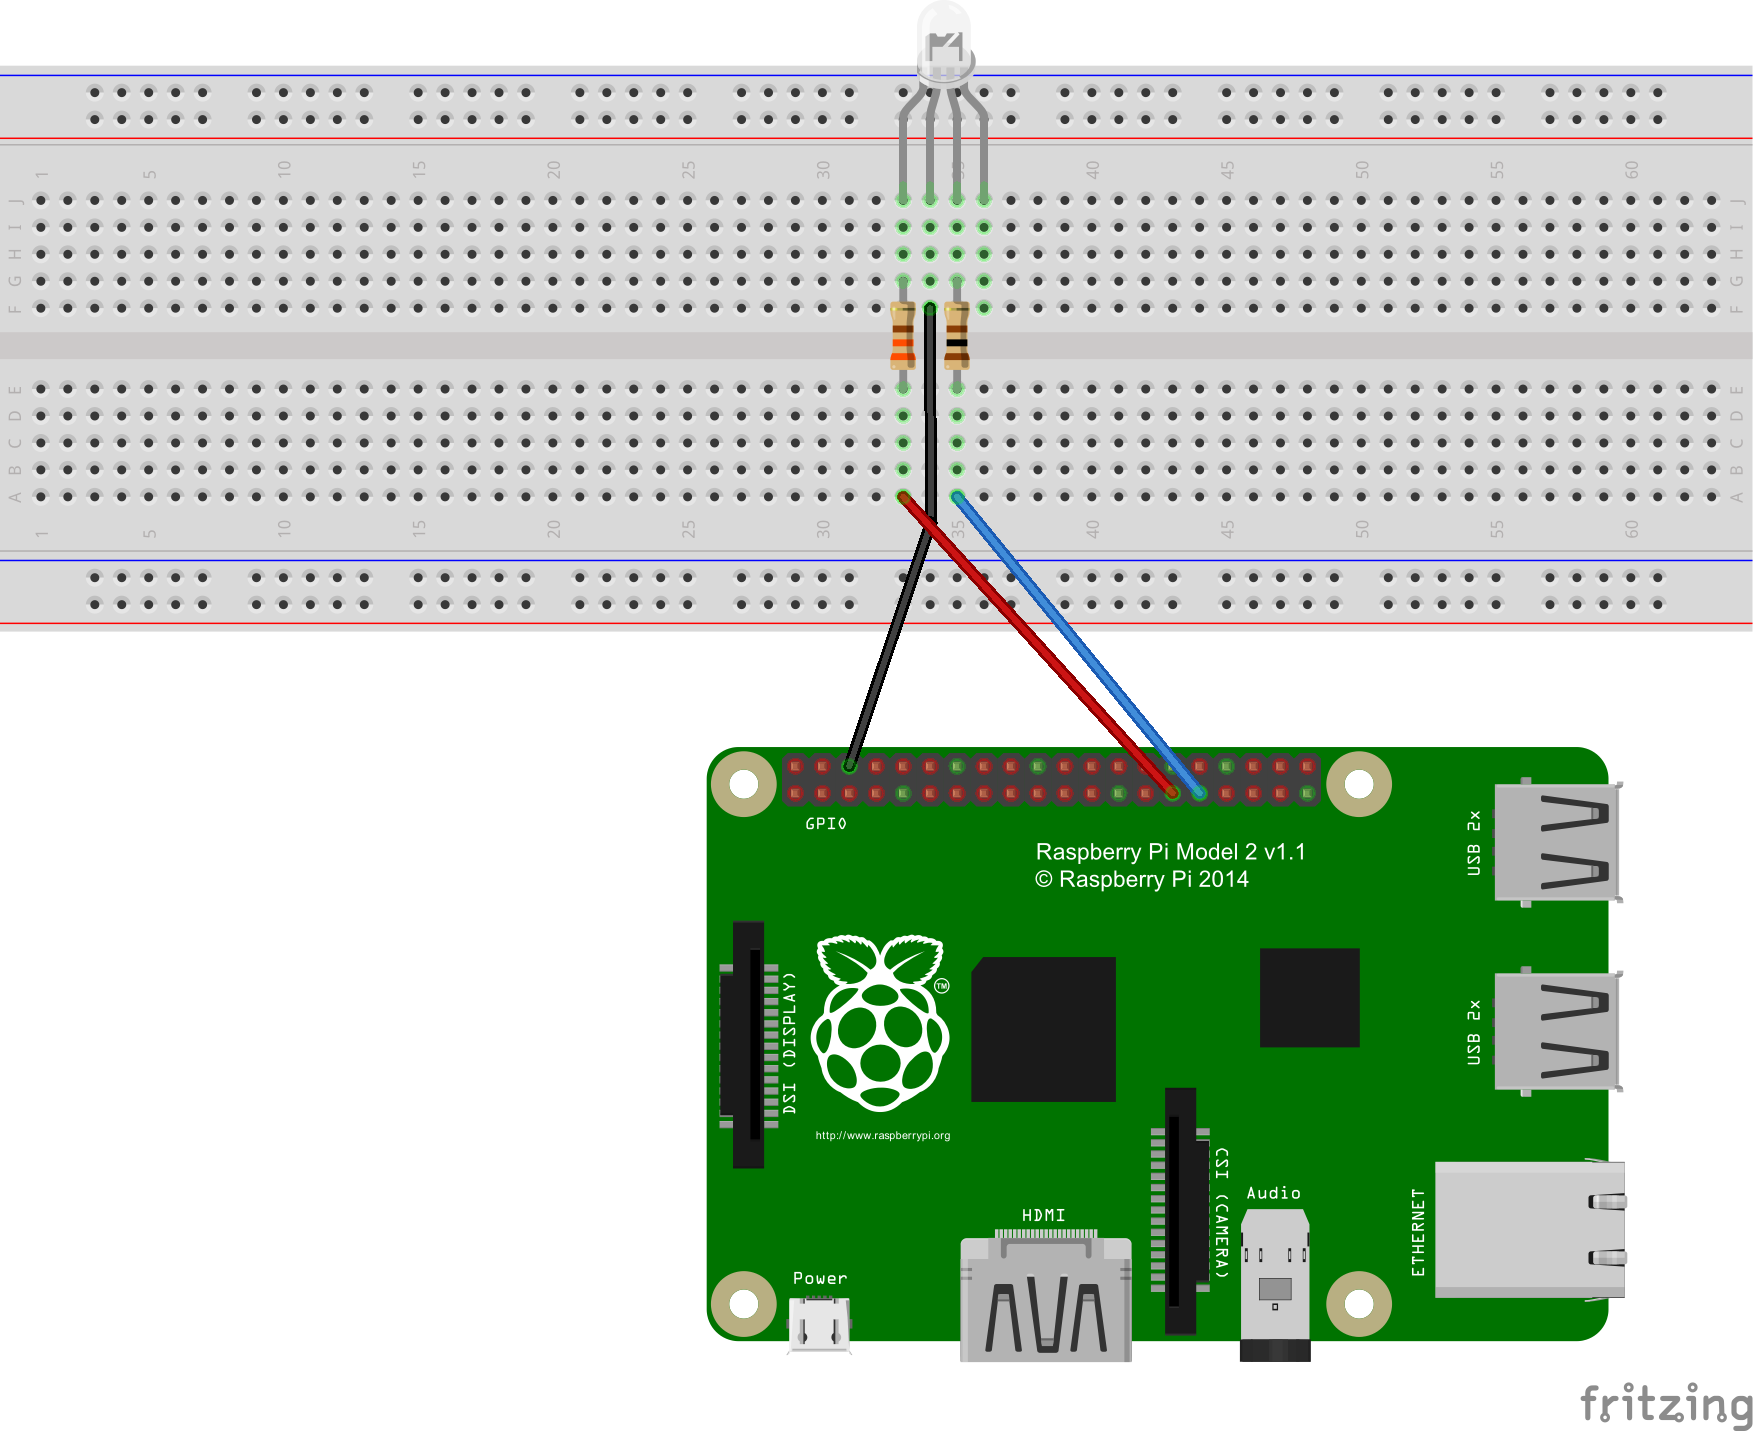
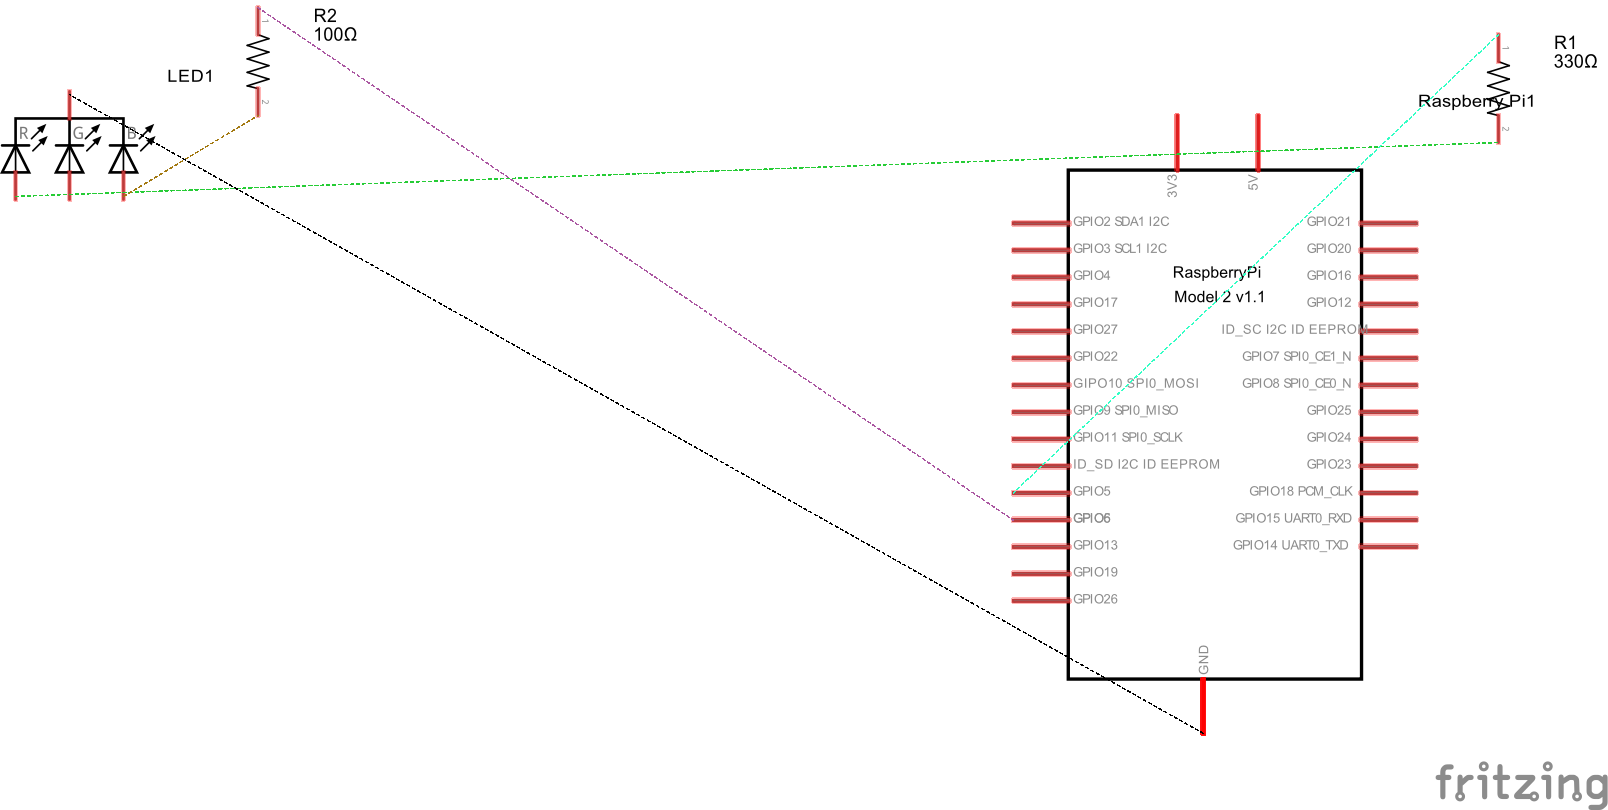
In this project I've built a Windows IoT Core app, a REST service, and an Android app. The Windows IoT Core app runs on the Raspberry Pi 2 Model B and communicates to a SQL db hosted by Azure, where our REST service is also hosted. Then the Android app is run on an Android device, preferably the phone you want to communicate with to pass messages over to the Raspberry Pi, and it will manage devices under your account.
Basically what I was going for is a relay box that you can put in any room in the house and it will communicate with your phone. So when you're in a different room of the house or just cant get to your phone right away, the little relay box will pass along your missed call or text for you to hear. I think a project like has a lot more potential than what I was able to do within my time frame but let's go ahead and dive into what I did manage to get done :)
This project is broken up into three main parts:
- Web service, built with Azure for hosting and insights
- Windows IoT Core app, built with Raspberry Pi
- Android app, used for keeping track of our IoT devices
How does this work?
Above a diagram to show more or less how the project is structured. We run an Android app on a phone, this will push messages to our queue, like SMS or phone calls. The Raspberry Pi is listening for these updates on the queue through the Web Services hosted on Azure. This is high level of what's going on.
So here is what's happening a little lower:
Something to note before getting started: The current code is already pointing to the Web Services I have hosted on Azure, this is useful for helping you get started and trying out the project sooner and with less effort but it is recommended to host your own Web Service, the current Web Service code is included in the repository so feel free to use that and just change the database connection string to point to whatever database you would like.
The Android app is loaded up on the Phone you want messages to be pushed from.
On the Android app you should see a way to sign in and register a new account.
So the idea of creating an account is so that you can manage multiple devices and if you want to extend to multiple users (for example, other people in the home) this would be supported.
The first thing you may want to do is create your account, this is a straight forward form, provide an email and password with some minor validation like making sure you enter a valid email and a password with a minimum of 6 characters. You can see more about these validations in the Android project in code.
Once you have an account then you can go ahead and login into the app. When you are logged in, you should see a blank screen, this is because you've yet to add any devices yet (assuming you're following along). This is alright, we'll add the device later on, but more importantly to know, the Android app is in charge of pushing things like SMS and phone calls to the message queue for the Raspberry Pi to pick up later on.
So that's it for now with the Android app. Let's move on to the IoT app.
Before moving on to the IoT app, I recommend checking out Microsoft's samples and documentation for Windows 10 Iot Core and get familiar with deploying code on your own Raspberry Pi. Getting started: http://ms-iot.github.io/content/en-US/GetStarted.htm
So once you've gotten the hang of some of the samples, let's move on to the Relox IoT app. Deploy the app to your device and when it's loaded you should see a login screen.
Using your account, login on the device. You may want to plug in a mouse and keyboard, this is only needed for setting up.
Once you log in you should see a new screen to enter a name for your Raspberry Pi.
Once you enter in a valid name (there is a 6 characters minimum in this project, feel free to change it in yours) you'll end up on the main screen.
Yay! If you see this screen then you've successfully setup a new device. So something cool has now happened. Let's back to the Android app.
We can now see our new device showing in the list. And that's it! You now have a basic setup of the project running. Below is a quick overview of the project working:
So something else you may want to do is unregister your Raspberry Pi, maybe to swap it out or you just don't want messages to go to it anymore. I tried to make unregistering simple, you can do this through two ways, either unregistering from the Raspberry Pi itself or, my favorite, unregistering from the Android app.
Load up the Android app and select the device you want to unregister. Once you select it you should see this screen.
And simply just hit the unregister device button and that's it! Your Raspberry Pi will no longer receive messages and something cool happens, the Raspberry Pi will unregister itself on it's end as well. Below is a quick run through of unregistering a device through the Android app.
This project was a lot of fun to build and I think it has a lot more potential and many more uses that can be implemented just as it is.
Just wanted to also add here some of the apps I used to build everything. The Android app was built using Android Studio and a Moto X for testing, the Windows 10 IoT Core and Web Services were built using Visual Studio and a Raspberry Pi 2 Model B for testing the IoT app. Azure was used for collecting application insights and hosting the Web Service and SQL database.
Aside from the bill of materials, other parts used in this project are:
- Wifi module for the Raspberry Pi
- Microsoft Coloud Bang Wired Speaker -http://www.microsoftstore.com/store/msusa/en_US/pdp/Microsoft-Coloud-Bang-Wired-Speaker-MD-1C/productID.308101200
- Small monitor hooked up through HDMI
I hope you like this project and enjoy making your own version of the Relox project. :D


_3u05Tpwasz.png?auto=compress%2Cformat&w=40&h=40&fit=fillmax&bg=fff&dpr=2)
Comments