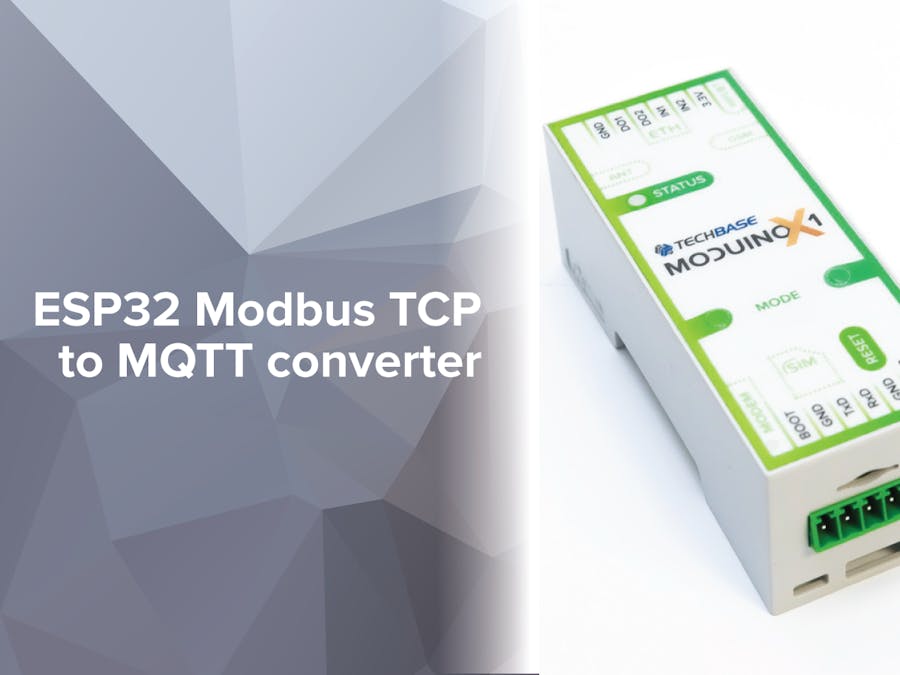
In this class, you will configure ESP32 processor to work as Modbus TCP to MQTT converter. We will use two devices, which contain this processor: Moduino ESP32 and Moduino Pycom.
Our Modbus Slave will be PC computer running Modbus simulator software.
You will need:
- Moduino ESP32 or Moduino Pycom device (check thiswebsite to find out more about Moduino ESP32 device and thisto check Moduino Pycom device)
- PC with Linux operating system
- RS-232/RS-485 port in your computer or USB to RS-232/RS-485 converter
- Knownledge from previous lesson: ESP32 Modbus Master TCP
Our application will read defined modbus registers and publish them on some topics to MQTT broker. We will fetch data using some other MQTT client. MQTT (full name: Message Queuing Telemetry Transport) is a publish-subscribe-based messaging protocol. It works on top of the TCP/IP protocol.
All messages are send to central point - MQTT broker. This broker resends each message to clients, which subscribed for it. Messages are sent with additional data called topic. Clients can use topics to subscribe for data sent to them. Topic is a string which is separated by slash /
You can install broker software on your computer or use some from the Internet to test purposes.
We will use iot.eclipse.org
Our configuration will contain 4 elements:
- Modbus Slave running on PC
- Modbus Master to MQTT running on ESP32
- MQTT Broker running in the Internet
- MQTT Client running on PC
Check our previous lesson: ESP32 Modbus Master TCPYou need to install uModbus library in your device.
Step 2: Prepare MQTT client- install Java 8 Runtime if you don't have it (you can downlad it from Oracle's website: Oracle Java download.
- download mqtt-spy from: mqtt-spy downloads
- run program by executing downloaded jar file:
java -jar mqtt-spy-1.0.0.jar
On Windows double click should work.
- following screen should appear:
- click second button Connections menu and choose New connection:
- in Connection name you can type whatever you want
- in ServerURI put iot.eclipse.org
- click Open connection
- choose tab with Connection name you have entered
- click New in Subscriptions and received messages
- type /esp32/modbus/<some-random-text>/# in Topic filter and click Subscribe (replace <some-random-text> with anything)
- choose /esp32/modbus… tab. There data from ESP32 will appear
It is possible, that you will see some messages here before configuring ESP32.Broker iot.eclipse.org is available for anybody and somebody else could choose the same topic as you. To make this less possible, we encourage to put random text in the topic.
Character # in the topic replaces any number of levels in topic.
Step 3: Prepare MQTT client on ESP32 device- download repository from thispage
- find simple.py file inside umqtt directory
- rename it to umqtt.py
- send it to ESP32 device (refer previous lesson to check how to do that)
We will use this library to publish data to the broker. There is a simple code, which will publish some 'data' to the broker.
from umqtt import MQTT Client
import random
c = MQTTClient('umqtt_client'+str(random.random()),'iot.eclipse.org')
c.connect()
c.publish('/esp32/modbus/abc123/123','data')
c.disconnect()
where:
- umqtt_client… is a client-id. random.random() helps make it unique
- iot.eclipse.org is broker's address
- /esp32/modbus/abc123/123 - is topic to which message is publishes
Download modbus_mqtt_publisher.pyarchive below and unpack it.Upload modbus_mqtt_publisher.py to the device (refer previous lesson to check how to do that).Reset the device and connect to it via console.
This file contains Modbus2MQTTPublisher class.Load it and create an instance of it with:
from modbus_mqtt_publisher import Modbus2MQTTPublisher
conv=Modbus2MQTTPublisher()
Before starting read-publish loop it must be configured with following data:
- address and port of MQTT broker
- address and port of Modbus Slave device
- registers' numbers to be read
- (additionally) gap and delay values. First defines sleep time between each reading in loop, second between whole loops execution.
Set connection values:
conv.setBroker('iot.eclipse.org', port=1883, clientId='SOME-UNIQUE-CLIENT-ID')
conv.setModbusSlave('192.168.0.12', 502)
conv.setTopicPrefix('/esp32/modbus/SOME-UNIQUE-NAME')
conv.setLoopSleepValues(gap=10, delay=1000)
Arguments port and clientId are optional.If clientId is None (default value), class will generate some value. Use some unique SOME-UNIQUE-NAME. If you use the same value as someone, who is performing this lesson too, you will receive his or her messages.
Define some registers:
conv.putRegister(100)
conv.putRegister(101, slaveId=1, function=1)
conv.putRegister(102, slaveId=2, function=2)
conv.putRegister(103, slaveId=3, function=3)
conv.putRegister(104, slaveId=4, function=4)
you can additionally define id of slave and function which should be used to read each register.
Step 5: Running converterTo start publishing loop, execute:
conv.start()
To stop publishing loop, execute:
conv.stop()
If you get following message after executing conv.start():
Publish loop has been cancelled
please check if device is connected to the network and MQTT broker and Modbus Slave are accessible. Then you can try again.
When program is running you should receive messages in mqtt-spy:
Thank you for your participation. :) Feel free to ask any question.


Comments
Please log in or sign up to comment.