The Smart Escalating Assistant Communicator (SEAC) is a bedside / travel capable device geared toward personal safety and empowerment. The device allows its user to set escalation policies based on schedules, set end devices configured to receive alerts, and configure additional users to act as backups in the event they cannot be contacted.
BackgroundFrom my discussions with Paul F. one of the key problems encountered while traveling was that the environment changes completely and all of the improvements that enrich his life on a daily basis are removed whenever he goes into a new location while traveling. As a result of his condition he needs help at night and needs reliable access to a caretaker in the event he needs to alert them.
He mentioned he brings along a pager but it doesn't reliably work which could easily lead to serious issues if he ever needs immediate assistance and it fails on him. This pager also doesn't provide an easy means to trigger escalation policies if something goes wrong.
Steps- Train edge impulse model for voice commands
- Configure escalation policy in code
- Hookup epaper display, buzzer, notecarrier, and flash firmware
Preparingvoicecommands
To train the device to respond to voice commands I used Edge Impulse for ease of setup and to quickly get up and running. I was able to record audio clips of myself speaking the associated words and then was able to quickly train an effective model from this data, test its accuracy, quantize it, and get it versioned for deployment.
Here is a link to my project: https://studio.edgeimpulse.com/public/250869/latest
The following commands were utilized:
- Seac (trigger word)
- Lights
- Help
- Noise / Other
With the use of Fusion 360 I was able to put together an enclosure for the device. It has a spot for the buzzer, the notecarrier, the seeed expansion board, and the epaper display.
I printed these components and was able to assemble my device in this enclosure. I used standoffs from the 3D print itself I created to keep the components like the buzzer and notecarrier in their location and used sticky tape to keep the battery from rolling around and the solar panel affixed to the top.
Trigger alertsThe primary means to trigger the alerts in this system is though the use of a voice command trained above via edge impulse. I used the edge impulse output logic to export my library which I then brought into arduino and setup to handle as a notecarrier json event.
From my device I use a serial connection to the notecarrier to send a note which then has a route to trigger this. For ease of setup I did it in this way: note -> webhook trigger -> zapier -> pagerduty. I was able to setup a zapier zap that converted the text I needed from my alert into the pagerduty trigger.
This allows my note like:
{
    "req": "note.add",
    "file": "alert.qo",
    "sync": true,
    "body": {
       "customMessage": "Alert, in need of immediate assistance!"
    }

}
To be triggered and become a note on the notehub side like:
From here it triggers my zapier zap:
This is setup to immediately trigger my webhook on the pagerduty side:
On the pagerduty side I can setup schedules which indicate when I'll be triggered allowing for customization on a per user basis for responding to events:
With pagerduty alert schedules can be setup for various users. In addition escalation policies can be setup such that when users don't reply it immediately goes to a different user with their own notification means. By having the logic be handled by the external pagerduty setup it allows me to avoid needing to build out the whole UI to set up escalations and I can rely on a tested setup from a provider to handle all of this in a secure way. I pass the map coordinates such that a user could be sent to help if the person is traveling and in the wild.
Setting things upTo get things properly setup you need to first download the associated model and code. Use edge impulse to get the model library for arduino and then build in arduino with the additional libraries.
With that setup attach the RX and TX wires to the notecarrier and the vio from the notecarrier to the Xiao nrf52840's vbus pin. This will power it from the device. Attach the lithium ion battery to the notecarrier via its associated input and the solar panel as well. Please us pin 5 for the buzzer which can be attached via a grove connector from the grove expansion board. For now the epaper display is not used so it can be ignored. With this setup the PDM microphone from the nrf52840 is used for the machine learning model and to trigger the alerts.
You will need to setup a zapier zap to connect a webhook back with the blues event.
In addition a blues route will need to then use this zapier zap:
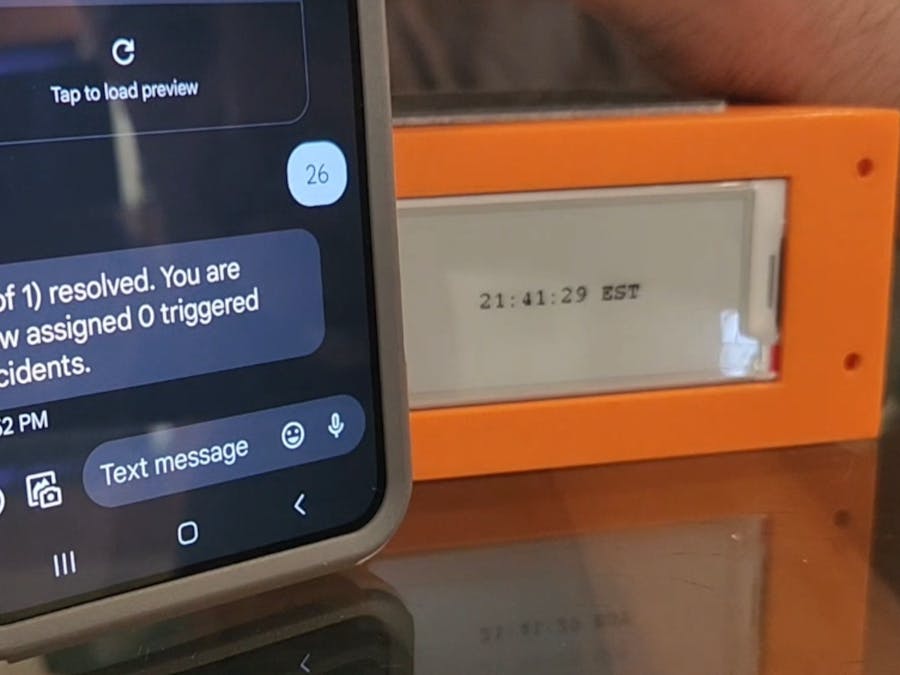
The device ended up taking up a lot of room inside and I wish I had the time to build a proper PCB to work with it such that the epaper display could have been better situated. I had it setup to work with the blues notecarrier to get the time back and display it but the Xiao nrf52840 sense for some reason wasn't working with it. I was able to get another Xiao to update so I wasn't sure and ran out of time to debug. As such the epaper screen currently does not update on the working demo.


_t9PF3orMPd.png?auto=compress%2Cformat&w=40&h=40&fit=fillmax&bg=fff&dpr=2)


Comments
Please log in or sign up to comment.