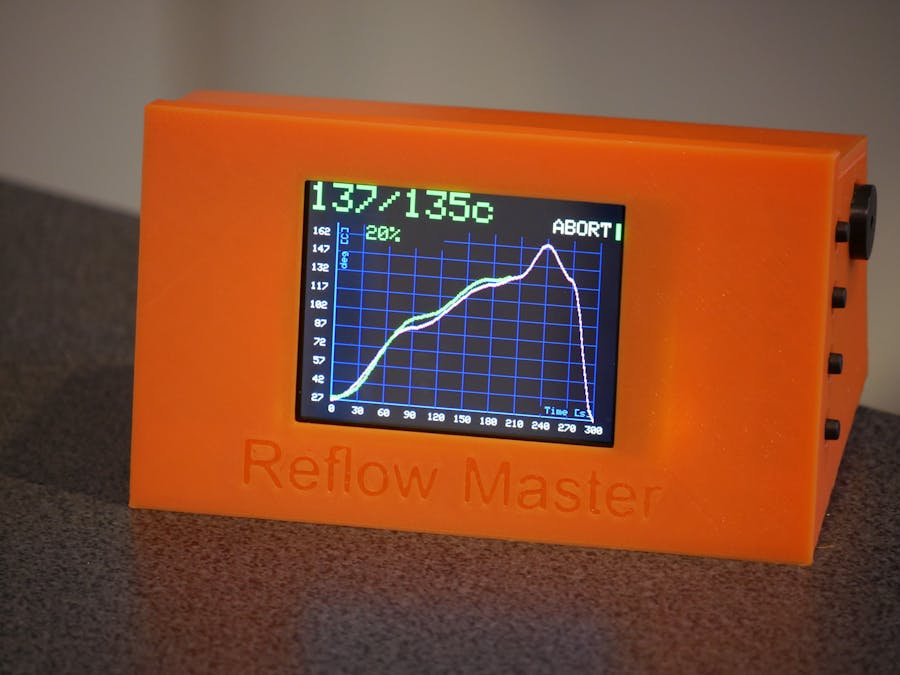
Reflow Master really started out as a microcontroller-based graphing experiment... I wanted to visualise the temperature in my toaster oven when I manually reflowed my PCBs.
I had a K-Type probe in my oven connected to my digital multimeter, and though I could see the temperature, unless I also used a stopwatch, I had no real idea of how long I was reflowing for and at what temperature... it was VERY scientific.
So I thought about using a MAX31855 module connected to a micro-controller to read the temp from my probe and simply drawing this as a graph of temperature over time on a small TFT screen also connected to the micro-controller.
Everyone knew I wasn't going to stop there... Maybe deep down inside I knew that too, but on the surface, that was my only goal.
A DOCUMENTED JOURNEYI designed and built everything either in videos or in live streams on my youtube channel, with my community constantly nudging me to "make it more" and " make a product out of it"... with a few putting their hands up saying they'd like one.
http://youtube.com/c/unexpectedmaker
Honestly, I was only building it for myself... I use mine almost daily for my other projects and products I sell. 100% perfect reflows every time!
Every time I used my Reflow Master in a stream building something else, again I'd get people constantly nudging me to release it.
So I spent the last few months refining the hardware, improving the code, making it quite user friendly and simplifying as much of the interface as possible. I also designed a nice 3D printed case for it.
Last Friday (August 10th, 2018 ), I launched my completed Reflow Master "product" on Tindie and sold out of my first 3 in less than 4 hours!
https://www.tindie.com/products/13378/
THAT WAS TOTALLY UNEXPECTED
I have parts on the way for many more (I am impatient, so the wait in frustrating) and I hope to have it back in stock in the next few weeks.
- Custom PCB design
- SAMD21G18 Cortex M0 micro-controller
- Micro-B USB connector (power & programming)
- 2.4" Colour TFT display
- MAX31855 K-Type sensor
- 4 button navigation control
- External power switch and PIZZO buzzer
- Support for a 5V DC fan to improve final stage cool-down
- Screw terminal connections for:
- > K-Type thermocouple
- > SSR
- > Buzzer
- > Fan
- > Power
- Addition header on the PCB for future expansion or modding include
- > I2C (SDA, SCL)
- > GPIO 7 and 8
Reflow Master can be programmed and updated via the Arduino IDE and I am constantly improving and updating the code base.
HACKING MY OVENI could have just made my life easy and just had my Reflow Master turn the oven power in and off, which is does just fine... \but I don't settle for easy... so I hacked my oven... HACKED!
The SSR (Solid State Relay) controls the ELEMENTS turning on and off directly, bypassing the temperature dial and top and bottom element selection. The thermocouple also comes in from the back and enters the coven cavity from the side.
WIRING IT ALL UP
Connecting your Reflow Master to your oven is fairly straightforward, but remember, playing with Mains Power is dangerous, so if you are uncomfortable with connecting the relay, ask for help!
Oh, I also made it 100% open source! If you really have the desire to make your own or to take what I have and modify/improve it.. go for it... all of the files are here...
https://github.com/UnexpectedMaker/ReflowMaster
If you find the files useful, maybe consider buying me a coffee :-)
Now on to my next overly complicated project...
Follow Me:http://twitter.com/unexpectedmaker
https://www.facebook.com/unexpectedmaker/
https://www.instagram.com/unexpectedmaker/
https://www.patreon.com/unexpectedmaker


Comments
Please log in or sign up to comment.