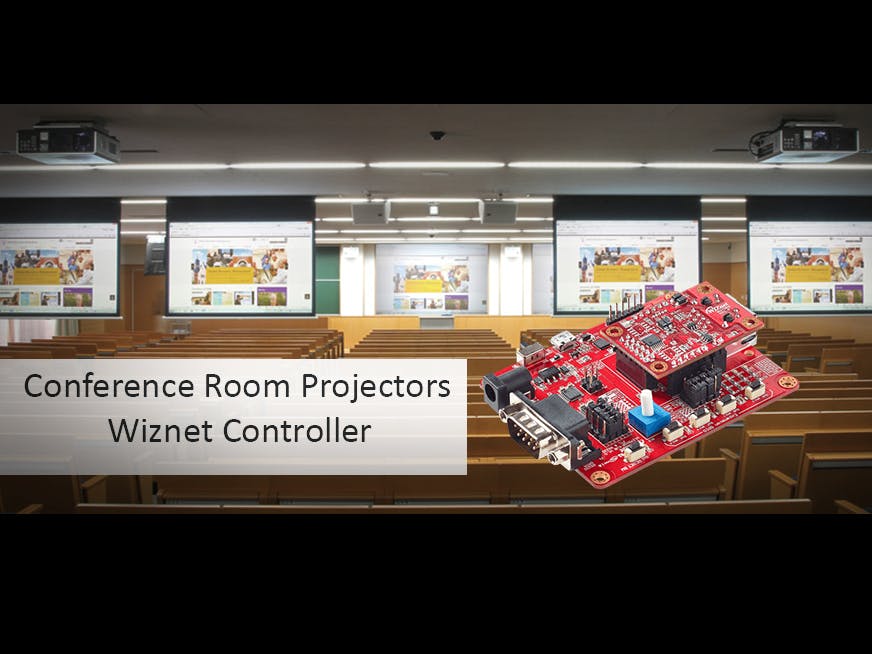
Consider a scenario where your organization is holding an event with lots of audience and you need to manage each projector in each room with the presentation related to that room adjust the projector brightness, audio output level and switch them all at once and turn them all at once or
Even consider you have a projector hang to the ceiling and you don't know where is the remote control or its batteries are dead.
In many cases an IoT controller for a projector comes in use for its convenience and usability.
Let's start connecting our projector to the Internet of Things world:
1- Getting to Know Our Tools:1- Wiznet 750Sr kit
2- Any projector with RS 232 Serial Port
3- Android Device
4- Software ( Wiznet Configuration tool, Hercules Setup utility )
Downlaod latest Wiznet Configuration tool from :
https://github.com/Wiznet/WIZnet-S2E-Tool-GUI/releases
1- we will set the module as TCP Server and choose port 5000 this should be the same as Android client to be connected. Also I used a static IP to be easier when using the android app
2- change Baud Rate to 19200, Data Bit to 8 for serial port of the projector to work "these are the configurations that worked for me after searching the projector's Manual "
3- Click Setting to save the changes to WIZ750SR
it should be self explanatory just connect the module to :
- the router through ethernet
- pc for debugging through usb
- serial cable to the projector
and connect the VGA port between the pc and Projector
to send any command to the projector it has to be in that format where :
STX : is the Start Byte
ETX : is the End Byte
in between the command and its parameters can be obtained from the following table and converted From ASCII to Hex then send the whole data in this format
For Example To power on the projector we first convert "PON" to Hex :
it will be "50 4f 4e" add 02 at first as STX and 03 as ETX at the End so the Final command to power on is : 02 50 4f 4e 03
5- Send/Receive Data from Serial interfacelet's Try it in Hercules switch to TCP Client Tab and Tick Hex CheckBox then send you should get PON as Response and get the projector powered on by now
you may Get ER401 if clicked too fast or after the projector is already on this is an error message, successful response is PON all other commands work the same here I tried all some worked, others where for other models so I got error response but you get the point by now
Here is Example of Switching input mode to RG1 I got Response IIS:RG1 ( Successful )
another examples as QTM:0 response was 0037/0098 this is the reading from the temperature sensor in Celsius and Fahrenheit, QFZ to Freeze/UnFreeze image,....... etc
Instead of using the Hercules setup utility as TCP Client (we just used it for testing, we can't send a HEX code each time we want to command the projector totally A mess ) we are going to create android app to connect to the Wiznet module wirelessly that in turn will direct all data to the serial Port Giving our project internet access and control over the Ethernet and the android app will make it easier to control multiple projectors each with its own IP and ID. "ID is combination of room number and projector number in case a room contains more than one projector. " All projectors will be saved in the app after naming them and editing their static IP.
Each picture is explained in the caption below it
7- DemoHope you enjoyed the tutorial! Thanks!


Comments
Please log in or sign up to comment.