The age of electronic mobile devices have swallowed up humanity; slaves of a small shiny screen looking for data and updates on social media, emails, text, etc., we spatially lose any reference of location or the dangerous situations around us.
How many times have we seen people crash into walls, bicycles, runners, and other unfortunate pedestrians, when they completely lose grasp of their surroundings. How many times have we done this ourselves! Accidents wait for no one. Not anymore, with the Watch Out Cap!!!
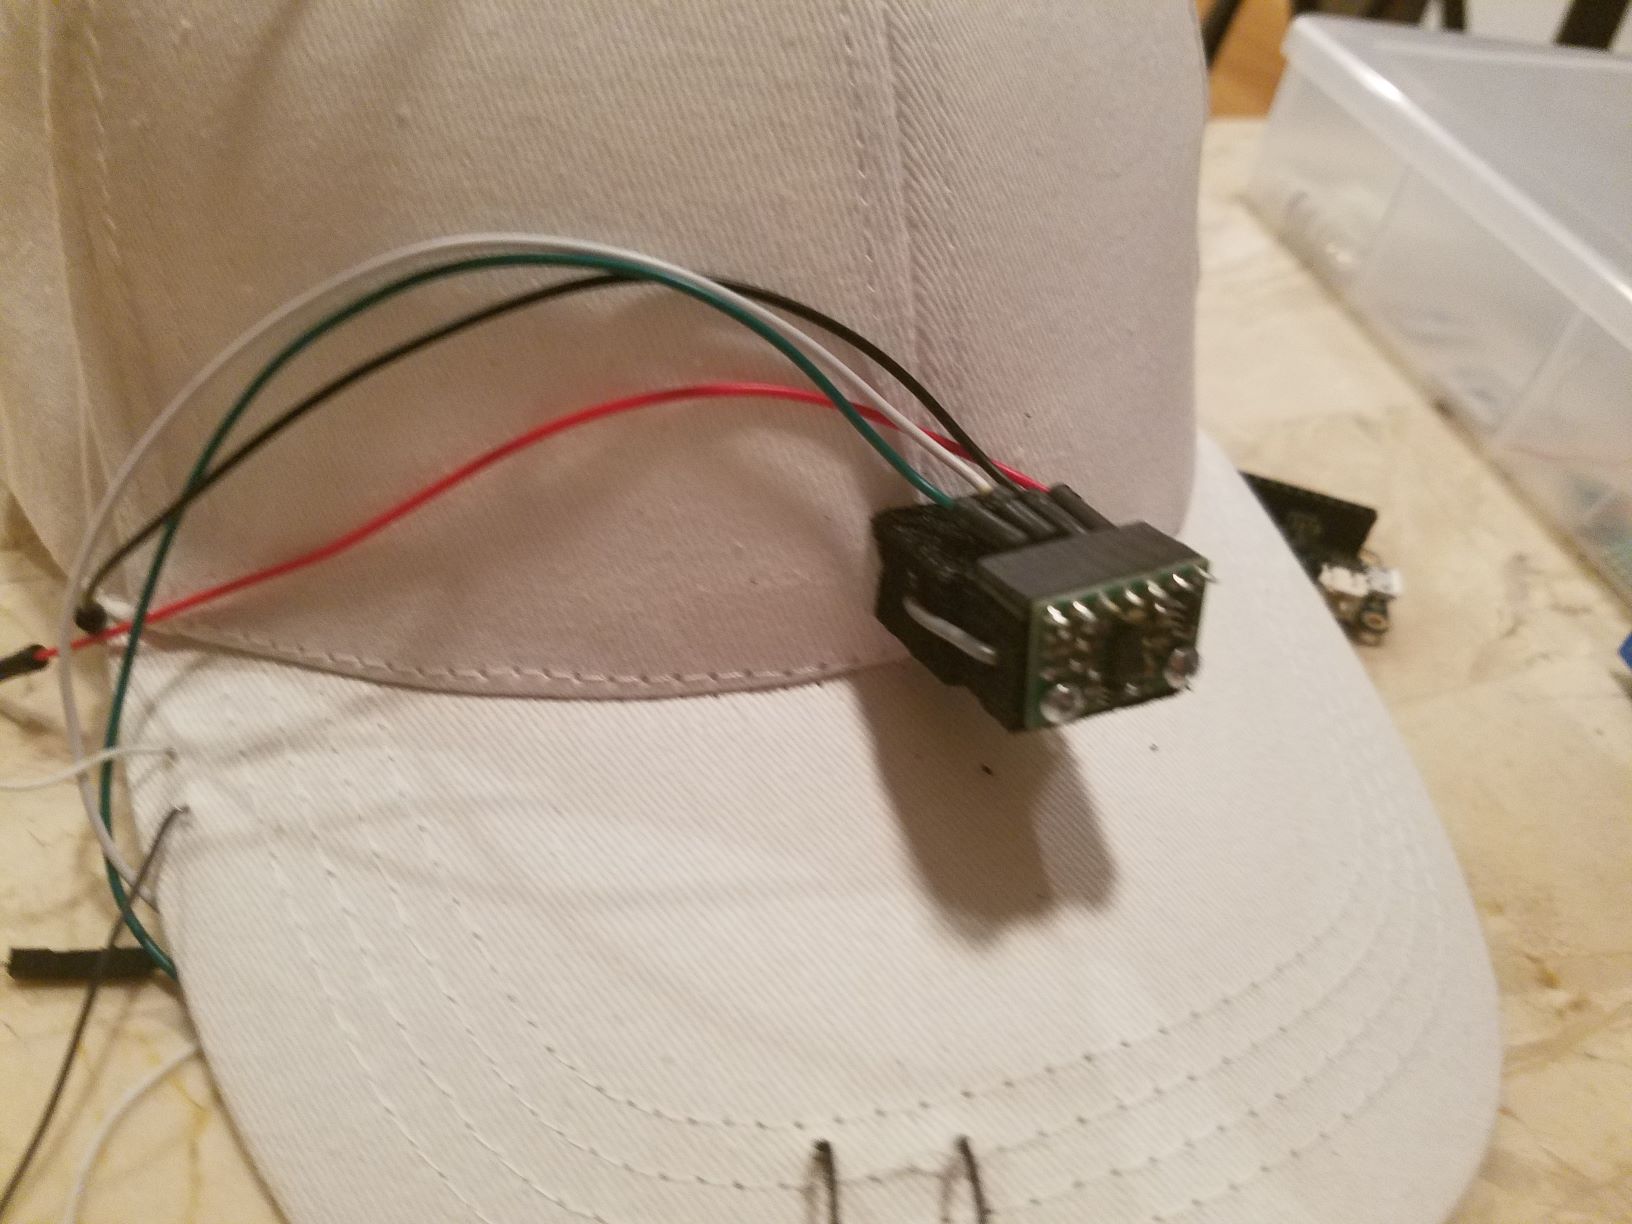
We came up with a cap that senses objects distance and notifies you of possible collisions in front or rear of you.
The sensors are configure to buzz a warning when it senses objects close to 80 cm of distance. The buzz will increase pitch as the distance decreases.
ComponentsThe following components were use in the project.
The MAX32620 is the right choice for this project as it supports up to three I2C master channels, one I2C slave channel, and its 96Mhz M4 processor speed. Although the specifications shows 3 Master I2C channels, we were not able to use more than two. The wire library defines Wire0, Wire1, and Wire2 configurations, but the Wire0 and WIre1 used the same interface when it read the distance value from the sensors. The two different sensors connecting to Wire0 and Wire1 reported mirror values out of the sensor connected to Wire0. Because of this, we think that Wire1 was acting as a slave channel rather than a master. We tried to figure out how to configure this interface as a Master, but could not find the way to set it up on an the Arduino platform.
In the end, we decided to use Wire0 and Wire2 since we only needed the front and rear readings. However, the project can be scaled up to four or six sensors in order to have a better surrounding mapping of your location.
The VL53L0X library does not have a setting to specify the I2C master channel you want to use. Therefore, we tricked the library by assigning the pointer to the I2C interface we wanted to control. Remember, both sensors have the same address. Even though we could have changed the address of one of them, we wanted it to behave as an I2C master channel. The below code shows the trick.
setup()
{
//Start first distance sensor.
 Wire0.begin();
 Wire = Wire0;
//Initialize distance sensor
 sensor.init();
...
}
void loop()
{
 //Select distance sensor one
 Wire = Wire0;
...
}
After the initial setup, the loop goes into swapping between I2C interfaces for each one of the distance sensors.
We used two buzzers to play a high pitched warning as the objects detected got closer. In order to create an audible cue that increases in pitch as an object gets closer, we used the tone function. Notice the function that is dependent on the distance to the object.
    //Play tone and light the LED
   tone(FRONT_BUZZER_PIN, (2048-front_distance), 40);
   digitalWrite(FRONT_LED_PIN,HIGH);
If there is no object detected we need to stop or turn off the buzzer and the LED. The below code accomplishes this.
   //stop tone and off LED
   noTone(FRONT_BUZZER_PIN);
   digitalWrite(FRONT_LED_PIN,LOW);
We used the settings for long range sensing as found in the sample program specifies. The setup per sensor are as follows.
VL53L0X sensor2;
sensor2.setSignalRateLimit(0.1);
 sensor2.setVcselPulsePeriod(VL53L0X::VcselPeriodPreRange,18);
 sensor2.setVcselPulsePeriod(VL53L0X::VcselPeriodFinalRange,14);
 sensor2.setMeasurementTimingBudget(SAMPLETIME);
And then inquire the distance value on the loop function.
rear_distance = sensor2.readRangeSingleMillimeters();
Finally, the part of the program that checks the distance value, sounds the warning, and turns on the LED if it detects an object closer than 80 cm.
  //Select distance sensor two
 Wire = Wire2;
#ifdef LONGRANGE
 rear_distance = sensor2.readRangeSingleMillimeters();
#else
 rear_distance =sensor2.readRangeContinuousMillimeters();
#endif
#ifdef _DEBUG
 Serial.print(":");
 Serial.print(rear_distance);
 if (sensor2.timeoutOccurred()) { Serial.print(" TIMEOUT"); }
#endif
//if obstacle detected less than 80 cm
 if (rear_distance < 800)
 {
   //Play tone and light the LED
   tone(REAR_BUZZER_PIN, (4096-rear_distance), 20);
   digitalWrite(REAR_LED_PIN,HIGH);
 }
 else
 {
   //stop tone and off LED
   noTone(REAR_BUZZER_PIN);
   digitalWrite(REAR_LED_PIN,LOW);
 }
The cap holds one distance sensor on both the front and the back, a buzzer below the visor of the cap, and a red and green LED that shows front and back warnings respectability.
Now we can safely walk while looking at our shiny screens, knowing we will not bump into nothing and no one.
Thank you for reading thru the project. If you would like to know more about our activities, please visit our web page www.vistelilabs.com. We hope to meet you at the 2018 World Maker Faire, we will be there showcasing.


_1x_bGT19vVAby.png?auto=compress%2Cformat&w=40&h=40&fit=fillmax&bg=fff&dpr=2)
Comments
Please log in or sign up to comment.