In the present generation, technology can fulfill the human needs. Technology is evolving rapidly. Automation was a science fiction in past decade but not today. By combining all the technology with your home, industry, school and all your work place, we can build a awesome future ahead. Using Bolt IoT and different Micro-controller we can build different project based on automation and also we can bring it to life based model.
Getting Started:Imaging a room having all electronic device is being controlled by your voice. isn't it awesome?
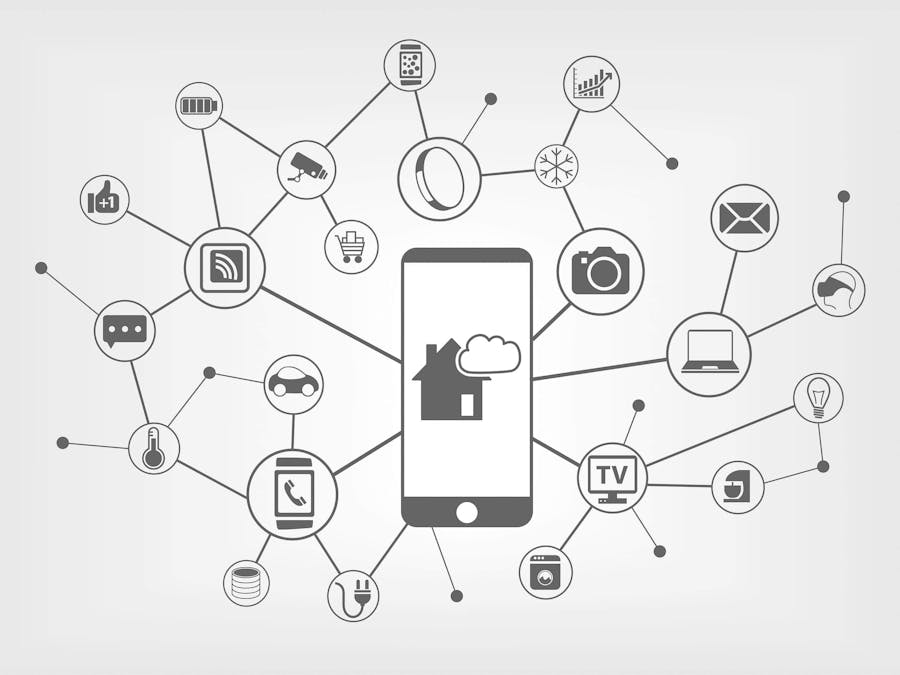
Here, in this project we are going to use Bolt IoT as a micro-controller to control all the electronic device. So, go through the given figure so that you will understand what's going on in background and also you will get to know how to construct this project.
Consider a house having electrical device like Light, Fans, Wall Sockets etc. We can connect this devices to the internet so that we can control it through internet.
Steps for building the project:Step 1 : Assemble all the required material which will be used in the project.
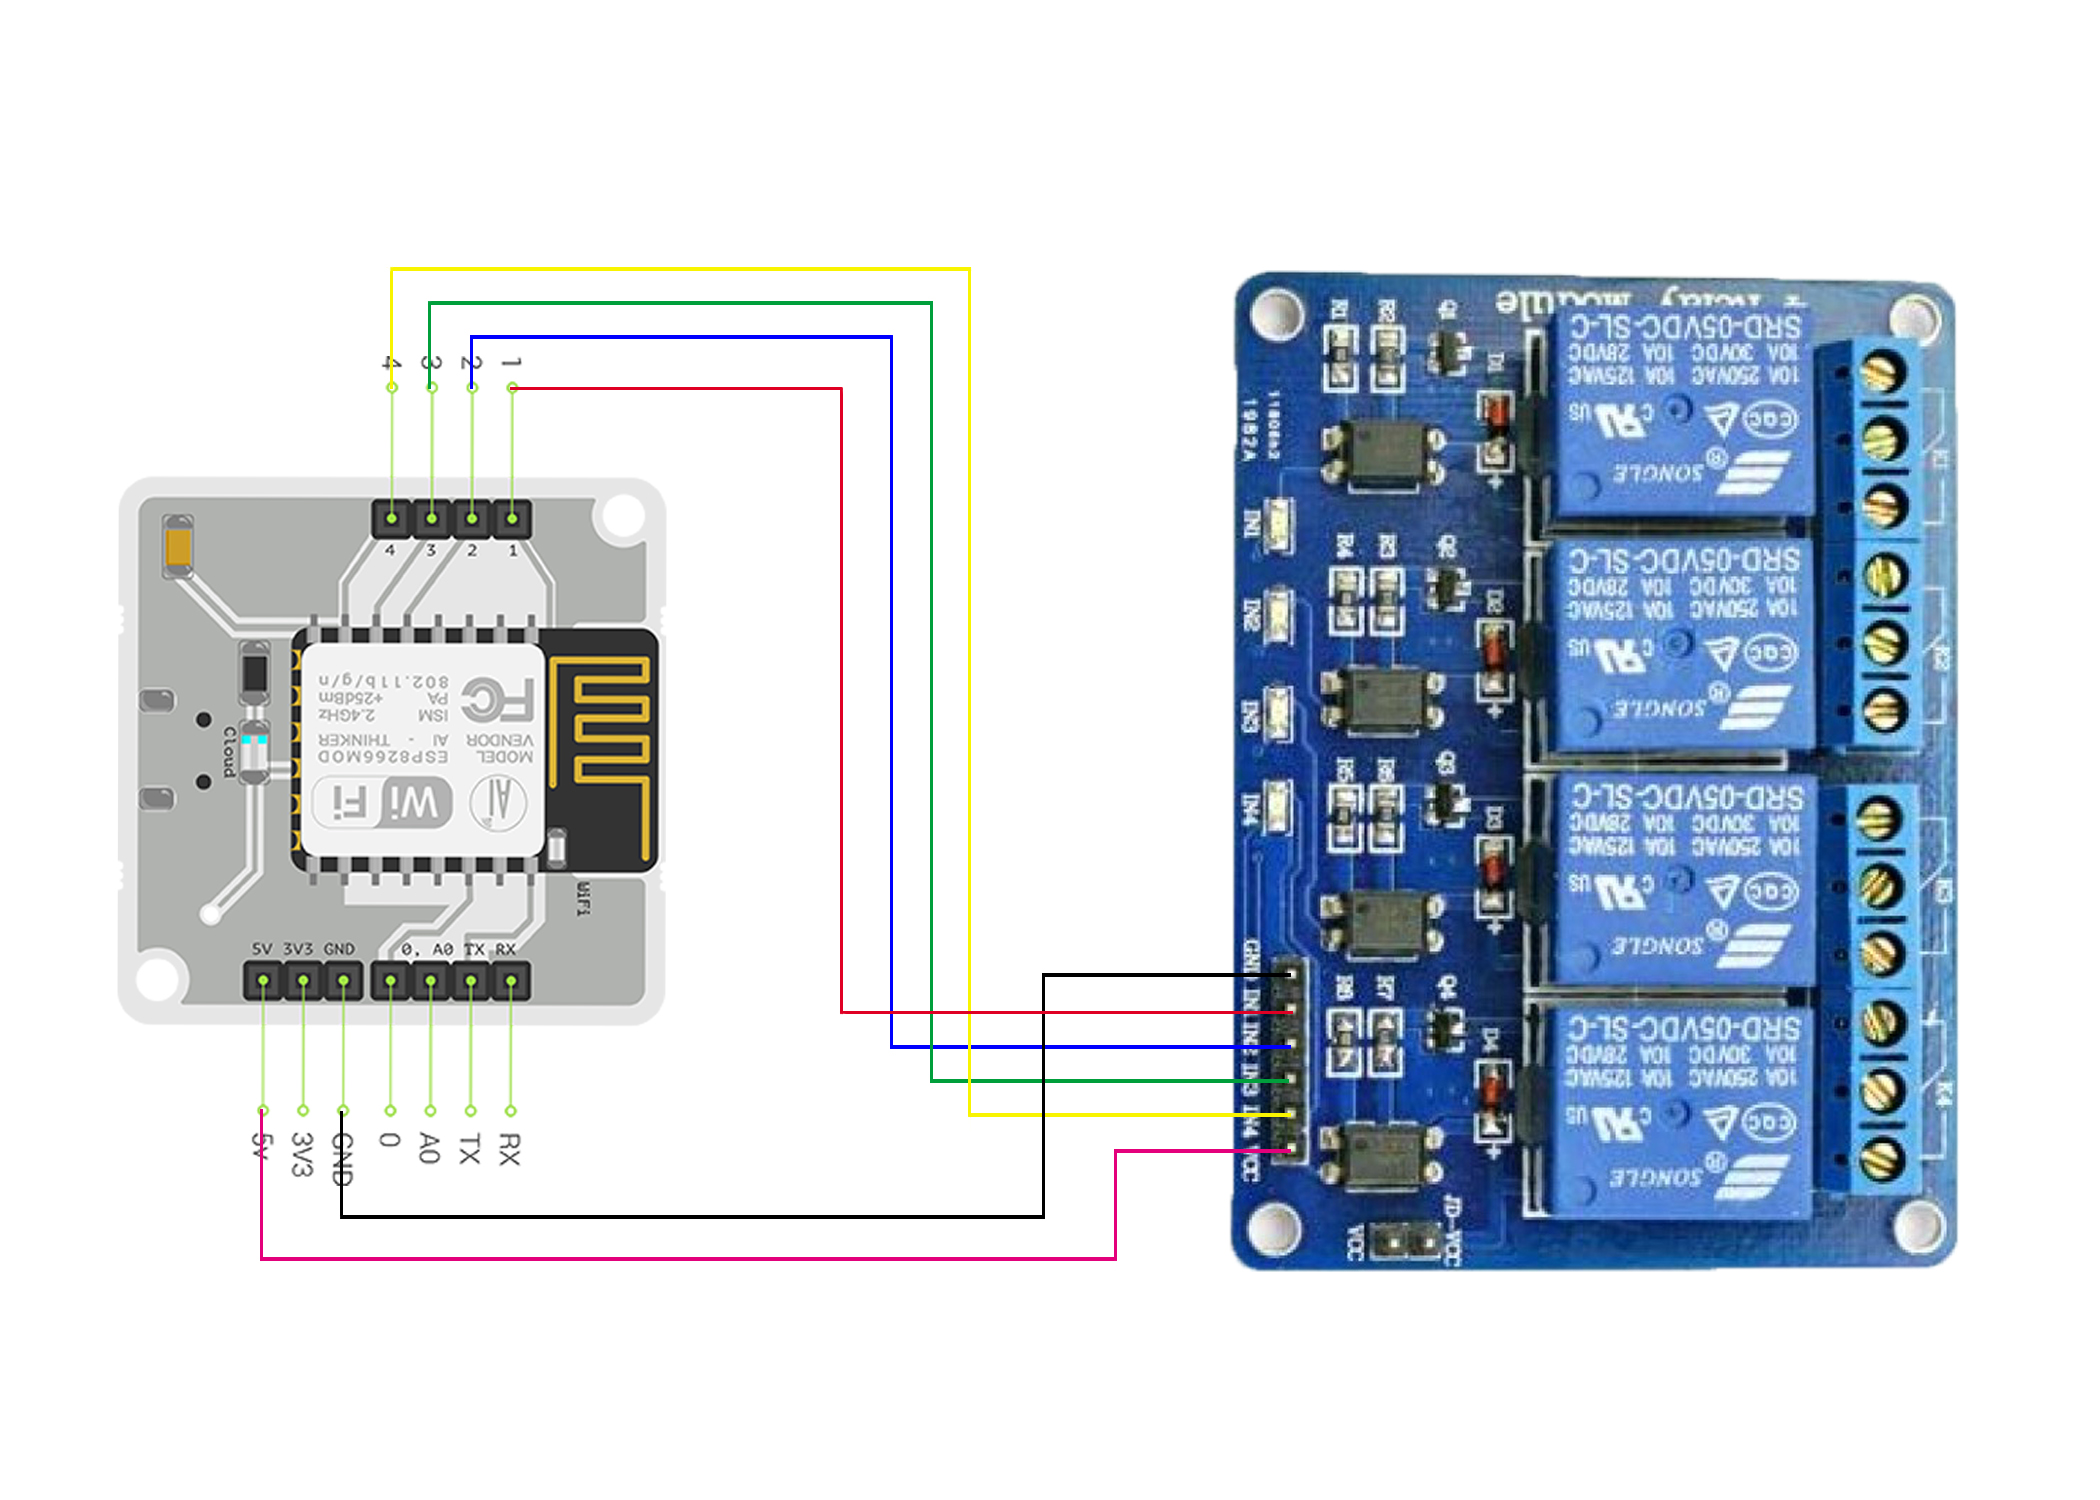
Step 2 : Lets start with the connection of relay module to Bolt IoT device.
Connect GND of Relay to GND of Bolt
Connect VCC of Relay to 5V of Bolt
Connect IN1 of Relay to Pin1 of Bolt
Connect IN2 of Relay to Pin2 of Bolt
Connect IN3 of Relay to Pin3 of Bolt
Connect IN4 of Relay to Pin4 of Bolt
Step 3 : Assembling the parts and placing it in box. In this project I have used electrical spike, in which I have place all the components as shown in the picture below and has given the connection from relay to the sockets.
After assembling all the component in the spike box, it should look like this..
Step 4 : Coding
Go to IFTTT Website, and sign in/ create your account.
After Signing in to that web page, click on the profile icon. After that click on "Create" button
Now search for the google assistant, after clicking on google assistant, after the click on "Say a simple Phrase" and then give the required information. After completing this step, now search for Webhooks and in this section it will ask for the url. The required URL has been give below
https://cloud.boltiot.com/remote/yourapikey/digitalWrite?pin=1&state=LOW&deviceName=BOLTXXXXXXXX\Change 'yourapikey' with the API key you got during the setup of Bolt IoT Device and you have to change with your Bolt name.
Change the Method option to 'GET'
Change the Content Type to 'application/json'
Now save the applet you created just now and you are all done! Now you are ready to test the project you build just now.
Final Look of the prototype:


Comments
Please log in or sign up to comment.