Our project's inspiration came from a YouTube video (https://youtu.be/fDSIRXmnVvk ). The video shows how "chaos equations", or in actuality, parametric equations, can be used to create art. The parametric equations are affected by variable t that represents time, which can be incremented, or reset, by a simple code.
Peripherals :
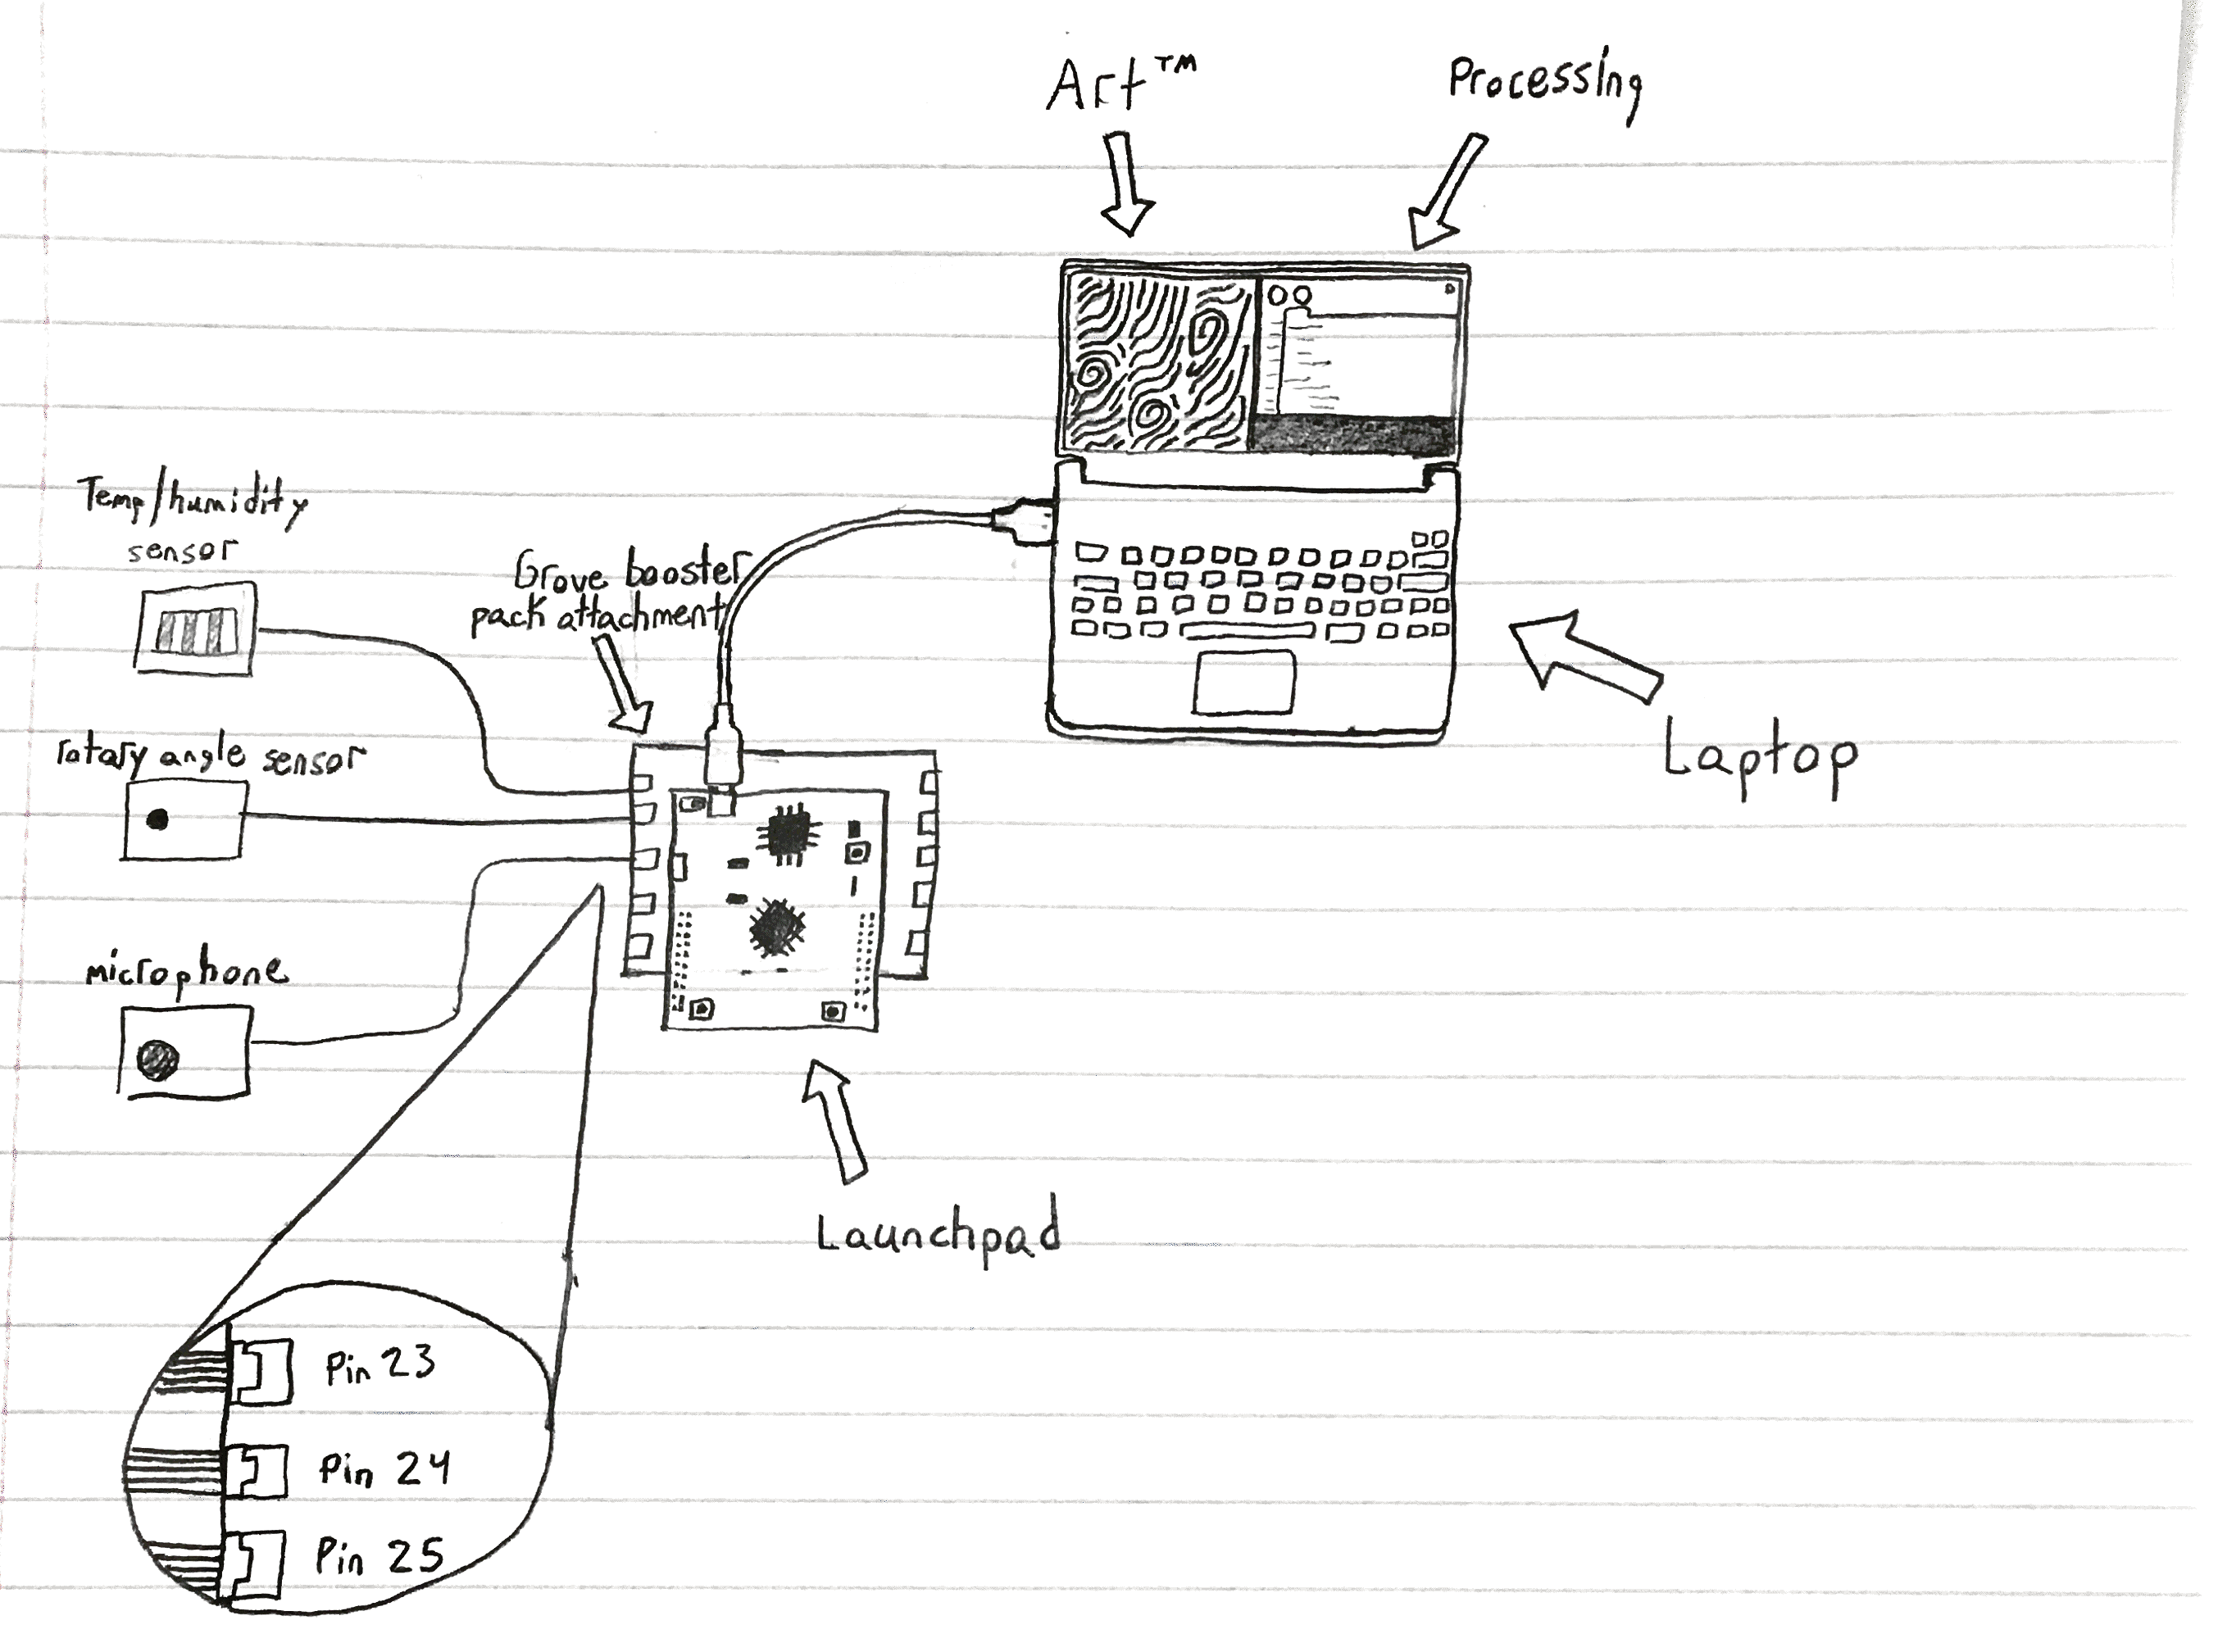
The video gave us the idea to use the peripherals from the SEEED Grove Starter Kit for Launch Pad to change the variables of the equations that would draw art for us. We chose peripherals that would be able to record information about the environment around us: the sound sensor, the temperature and humidity sensor, as well as the light sensor. Unfortunately, we realized that our light sensor was very poor quality / had factory defects, so we opted to use the rotary angle sensor instead. Unfortunately, this sensor responds to user input instead of environmental factors, but it still resulted in a really cool end product!
With the peripheral instruments chosen, we began to work on recording the data from our surrounding environment. The code on our Tiva Microcontroller reads in the information about the sound, temperature, humidity, and rotary angle sensor. The board then compresses these inputs down to a value between 0 and 255. We compress the data down to a point in which we can represent each sensor as two hexadecimal digits. With the four sensors, we send a total of 8 hexadecimal digits over the serial port to the processing code. This allows serial communication to happen at a much faster rate than if we were to send over the raw data. Additionally, it standardizes the data to it's easier to work with in Processing.
After a few hours of coding up a way to draw parametric equations in Processing, we realized that parametric equations are kinda boring. We wanted another way to create cool mathematical art that was more complex and dynamic. We eventually decided upon vector fields, as they can become extremely complex and often replicate patterns found in nature. We wanted to procedurally generate these vector field functions, but we realized that algorithms for generating new, random functions are more complicated than one might expect. Additionally, incorporating sensor data into randomly generated functions doesn't make much sense. For example, it's easy to think of a way in which to generate random polynomial functions with our data, but what about terms like sin, cos, or even sigmoid? Due to the sheer number of different equations one can make, we ultimately decided upon a piecewise function instead. As a result, our code technically has a finite number of different pieces of art, or vector fields, it can generate. Luckily, we included enough variation into the piecewise function that it generally produces art not seen in the past.
The code itself it surprisingly simple. After brainstorming for a few hours, we found the best way to make art in a vector field is by having particles trace the effects of the fields on their motion. Each particle on the screen is a unique object. Each of these particles, has a location vector as well as a velocity vector. Each tick (similar to a frame), the velocity vector for the individual particle is calculated, then added to its location vector. The resulting movement traces the path along a vector field. The following equations exactly model how the vector fields change based on sensory information as well as location on the screen:
For the particle classes themselves, our code borrows from the following example code provided by processing. However, we heavily modified the class as well as the code to apply to our specific use. More can be learned about Processing here:https://processing.org/tutorials/pvector/
The Team Abuses a Macbook:The next step to building it was scaling it up. One particle is cool and all, but it doesn't really reveal much about the vector field or produce very cool looking art. So in the code itself, we have a giant array of these particle objects, each with its own location and velocity. The computer the code ran on, a 2015 Macbook Pro with an i7 Core, could surprisingly track about 10, 000 particles at once without threading. At first, we found that our code was extremely slow, making the art laggy. In search of a way to solve this lag, we introduced threading.
In layman's terms, threading is essentially the process of splitting up tasks in code. On a lower level, it essentially tells your processor to run another task simultaneously as your main body of code. Processing provides a really easy way to use threading within the code. Namely, it provided some helper functions that will take care of most of the work of threading in the background. This was convenient for us because manually introducing threading into code can be a serious challenge. Through these functions, we can tell the computer to essentially work on calculations in parallel, instead of telling the computer to read in data, calculate the new velocities, and update the screen all at once.
We used this concept of threading to greatly increase the number of particles we could render. At its peak, I was able to get my macbook to render approximately 300, 000 particles on the screen at once, albeit at 10 frames per second. I found that a "good" number of particles for my computer to render while maintaining a solid frame rate is around 45, 000. We used threading in the application to divide the task of generating new velocities up. Inside an array of 40, 000 particles, we create four different threads to run calculations on chunks of 10, 000 particles each. Each of these functions are ran simultaneously, each action on different parts of an array in memory. While the different threads are working on calculating the new positions, the main section of code can simply focus on drawing the particles on the screen. While this technically allows for some particles to be "behind" due to the threads not being in sync with the main drawing thread, it's not noticeable at all. I imagine if one were to rewrite this code to utilize a graphics card this asynchronous rendering would create some issues. For the sake of the project as well as our own understanding, it doesn't create issues.
Overall Flow:
The following structure can be used to understand how we designed the code to operate. Unfortunately, we couldn't get serial interrupts to work in the code. As a result, the processing code simply reads in data from the serial buffer in the main thread when the spacebar is pressed.
Processing works just like Energia! It has two functions: a setup function and a loop function. The setup does a few things like set up serial communication and the size of the window, but the fun happens inside of the loop.
Inside of the main loop, the code starts by checking the last saved value from the sound sensor to determine if particles or lines will be rendered, based on a certain threshold. Next, it dispatches 4 different threads to recalculate the position of 1/4 of the particles each. While those threads are running, we loop through the same array of particles and draw them on the screen. This goes back to my note earlier about the weakness of our implementation. Because the threads are modifying the particles in the same memory locations as we're rendering them on the screen, one can imagine situations in which particles get out of sync. For example, the particle at index 0 will have a newer position value then the particle at index 39, 999. We avoided this problem by making sure that the threads act evenly across the particles on the screen. Instead of saying, "let's split the particles into chunks of 10, 000 based on the top left, top right, bottom left, and bottom right of the screen, " we evenly select particles across the screen to be recalculated at once. This prevents any weird lag or rolling shutter effects. As a consequence it might just create a small amount of imprecision / noise in the vector field. Seeing as our main goal with using threads is to speed up the frame rate as well as increase the number of particles on the screen, this effect is pretty much impossible to see thanks to the persistence of vision.
After the code has looped through each of the particles to draw on the screen, it then checks to see if they spacebar has been pressed. This ideally would use an interrupt instead, but we couldn't get it to work with the specific combination of Processing + Threading + Energia + Tiva. As a result, we simply have to use the "pinging" method on the spacebar, a concept we learned about in class.
After we have "pinged" the spacebar, processing automatically runs the function again.
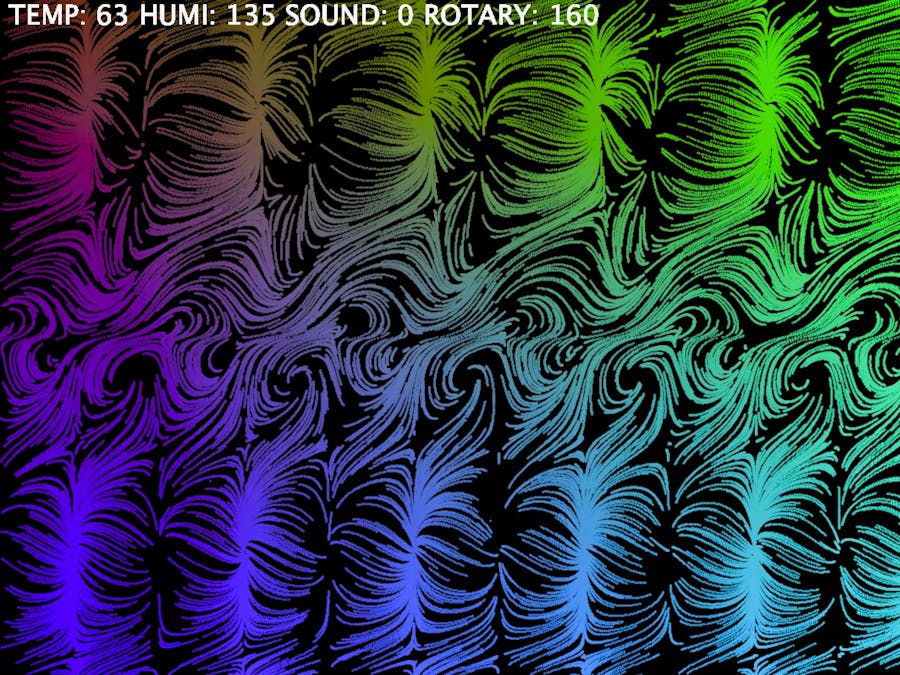
Examples:Here are some of the cooler pictures we rendered!
We had a lot of fun on this project! Send us an email at lsa4@rice.edu if you have any questions!
Lucas Atayde, Joshua Verne, Ranferi Aviles.


Comments