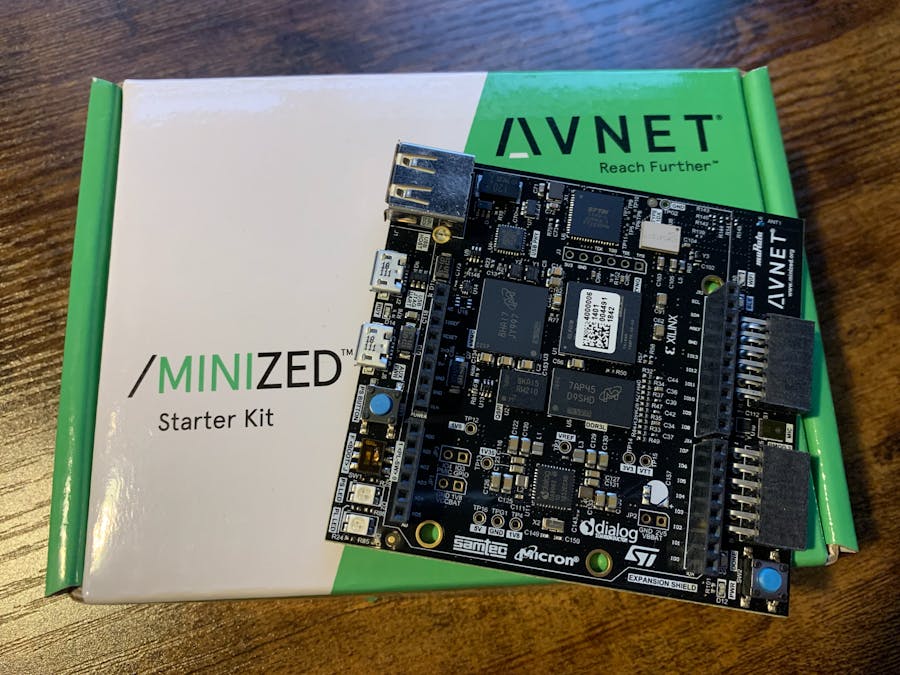
The MiniZed is an FPGA development board that is quite appealing for its compact form factor, wireless capabilities, PMOD I/O, Arduino compatible connectors, and it's under $100. This project serves as the starting point for a series on this board demonstrating how to take full advantage of this mighty little dev board.
There are two parts to a design using any Xilinx development FPGA board: the base hardware design in Vivado and the software project in either Vitis or PetaLinux. This project will simply be a hello world baremetal application for the software part of the design.
Part1 -The Hardware Design in Vivado
Create a new Vivado project & select the MiniZed as the target board:
Once Vivado has loaded the new project, select the option to create a new block design from the flow navigator:
Vivado will open a blank block design with an "+" symbol in the center for you to start adding your own IP blocks.
For this project as the bare bones, I just added the Zynq processing system IP block. Vivado will detect that the Zynq PS block has been added and a green banner will appear across the top of the block design window with the option to run Block Automation. Block Automation will apply the MiniZed specific board presets to the Zynq IP block such as enabling the utilized peripherals such as UART, SPI, etc.
Once the MiniZed board presets have been applied to the design, run the block design validation check (icon that looks like a box with a checkmark) then save and close the block design.
The block design needs an HDL wrapper to instantiate it in the logic of the FPGA. You have the option to create one yourself but Vivado is capable is generating one for you. In the sources hierarchy tab, right-click on the block design (minded_0.bd in the screenshot below), select the option to "Create HDL Wrapper...", and then select whether you would like for Vivado to auto-manage it for you or if you would like to manually update it. This is in reference to when you modify the block design in the future. I recommend selecting the option to let Vivado auto-manage the HDL wrapper for you. Once Vivado has generated the HDL wrapper for the project, your sources hierarchy will look similar to this:
This is all that is needed for this bare bones hardware design, so select the option from the flow navigator to run synthesis, followed by run implementation, and then generate a bitstream.
Once the bitstream is successfully generated, it needs to be exported as Xilinx's special archive file type (XSA) for the software IDE (Vitis) to read and pull in the hardware design.
To export the hardware, select File > Export > Export Hardware. Be sure to check the box to include the bitstream. For the export location, I recommend leaving it in the local project directory for this Vivado project, but you are free to export it to any desired location.
Part2 - TheSoftware Design in Vitis
Vitis can be launched directly from Vivado, the option is located in the Tools menu under 'Launch Vitis'. Once launched, select a directory for the project's workspace. Again, I recommend using the same directory as the Vivado local project directory just to keep everything in one place, but you can chose any desired location.
In a new Vitis project, the first thing that needs to be created is the base platform project. The platform project is what pulls in the hardware design and creates the corresponding board support project (BSP) for the software to run on.
Select the option to create a new platform project and name it:
Select the option to create the platform project from an XSA file:
Specify the file path to the XSA exported from Vivado in the previous steps and specify the OS type (baremetal/standalone, Linux, or RTOS). Also leave the box checked for the platform project to automatically generate the proper boot components for the Zynq ARM cores.
Once the platform project has fully generated, build the project (cntrl+B) before creating the application project.
With the base hardware platform in place via the platform project, we can now create the software to run on it. To create a new baremetal (standalone) application for the project, select the 'New' button from the toolbar and the 'Application Project...' option.
Name the application and leave the option selected for a new system project to be created for the application, then click 'Next'.
Select the custom platform for the application created by the platform project in the previous steps:
Finally, select an application template. For this project, I selected the Hello World application:
Once the application generates, open the helloworld.c in the /src folder of the application directory in the Explorer window on the left and add a while(1) loop to encapsulate the "Hello World" print out:
Save the file and build the project again (ctrl+B).
Once the project is successfully built, launch a debug run of the application on the hardware by right-clicking on the application in the Explorer window and select 'Launch on Hardware' under the 'Debug As...' tab.
Connect to the UART interface of the MiniZed to see the "Hello World" print out using the serial terminal in Vitis. (To add the Vitis Serial Terminal window, select the Window menu, 'Show View...' the search for 'serial')
You'll then see "Hello World" printing in the serial terminal window!


Comments
Please log in or sign up to comment.