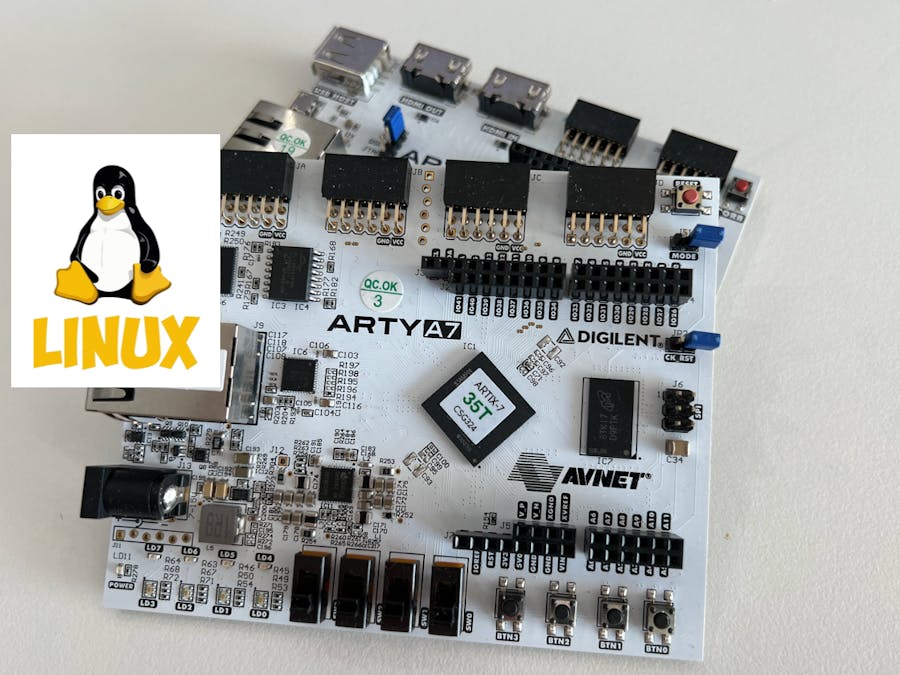
In my previous project post, I covered how to create hardware design on the Arty-A7 with a MicroBlaze soft processor capable of running a Linux operating system in Vivado. This post follows up with how to generate the embedded Linux image for that hardware design using PetaLinux.
Note: I'm using version 2022.1 for PetaLinux, and the steps should mostly translate to other 2020.x and 2021.x versions. However, not any PetaLinux versions 2019.x or older.
Create PetaLinux ProjectSource the PetaLinux tools in the environment and change directories into the desired location you want to create the PetaLinux project (which is the top level Vivado project directory for the corresponding hardware design).
~$ cd ./artyA7_linux/
~/artyA7_linux$ source /tools/Xilinx/PetaLinux/2022.1/settings.sh
Create a new PetaLinux project targeting the MicroBlaze, and give it the desired name. Once created, change directories in to the new project.
~/artyA7_linux$ petalinux-create --type project --template microblaze --name artyA7_os
~/artyA7_linux$ cd ./artyA7_osFor PetaLinux to be aware of the configuration and peripherals available in the hardware design, import the XSA file exported from Vivado:
~/artyA7_linux/artyA7_os$ petalinux-config --get-hw-description ../This will also automatically launch the system configuration editor for the project. Make the following changes before exiting it:
- Subsystem AUTO Hardware Settings > Ethernet Settings > disable Randomize MAC address
- Subsystem AUTO Hardware Settings > Flash Settings > verify axi_quad_spi_0 is selected to match Vivado block diagram
- Image Packaging Configuration > Root filesystem type = INITRD
- Image Packaging Configuration > disable Copy final images to tftpboot
While the default enabled kernel modules are all that I need for this particular project, if you need to enable anything extra (i.e. after applying a patch), you can launch the kernel configuration editor to do so:
~/artyA7_linux/artyA7_os$ petalinux-config -c kernelNote: pressing the / key at anytime in any of the ASCII configuration editors brings up a search function that tells you what sub menu the option you're looking for might be buried in.
Configure Root FilesystemWhen running a basic Linux OS, I found that there are a few extra helpful packages to add to the root filesystem. Launch the root filesystem configuration editor:
~/artyA7_linux/artyA7_os$ petalinux-config -c rootfsAnd enable the following:
- Filesystem packages > base > [*] base-files
- Filesystem packages > base > [*] netbase
- Filesystem packages > base > [*] init-ifupdown
- Filesystem packages > base > [*] iproute2
- Filesystem packages > base > [*] util-linux
- Filesystem packages > console > network > ethtool > [*] ethtool
- Filesystem packages > console > network > dropbear > [*] dropbear
- Filesystem packages > console > utils > grep > [*] grep
- Filesystem packages > devel > make > [*] make
- Filesystem packages > network > ntp > [*] ntp
PetaLinux will auto-generate all of the complete device tree nodes required for the MicroBlaze itself, but not the IPs connected via the AXI interconnect. While peripherals such as the AXI GPIO for the Arduino header just won't be visible to the Linux OS, the AXI EthernetLite missing will prevent the whole system from being able to boot.
Add the device tree node for the Ethernet, otherwise the Arty-A7 boot process will fail right after loading the device tree when trying to run the kernel with a very nondescript error (User vector_exception ### ERROR ### Please RESET the board ###) since the kernel can't find the Ethernet hardware to attach to that it knows should be there.
~/artyA7_linux/artyA7_os$ gedit ./project-spec/meta-user/recipes-bsp/device-tree/files/system-user.dtsiAdd the following hardware node:
/include/ "system-conf.dtsi"
/ {
};

&axi_ethernetlite_0 {
  local-mac-address = [00 0a 35 00 01 22];
  phy-handle = <&phy0>;
  xlnx,has-mdio = <0x1>;
  mdio {
    #address-cells = <1>;
    #size-cells = <0>;
    phy0: phy@1 {
      device_type = "ethernet-phy";
      reg = <1>;
    };
  };
};
Save and close the system-user.dtsi file.
Finally build the PetaLinux project:
~/artyA7_linux/artyA7_os$ petalinux-buildThis is a pretty light design so the build should only take a few minutes (depending on the specs of your host PC).
Test Linux Image with QEMUBefore going through the steps of uploading the Linux image to the Arty board, the QEMU emulator can be used to boot it on the host PC:
~/artyA7_linux/artyA7_os$ petalinux-boot --qemu --kernelTo exit the emulator, press crtl+A then X.
Test Linux Image on the Arty-A7There is an option to also test the Linux image on the Arty-A7 hardware prior to packing it into a boot binary and SD card image.
Connect the Arty-A7 board to the host PC and open a serial terminal window (i.e. Putty or TeraTerm) at 9600 baud.
From the host PC command line, boot the Arty-A7 over JTAG and program the FPGA bitstream onto it:
~/artyA7_linux/artyA7_os$ cd ./images/linux/
~/artyA7_linux/artyA7_os/images/linux$ petalinux-boot --jtag --fpga
Then boot the Linux kernel:
~/artyA7_linux/artyA7_os/images/linux$ petalinux-boot --jtag --kernelYou'll then see the Linux boot process on the serial terminal from the Arty.
Note: The Ethernet network, eth0, doesn't show up here only because I hadn't plugged the cable in yet.


Comments
Please log in or sign up to comment.