This is just a quick getting started project for AWS IoT. I already entered one similar device and thought I'd do a second. This is also very simple and is great for beginners.
Setup The Intel EdisonAttach headers
You can either:
-Solder male headers into J18 Pin 13, and J19 Pins 2&3
-Or follow the instructions here to match the Uno pin configuration (assumes no setup has been performed other than attaching compute module to breakout, if you have not done so already you may skip the related disassembly step in the guide)
Basic setup
Follow Intel's getting started guide if you have not done so before -OR- establish a serial connection with PuTTy and connect to your Wi-Fi.
Install pip
Pip is a python package manager that has partially replaced easy_install. You'll need it to install the awscli.
Download Pip.
$ curl https://bootstrap.pypa.io/ez_setup.py -o - | python
Install PIp.
$ easy_install pip
Install the awscli.
$ pip install awscli
N.B. In this tutorial you do not install groff and less, command line text viewers required to view the iot help files. If you want them you can check out the BB8 Monitor for instructions on how to do so.
AWS User SetupThere is still some setup that has to be done before generating credentials on the Edison.
Generate Security Credentials
On the AWS site under services select IAM.
Create new User.
Generate and download security credentials (will be as .csr, use Excel to open it)
Change permissions
For that user click "Attach Policy" Under the permissions tab.
Select AdministratorAccess. This will give you permission to access all the necessary services.
Connect the Edison to AWS IoTAssociate device with your account
AWS needs to know which account the device is being operated by. Configure the Edison so that it will connect to the user you created previously.
$ aws configure
The first two fields are the data found in the Credentials.csv file you should have downloaded. The region Is "us-east-1" and format is "json".
Create a folder to put everything
Create the folder.
$ mkdir aws_certs
Navigate into the folder.
$ cd aws_certs
Create key
For your device to connect to the cloud securely you need to create a certificate. The first step in this process is creating a key with openssl.
$ openssl genrsa -out privateKey.pem 2048
Create the csr
Now that you have a private key you need to finish up with openssl.
$ openssl req -new -key privateKey.pem -out cert.csr
You will be prompted to provide information to go with the certificate request. Enter your information.
Create the certificate with AWS IoT
The AWSCLI provides tools for creating and activating a certificate. Start by creating the certificate.
$ aws iot --endpoint-url https://i.internal.iot.us-east-1.amazonaws.com create-certificate-from-csr --certificate-signing-request file://cert.csr --set-as-active > certOutput.txt
To get your certificate ID open the certOutput.txt file created previously.
$ more certOutput.txt
Activate the certificate.
$ aws iot --endpoint-url https://i.internal.iot.us-east-1.amazonaws.com describe-certificate --certificate-id <your certificate ID from above> --output text --query certificateDescription.certificatePem > cert.pem
Create a json policy document
Open the file with vi (not trying to start an argument here).
$vi policy doc
Hit a.
{
        "Version": "2012-10-17",
        ""Statement": {
            {
                "Effect": "Allow",
                "Action": [
                    "iot:*"
                ],
                "Resource": [
                    "*"
                ]
            }
        ]
  }
Save and quit.
:wq
Create the policy
Now that you have the policy document, create the policy itself.
$ aws iot --endpoint-url https://i.internal.iot.us-east-1.amazonaws.com create-policy --policy-name PubSubToAnyTopic --policy-document file://policy.doc
Attach the policy to the certificate
Lastly, attach the policy to the certificate. If you need to find the certificateArn value, open the file with more again.
$ aws iot --endpoint-url https://i.internal.iot.us-east-1.amazonaws.com attach-principal-policy --principal <certificateArn value from certOutput.txt> --policy-name "PubSubToAnyTopic"
Download the root certificate
To finish the process the Edison needs a root certificate which can be downloaded easily.
$ curl https://www.symantec.com/content/en/us/enterprise/verisign/roots/VeriSign-Class%203-Public-Primary-Certification-Authority-G5.pem > ~/aws_certs/aws-iot-rootCA.crt
Photoresistor basics
Photoresistors are one of many components that vary based on exposure to light. In the case of the photoresistor the resistance of the component is changed. When exposed to light there should be very little resistance and we should read a digital high on the Edison, otherwise the resistance will be great enough that no current will pass.
Make Your CircuitBasic setup (I suggest you use this setup for all your Edison projects if possible, it gives you the option to go back and use them again easily if you ever wish to do so)
The Edison needs a way to interface beyond the headers you already installed. These won't work because you would either have to solder the Edison to perfboard which is permanent, or use a breadboard which would cause shorts and damage. To solve this you can solder female headers to a perfboard.
On one side of your perfboard, solder 4 rows 14 long of female headers. This is where you will plug the Edison in.
On the opposite side, solder the same formation of male headers.
On the bottom of the board, solder wires from the bottom of each female header to the corresponding male header.
The result is more or less a port for the Edison which can be connected to breadboards and other devices with the help of jumpers or plain old wire (and maybe heat shrink for insulation).
Connect the photoresistor
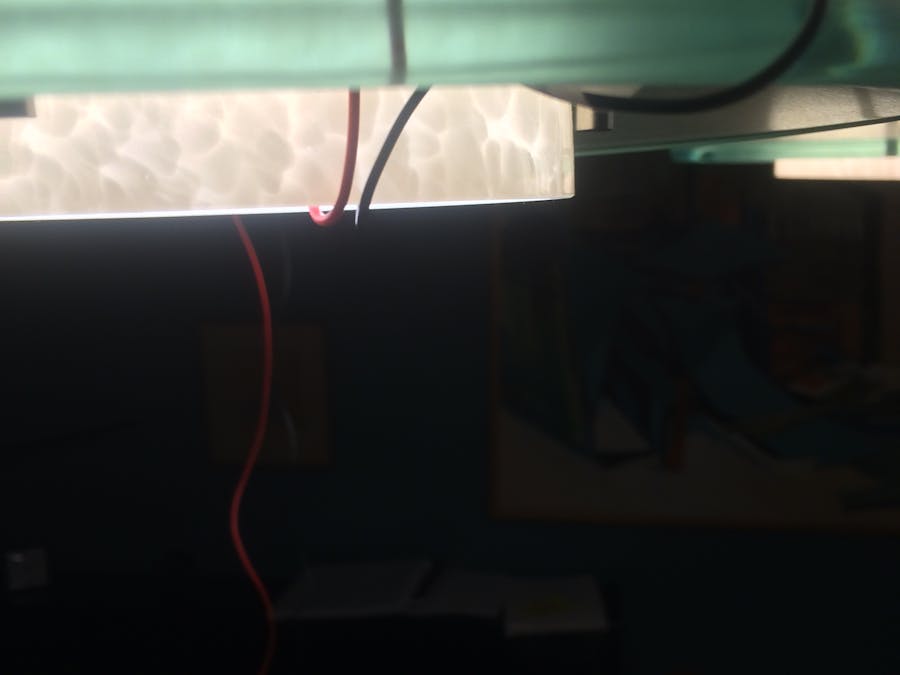
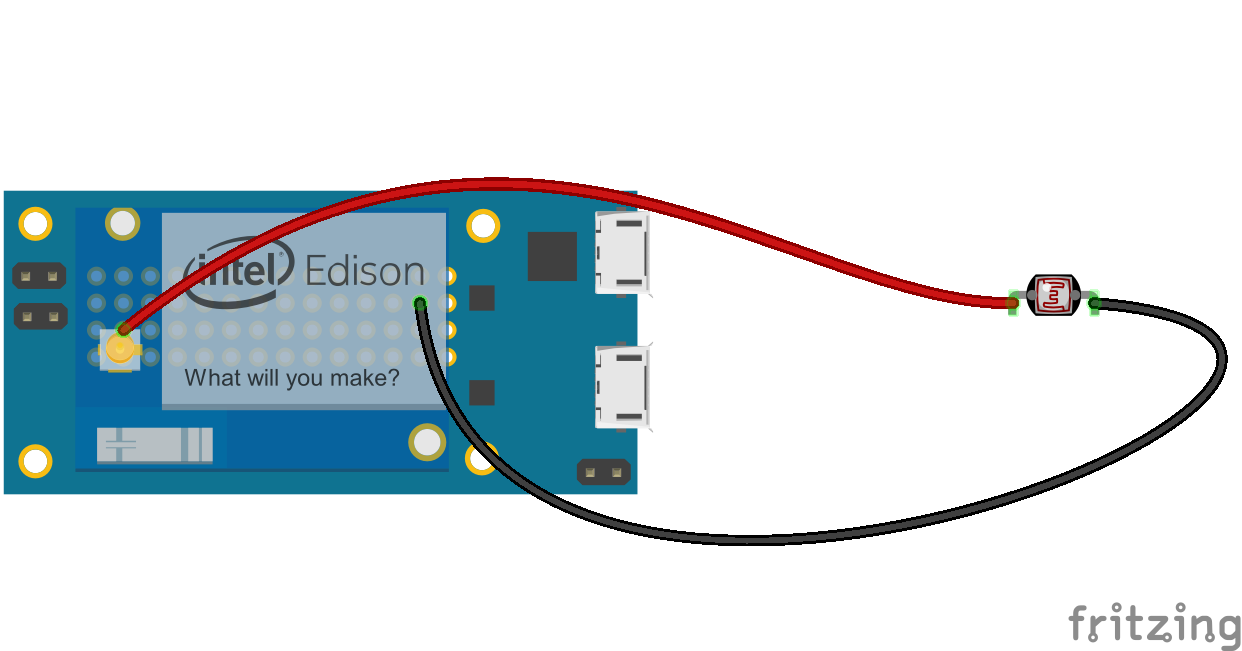
All you need to do is connect the photoresistor to Linux 130/Arduino 1 /Mraa 26 and 1.8v. Make sure to position the photoresistor so that it will not get false positives from ambient light. A cone of black paper and positioning it close to the light works great for blocking out external interference.
Project Complete!Upload the code to the Edison and hook up your new light monitor system.


Comments
Please log in or sign up to comment.