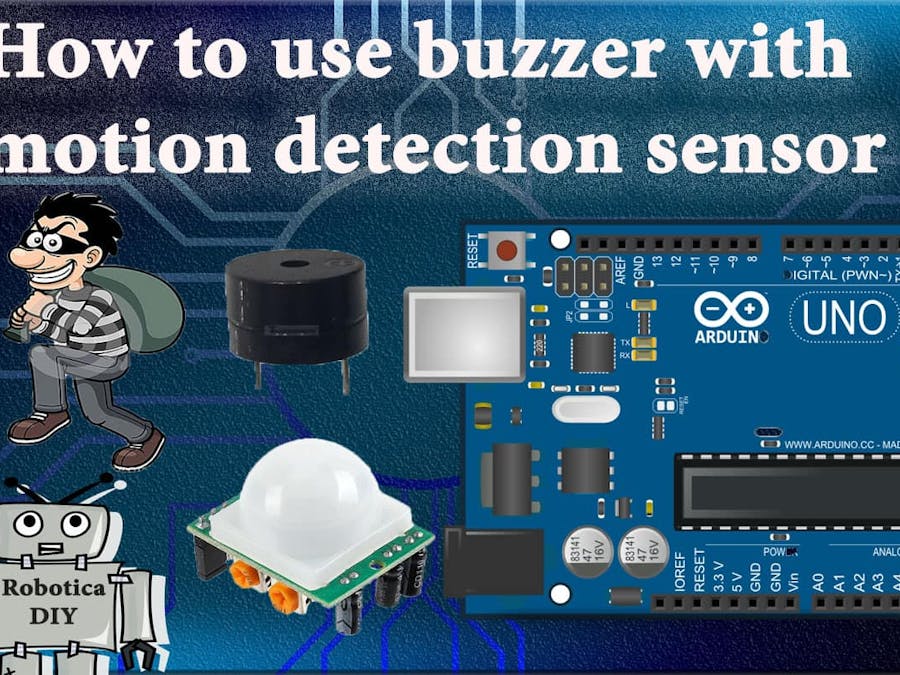
Hi guys in this tutorial we will see how to use buzzer with PIR sensor. So lets get started, for this you will need
If you like PIR sensor projects you can have a look on my previous turorial for PIR sensor in Arduino & PIR sensor as a counter. Do connection as shown in diagram.
void setup() {
pinMode(3, INPUT);
pinMode(9, OUTPUT);
}
void loop() {
if(digitalRead(3) == HIGH){
tone(9, 400);
delay(300);
noTone(9);
delay(300);
tone(9, 400);
delay(300);
}
else {
noTone(9);
}
}
Explanation:
Now let’s come to the programming part. Set pin number 3 for PIR sensor as an input pin. Set pin number 9 for buzzer output.
pinMode(3, INPUT);
pinMode(9, OUTPUT);
In loop function if digitalRead pin number 3 is equal to high then only buzzer will make sound.
if(digitalRead(3) == HIGH){
tone(9, 400);
delay(300);
noTone(9);
delay(300);
tone(9, 400);
delay(300);
}
Now tone will generate square wave of specific frequency set by pin. Syntax for this
tone(pin number, frequency)Pin number on which you want to make sound & frequency of tone in hertz it must be a positive value. It will dealy sound duration for 300 millisecond.
NoTone will not produce any sound to that pin number. It will delay no sound duration for 300 millisecond. Then It will again make sound. Instead of this you can use this syntax
tone(pin number, frequency, duration)in which you can give duration of buzzer sound directly in the function but it will make only one sound. If digitalRead is equal to low then no Tone will be generated.
When I move my hand over the sensor it will detect my hand and make sound.
Till then keep learning keep making :).
Categories: Arduino
Tags: BuzzerPIR sensor
Recent Posts
- LPG Gas Leakage Detector with SMS Alert April 4, 2020
- Burglar Detector with Photo Captured Email Alert April 2, 2020
- Intruder Alarm with Email Notification March 31, 2020
- ESP8266 IoT Live Sensor Data Plotter to Web Page March 29, 2020
- ESP8266 DHT22 Weather Station IoT Project update automatically March 27, 2020


Comments
Please log in or sign up to comment.